Smartphones have changed the way you capture the world, making great photography accessible with a device that’s always in your pocket. You can achieve professional-quality photos and videos on your smartphone by understanding your camera’s capabilities and making the most of simple techniques. Whether you’re just starting or want to elevate your mobile shots, learning how to get crisp, beautiful results can make your images stand out.
With just a few key tips—like mastering composition, understanding light, and using editing tools—you can transform your smartphone shots from basic to brilliant. The right approach turns everyday moments into stunning visuals you’ll be proud to share.
Key Takeaways
- Know your phone’s camera features to get sharp, detailed photos
- Use simple composition and lighting tricks for pro-level results
- Enhance your pictures and videos with smart editing choices
Understanding Your Smartphone Camera
Getting professional results from your smartphone starts with knowing your camera’s capabilities, choosing the right lenses, and making sure you have enough space to save high-quality photos. Each factor can make a noticeable difference in your photography experience and output.
Exploring Smartphone Camera Features
Most modern smartphones offer multiple cameras and features tailored to different shooting styles. Standard setups often include a main sensor, an ultrawide camera for expansive shots, and a telephoto lens for zooming without sacrificing detail.
You’ll get better results by understanding manual settings like ISO, shutter speed, and white balance. Many native and third-party camera apps let you fine-tune these settings, similar to a DSLR. Enable features like HDR for balanced exposures in difficult lighting.
Common Camera Specs Table:
| Feature | What It Affects | Why It Matters |
|---|---|---|
| Megapixels | Image resolution | More detail, better crops |
| Aperture size | Low light performance | Brighter, clearer images |
| Sensor size | Dynamic range, noise control | Enhanced image quality |
Explore your smartphone camera menu to learn where these options are and test them in different scenes. Using gridlines can also help improve your composition.
Benefits of High-Quality Lenses
High-quality built-in smartphone lenses and the use of external lenses can unlock new creative possibilities. Good optics reduce distortion and produce sharper images, especially at the edges of the frame.
If your phone supports clip-on external lenses, you can attach a telephoto lens for distant subjects or a macro lens for close-up details. These add-ons are useful when your built-in camera cannot physically zoom or focus well enough without losing image quality.
When choosing external lenses, look for multi-element glass optics, anti-reflective coatings, and secure attachment methods. Investing in well-made lenses ensures that your smartphone photos remain crisp and clear while minimizing color fringing and distortion.
Managing Storage Space
High-resolution images and videos taken with advanced smartphone cameras can quickly fill up available storage space. Large file sizes are even more common when shooting in RAW format or recording 4K video.
To avoid running out of space, regularly back up your photos to cloud storage or a computer. Many phones allow you to insert a microSD card for expanded local storage, but make sure your device supports this option.
Delete unwanted or duplicate photos often. Use storage management tools found in your phone’s settings to monitor usage. Keeping plenty of free storage ensures your camera is always ready for the next shot without interruptions or lag.



Mastering Composition for Pro Results
Good composition transforms average photos into memorable ones. Mastering visual techniques such as framing, lines, and thoughtful use of modes can elevate your smartphone photography with clear, intentional structure.
Applying the Rule of Thirds
The rule of thirds is a classic method to create balanced and compelling images. To use it, mentally divide your frame into nine equal sections with two vertical and two horizontal lines. Place key elements, like subjects or horizons, where these lines intersect.
Nearly every smartphone lets you enable a grid in the camera app. This tool helps you align points of interest right where they matter most. Resist the urge to center your subject unless the scene genuinely calls for it.
Experiment by positioning a person’s eyes on a top intersection or placing a horizon on the lower grid line. This simple shift brings energy and harmony to your photos. If your camera app allows, keep the grid enabled for quick, consistent composition.
Using Leading Lines and Symmetry
Leading lines are natural or artificial lines that guide your viewer’s eye through the frame. Examples include roads, fences, railings, or even shadows. They can create a sense of direction, draw attention to a subject, or add depth.
Try angling your phone so paths, riverbanks, or architectural edges direct the viewer toward your main point of interest. Look for converging lines in city streets or repeating lines in a staircase to add structure.
Symmetry can also be striking. Center your shot when you find mirrored scenes—like reflections on water or architectural facades. Many smartphones have an alignment aid or level built in. Use it to ensure straight, balanced photos.
Harnessing Reflections and Close-Ups
Reflections can add interest and complexity to both photos and videos. Search for reflective surfaces, such as windows, puddles, or polished tables, to capture mirrored scenes. Crouch down or change angles to maximize these effects.
Close-ups, also known as macro photography, let you highlight details that are often overlooked. Tap the screen to focus tightly on textures in leaves, the details in food, or even everyday objects like jewelry.
Some phones offer a “macro mode” for extreme close-ups. If this is available, activate it for sharper results. Move the phone slowly to avoid blur and keep your hands steady—using a stable surface or phone stand can help.
Portrait and Landscape Modes
Choosing the correct camera mode can simplify composition and improve the final image. Portrait mode is useful for portrait photography since it sharpens faces and gently blurs the background, making your subject stand out. Look for good lighting and avoid background clutter for best results.
Landscape mode is best for wide scenes, cityscapes, or group photos. It helps keep everything in focus from foreground to background. Try holding the phone steady and placing the horizon along a grid line for better alignment.
Toggle between these modes as needed. Use portrait mode for single subjects, pets, or people shots. Switch to landscape mode when you need more of the scene in sharp focus. Each mode is optimized for specific scenarios, making composition easier regardless of your experience level.

Lighting and Exposure Essentials
Great photos on your smartphone often start with the right light and careful control of exposure. Mastering both can help you avoid common issues like harsh shadows, washed-out highlights, or blurry subjects.
Maximizing Natural Light
Natural light is often the best tool for capturing sharp, vibrant images with your phone. Try to position your subject so light falls on them evenly, ideally from the front or side. Avoid direct midday sunlight, which can cause harsh shadows or overexposed areas.
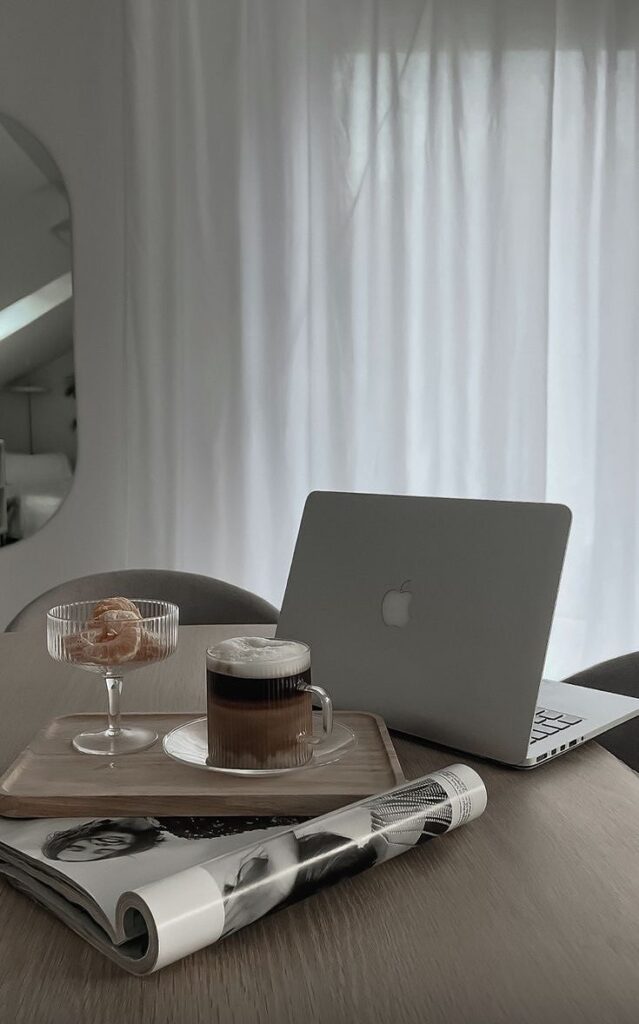
If shooting inside, move close to windows or open doors for softer, flattering lighting. Overcast days provide diffused light, reducing contrast and minimizing squinting. You can experiment by moving yourself or your subject to change the look and mood without special equipment.
A quick visual guide:
| Lighting Situation | Effect | What to Do |
|---|---|---|
| Direct sunlight | Harsh/shadows | Find shade, face away |
| Window light | Soft, flattering | Position near window |
| Overcast outdoors | Even, muted tones | Shoot anytime |
Understanding Golden Hour and Backlighting
Golden hour refers to the first hour after sunrise and the last hour before sunset. The sunlight is warm and soft, producing gentle shadows and a natural glow. Photos taken during this time often look more professional due to the pleasing color temperature and softer contrasts.
Backlighting, where the light source is behind your subject, creates dramatic silhouettes or rim-lit effects. If you want detail in your subject’s face, adjust your position or use exposure control to keep features visible. Experiment with moving slightly to the left or right to change the look of backlit shots.
For creative effects, let some sun flare enter the lens, but watch for unwanted haze.
Exposure and Focus Techniques
Proper exposure keeps your photos from looking too bright or too dark. Most smartphones let you adjust exposure by tapping the screen to set focus on your main subject, then sliding your finger up or down to brighten or darken the image.
Use the tap to focus feature to ensure your subject is sharp. If your phone allows, lock focus and exposure (AE/AF Lock) especially if you’re moving the frame or your subject is moving. This helps you maintain consistency between shots.
Exposure bracketing, if available in your camera app, takes several images at different settings and combines them. This can help capture detail in scenes with very bright and dark areas.
Eliminating Distractions and Cleaning Your Lens
Small distractions can ruin otherwise great photos. Pay attention to the background and edges of your frame before snapping the shot. Remove clutter, avoid awkward objects behind people, and reframe to keep the focus on your subject.
Always clean your lens before shooting. A quick wipe with a microfiber cloth removes fingerprints, dust, and smudges that can soften or blur your images. A clean lens ensures maximum clarity and sharpness, helping your photos look as good as possible straight from your phone.
Before you tap the shutter, double-check for:
- Unwanted objects in the frame
- Smudges or dirt on the lens
- Distracting patterns or lines in the background

Capturing Professional-Quality Mobile Video
Getting high-quality video from your smartphone depends on more than just hitting the record button. Details like stabilization, crisp audio, and the right aspect ratio all impact how professional your footage appears.
Stabilizing Your Shots with Tripods
Shaky footage lowers the perceived production value of any video. Even the best smartphone cameras can’t fix every bump or shake during video recording.
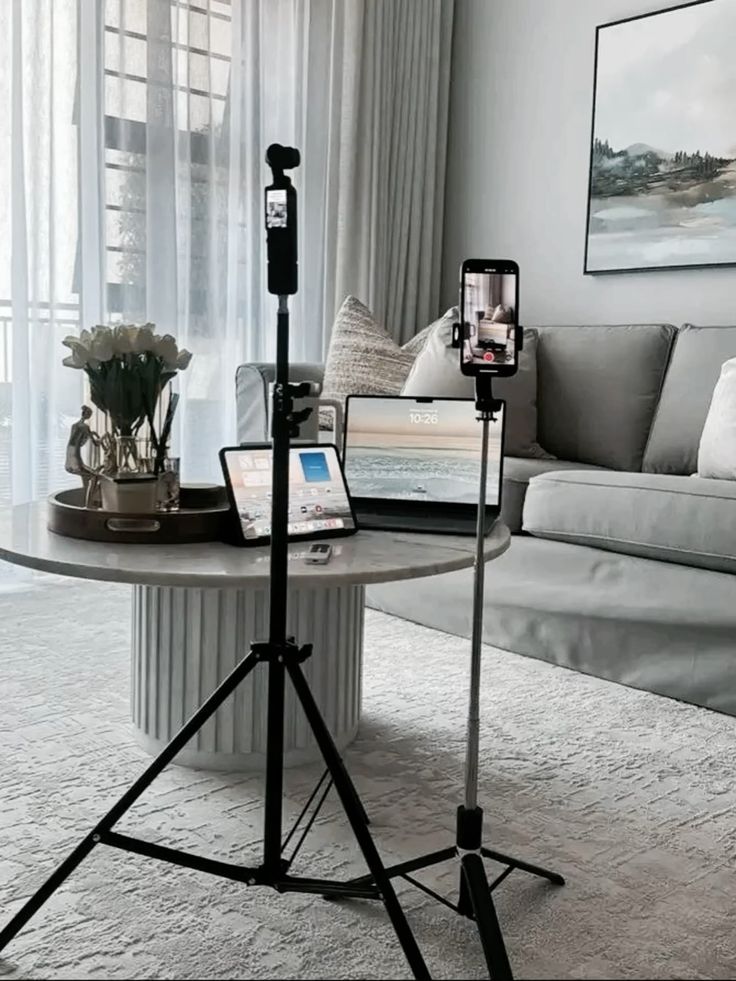
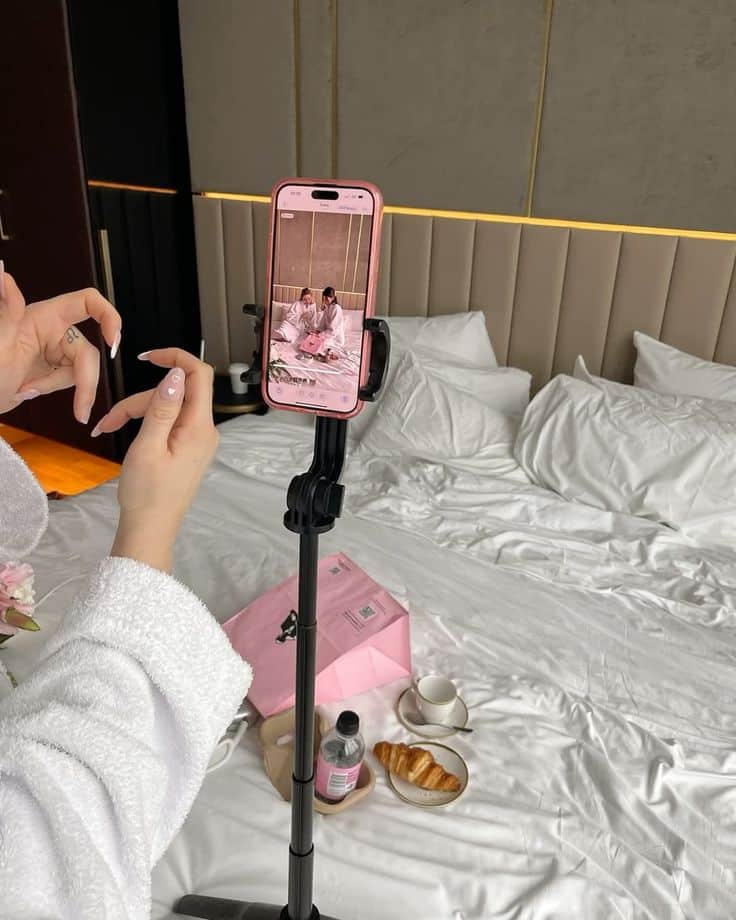
A tripod is a simple and reliable way to stabilize your shots. Lightweight mobile tripods are portable and easy to set up anywhere, making them perfect for vlogging or when filming solo. For dynamic filming, a gimbal can help smooth out movement, providing steady and consistent shots.
If you don’t have a tripod, resting your phone against stable objects like books or a wall can reduce shake. For slow-motion, time-lapse, or cinematic shots, stabilization is essential for professional results. Using a tripod also helps maintain consistent framing, which matters in multi-shot video production.
Audio Quality and External Microphones
Clear audio is as important as sharp video quality in professional production. Even high-end smartphones often pick up background noise or lack clarity when relying on built-in microphones.
External microphones—like small clip-on lavaliers or shotgun mics—offer a major improvement. These microphones usually attach directly to your phone’s jack or via Bluetooth and can pick up your voice while minimizing unwanted sounds. If you’re vlogging or conducting interviews, prioritize audio quality with dedicated mics for a richer, cleaner listening experience.
Simple practices such as monitoring audio levels and recording in quiet spaces also help. Covering the mic or ignoring noisy environments can create distracting audio problems, so always take a moment to check your sound before any important recording.
Choosing the Right Aspect Ratios
Selecting an appropriate aspect ratio shapes the look and feel of your video. The most common ratios are:
| Aspect Ratio | Typical Use |
|---|---|
| 16:9 | YouTube, web video |
| 9:16 | Instagram Stories |
| 1:1 | Social media posts |
Shooting in the right ratio ensures your video fits its intended platform without awkward cropping or borders. For cinematic or YouTube content, 16:9 gives a wide-screen look. For Instagram Stories and TikTok, 9:16 (vertical) is standard.
Plan your aspect ratio before you shoot. Many smartphones let you set this in the camera app. This helps keep your composition looking as intended during editing and sharing.
Editing for a Cinematic Feel
Editing transforms your raw smartphone footage into a polished, professional-looking video. The right apps, techniques, and finishing touches help achieve a cinematic feel that stands out on any screen.
Top Editing Apps for Smartphones
A strong edit begins with the right app. KineMaster, Adobe Premiere Rush, and LumaFusion are leading choices for robust features on both Android and iOS. These apps support multi-layer editing, keyframe animations, and advanced color controls.
For quick edits and enhancements, try InShot or CapCut. These are user-friendly, fast, and perfect for social-ready clips. If you want to improve your stills, Snapseed and VSCO offer reliable editing tools and stylish presets.
Here’s a table comparing popular editing apps:
| App Name | Platform | Main Features |
|---|---|---|
| KineMaster | Android/iOS | Multi-track, chroma key |
| LumaFusion | iOS | Professional timeline tools |
| Adobe Premiere Rush | Android/iOS | Cross-device syncing |
| InShot | Android/iOS | Simple clip trim, easy filters |
| CapCut | Android/iOS | Effects, text, sound library |
Editing Techniques and Filters
Use simple cuts and transitions to maintain a smooth flow. Montage sequences, jump cuts, and match cuts help create rhythm and tension. For a cinematic mood, focus on color grading using editing apps’ built-in filters or manual sliders—cool tones add drama, while warm tones feel inviting.
Add depth of field effects by blurring backgrounds to mimic traditional camera lenses, especially during close-ups. Most apps let you adjust brightness, shadows, and contrast for balanced visuals. Subtle use of VSCO or Snapseed filters can enhance your smartphone photography’s mood without looking over-processed.
Keep edits concise. Avoid overusing transitions or effects, as this distracts from your story.
Enhancing With Video Editing Apps
Professional-quality video requires more than just cutting and trimming. Fine-tune your footage with noise reduction, sharpening, and stabilization features available in apps like KineMaster and LumaFusion. Stabilizing shaky shots makes your final product look polished, even if you filmed handheld.
Experiment with split screen, overlays, and slow-motion for dynamic visuals. Syncing your video with background music or voiceovers can boost storytelling impact. Many video editing apps support custom aspect ratios for YouTube, Instagram, and TikTok.
Get close to your subject for more impactful frames. Slight adjustments to saturation or selective color can guide the viewer’s attention, resulting in stronger visual storytelling.
Sharing Your Work on Social Media
When your edit is complete, exporting for the right platform is essential. Select the appropriate aspect ratio and resolution—vertical (9:16) for stories, square (1:1) for Instagram feed, and horizontal (16:9) for YouTube. Most apps include presets for these formats.
Craft engaging captions and use hashtags like #mobilephotography and #cinematicvideo to reach wider audiences. Preview uploads before posting to ensure playback quality is sharp and uninterrupted.
Collaboration tools in apps such as Adobe Premiere Rush allow you to share projects easily for group feedback or edits. Sharing your work efficiently maximizes engagement and showcases your skills in mobile filmmaking.


