Summer memories deserve more than being trapped in your phone’s camera roll. Creating a DIY photo album transforms your favorite seasonal moments into a tangible keepsake that you can flip through and share for years to come. This hands-on project lets you curate your best summer shots while adding personal touches that digital albums simply can’t match.
Whether you’re documenting beach days, family vacations, or backyard adventures, making your own photo album gives you complete creative control. You can choose materials that reflect your style, arrange photos in meaningful ways, and include special mementos like ticket stubs or pressed flowers. The process itself becomes part of the memory-making experience.
From selecting the right materials to adding finishing touches that make your album uniquely yours, this guide walks you through every step of the creative process. You’ll discover practical techniques for organizing your photos, creative ideas for layouts and decorations, and tips for ensuring your finished album stands the test of time.
Key Takeaways
- DIY photo albums transform digital summer memories into lasting physical keepsakes you can touch and share
- Personal creativity shines through material choices, layouts, and decorative elements that reflect your unique style
- Proper planning and preservation techniques ensure your handmade album remains a cherished keepsake for years
Getting Started With Your DIY Summer Photo Album
Planning your summer photo album involves selecting the right format for your project, gathering essential crafting materials, and carefully choosing which memories deserve a place in your collection.
Choosing the Right Album Format
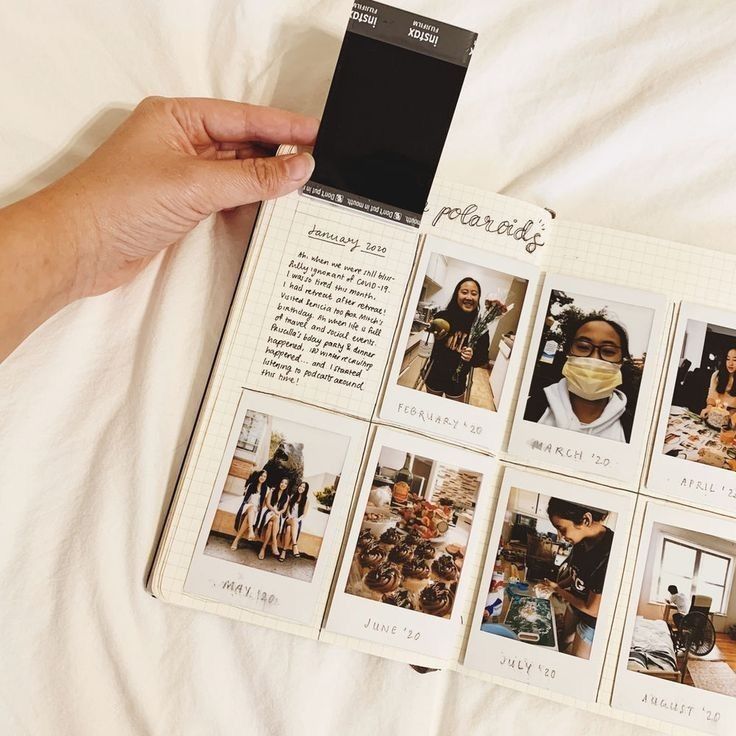
Mini albums work perfectly for summer projects because they focus on specific memories without becoming overwhelming. These compact books typically hold 20-50 photos and fit easily on shelves or coffee tables.
Consider a flipbook style if you want an interactive experience. This format lets you create pull-tabs, pockets, and fold-out sections that make viewing more engaging.
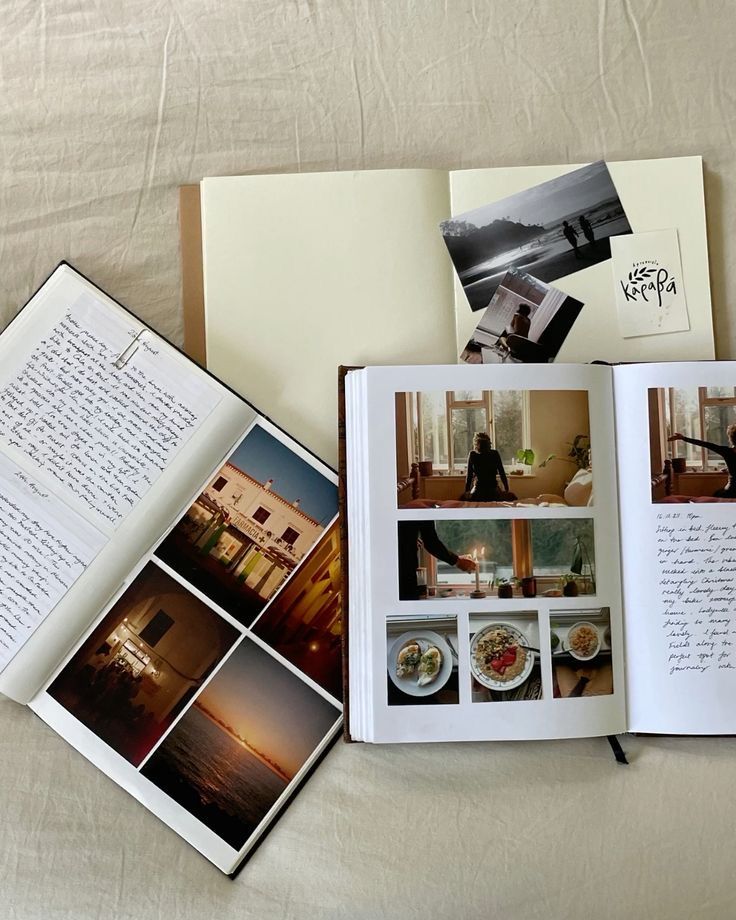
Traditional bound albums offer more space for larger photo collections. Choose this option if you have extensive summer vacation photos or want to include multiple trips in one book.
Accordion-style albums provide a unique display option. You can stand them up to showcase your favorite summer moments across connected panels.
Think about your Instagram photos too. Many summer memories live on social media, so plan space for printed Instagram images alongside traditional photos.
Essential Craft Supplies and Tools
Start with basic materials for your DIY project. You need cardstock or scrapbook paper, photo-safe adhesive, and scissors or a paper trimmer.
Decorative elements bring your album to life:
- Washi tape in summer colors
- Beach-themed stickers
- Ribbon in blues and yellows
- Glitter tape for accent details
Tools that make crafting easier include:
- Corner rounders for professional edges
- Bone folder for crisp creases
- Craft knife for precise cuts
- Ruler for straight lines
Consider protective supplies like photo corners instead of permanent adhesive. This keeps your original photos safe while still securing them in place.
Add journaling supplies such as colored pens, stamps, and small tags. These help you document the stories behind each photo.
Selecting Your Favorite Summer Photos
Review all your summer photos before printing anything. Spread them out digitally or physically to see the full collection.
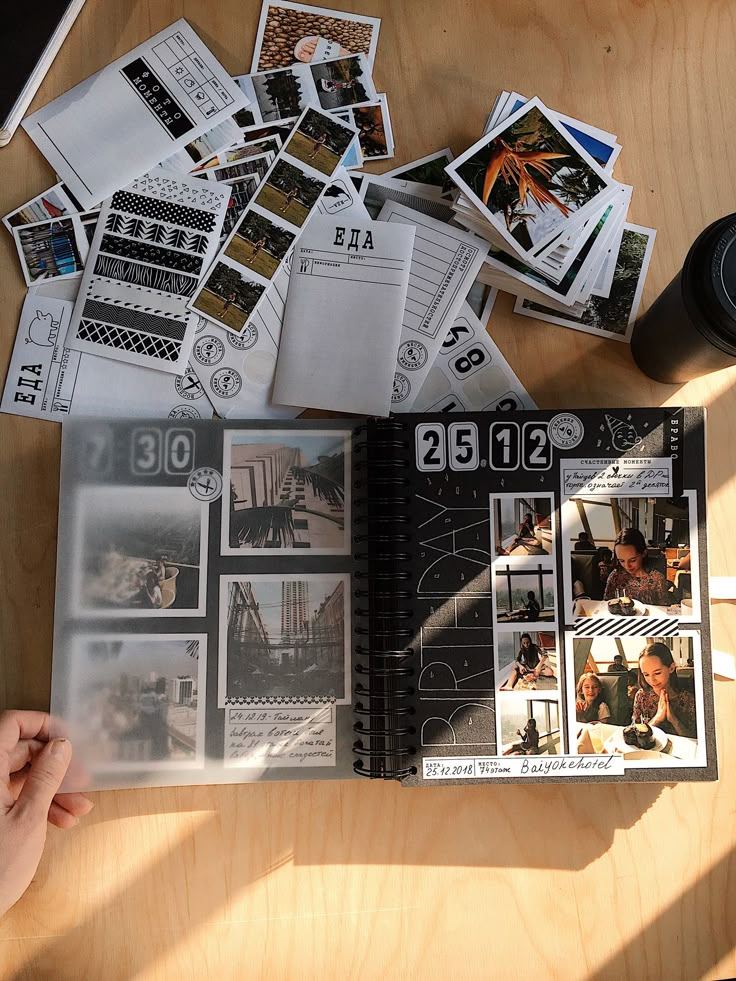
Group photos by themes like beach days, family barbecues, or vacation destinations. This helps create natural sections within your album.
Choose a mix of photo types. Include close-up shots of faces, wide landscape views, and detail photos of summer activities or food.
Print photos in different sizes to create visual interest. Use larger prints for standout moments and smaller ones for supporting details.
Consider photo quality when selecting images. Blurry or poorly lit photos work better as background elements rather than focal points.
Instagram photos often need special consideration since they’re square format. Plan how these will fit with your traditional rectangular photos.
Aim for 20-30 photos maximum for a mini album. This keeps your project manageable while still telling your summer story effectively.
Designing and Crafting Your Summer Memories
Your summer photo album comes to life through thoughtful design choices that highlight your favorite memories. The right combination of themed papers, decorative elements, and personal touches creates a cohesive story of your sunny adventures.
Planning a Cohesive Summer Theme
Start by selecting a color palette that reflects your summer experiences. Ocean blues and sandy beiges work perfectly for beach vacations. Bright yellows and greens capture backyard barbecues and camping trips.
Choose 3-4 main colors to use throughout your album. This creates visual consistency across all pages. You can add one or two accent colors for variety without overwhelming the overall design.
Popular Summer Color Combinations:
- Ocean theme: Navy blue, turquoise, white, coral
- Garden theme: Green, yellow, pink, cream
- Sunset theme: Orange, pink, purple, gold
Gather photos that match your chosen theme before you begin crafting. Group similar activities together, like pool days or hiking adventures. This makes it easier to plan coordinating pages.
Consider the mood you want to create. Soft pastels give a dreamy feel to lazy summer days. Bold, bright colors capture energetic outdoor activities and festivals.
Creative Uses of Scrapbook Paper and Cardstock
White cardstock serves as your foundation, providing clean backgrounds that make colorful photos pop. Layer patterned scrapbook paper on top to add texture and visual interest without competing with your pictures.
Cut scrapbook paper into strips for borders around photos. Create geometric shapes like triangles or circles to frame special memories. Mix patterns carefully by choosing papers that share at least one common color.
Paper Layering Techniques:
- Use solid colors behind busy patterned papers
- Tear edges for a casual, beachy look
- Cut paper into banner shapes for titles
- Create photo mats by cutting frames slightly larger than pictures
Try the paper weaving technique for dynamic backgrounds. Cut strips of different summer-themed papers and weave them together. This works especially well for pages about picnics or outdoor markets.
Double-sided scrapbook paper gives you more design options on each sheet. Use the reverse side for smaller accents when the main pattern feels too bold for certain areas.
Incorporating Washi Tape and Embellishments
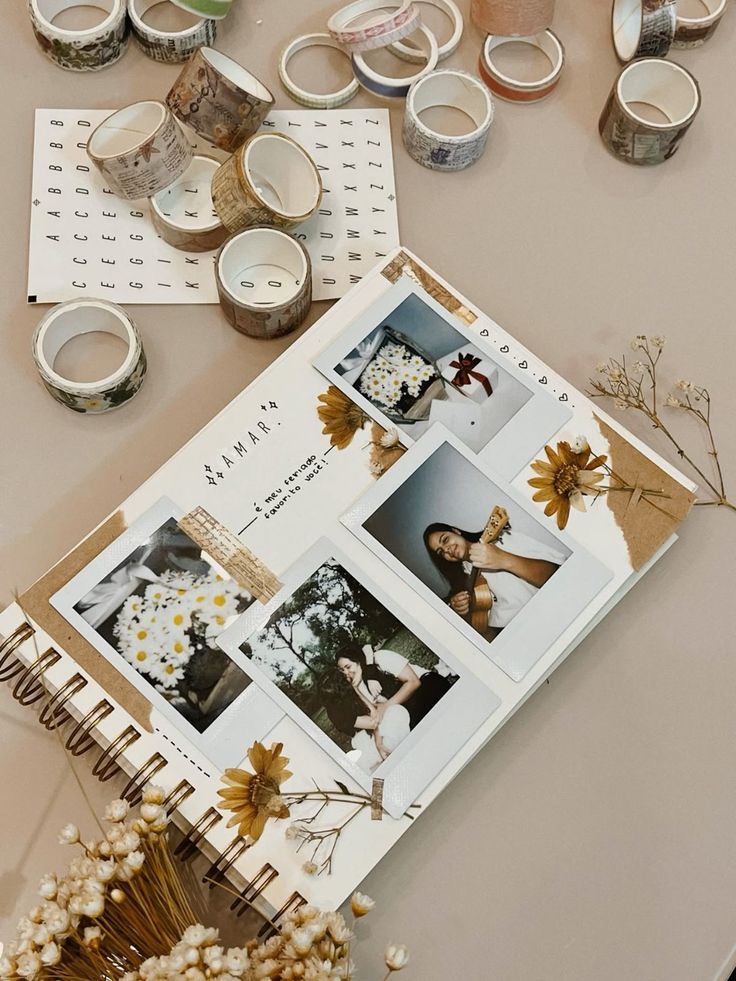
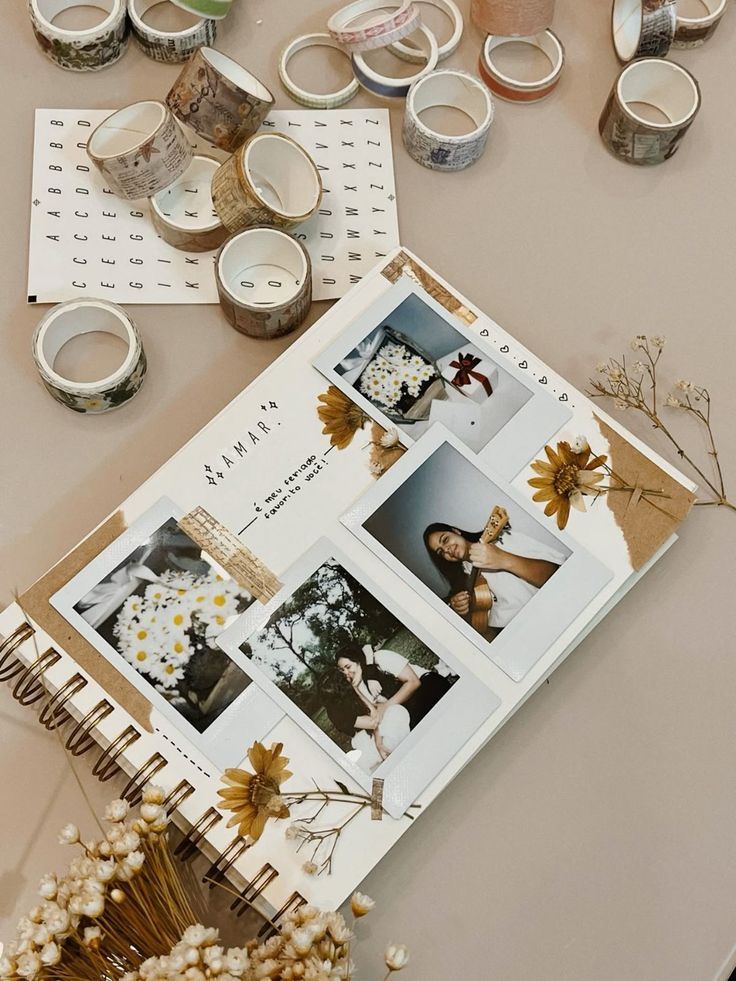
Washi tape adds instant summer charm to your scrapbook pages. Use it to create borders, attach photos, or make decorative frames around important memories. The repositionable adhesive makes it perfect for beginners.
Layer different washi tape patterns to build visual depth. Start with wider tapes as your base, then add thinner ones on top. Metallic gold or silver tapes work as excellent accent pieces.
Creative Washi Tape Ideas:
- Make palm trees using green tape for leaves
- Create geometric sunburst patterns behind photos
- Design simple flowers using circular tape pieces
- Build beach umbrellas with striped patterns
Other embellishments bring your summer memories to life. Small seashells work perfectly for beach pages. Tiny paper flowers complement garden and park photos.
Keep embellishments proportional to your photos. Large decorations can overwhelm smaller pictures. Use the rule of odd numbers when clustering items – groups of three or five look most natural.
Adhesive dots work better than liquid glue for three-dimensional embellishments. They provide stronger hold without creating messy edges around delicate decorations.
Adding Captions and Journaling Cards
Journaling cards capture the stories behind your photos. Write about funny moments, unexpected adventures, or simple details you want to remember years later. These personal touches make your album truly special.
Keep captions short and specific. Instead of writing “fun day at the beach,” try “Sarah built her first sandcastle” or “discovered the best ice cream truck.” These details bring memories flooding back.
Journaling Prompts for Summer Pages:
- What made this day special?
- Who was there with you?
- What did you eat or drink?
- How did you feel in this moment?
Use different handwriting tools to match your theme. Colorful gel pens work well for playful summer pages. Black fine-tip markers provide clean, readable text that photographs well.
Pre-made journaling cards save time when you have lots of photos to document. Choose cards that complement your color scheme. Fill them out as you add photos to avoid forgetting important details.
Consider digital journaling if your handwriting feels messy. Print captions on cardstock that matches your pages, then cut and attach them with adhesive.
Unique Ideas and Inspiration for Summer Photo Albums
Summer photo albums can take many creative forms beyond traditional scrapbooks. Mini albums offer portable storytelling options, while thoughtful layouts and journal techniques transform simple photos into meaningful keepsakes.
Exploring Summer Mini Album Variations
Accordion-style mini albums work perfectly for chronological summer stories. You can unfold the entire vacation journey at once, creating a timeline effect that showcases your adventures from start to finish.
Explosion box albums create dramatic reveals when opened. Each layer unfolds to display different aspects of your summer vacation, such as beach days, hiking trips, or family gatherings.
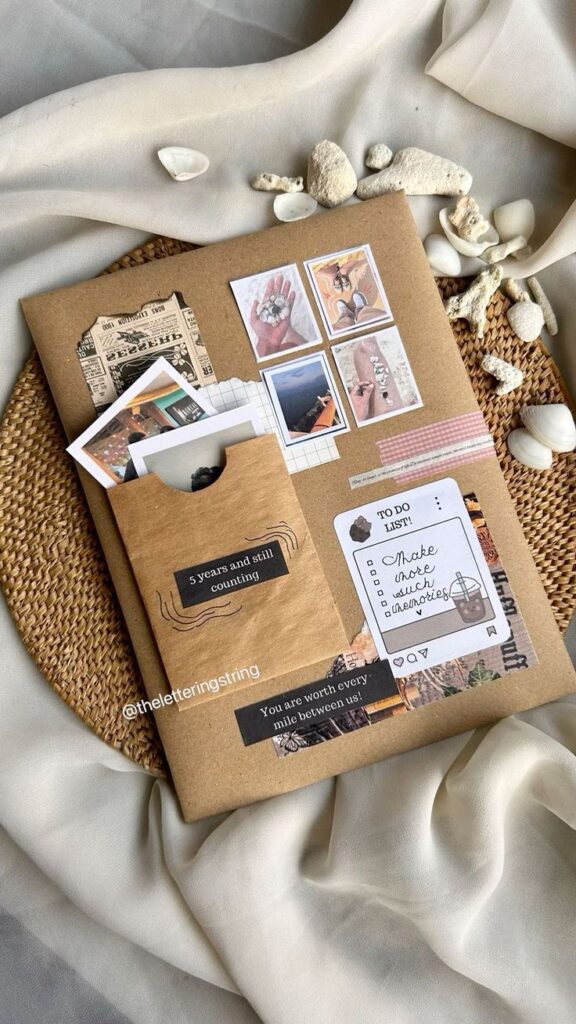
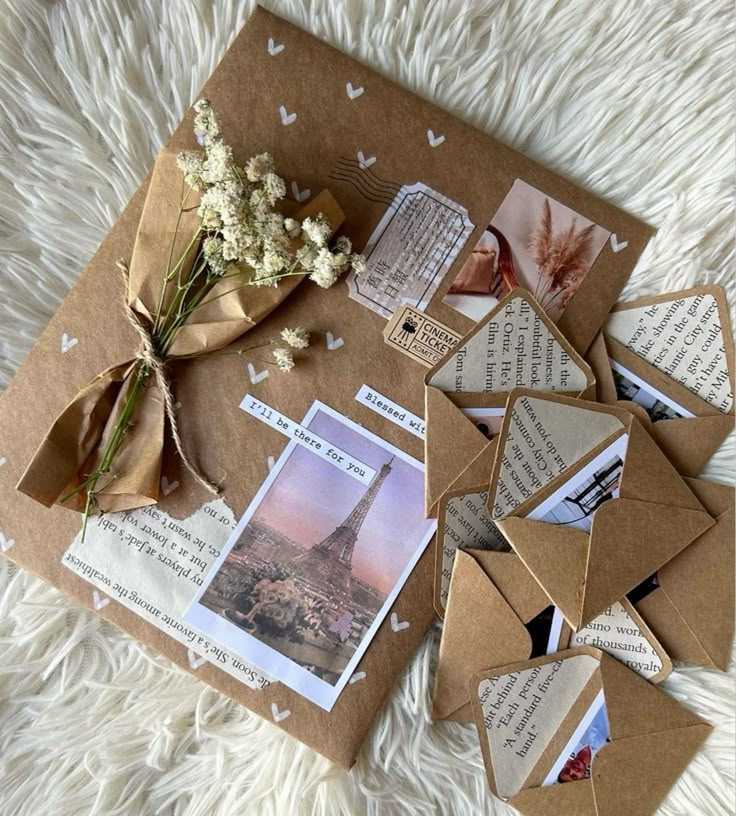
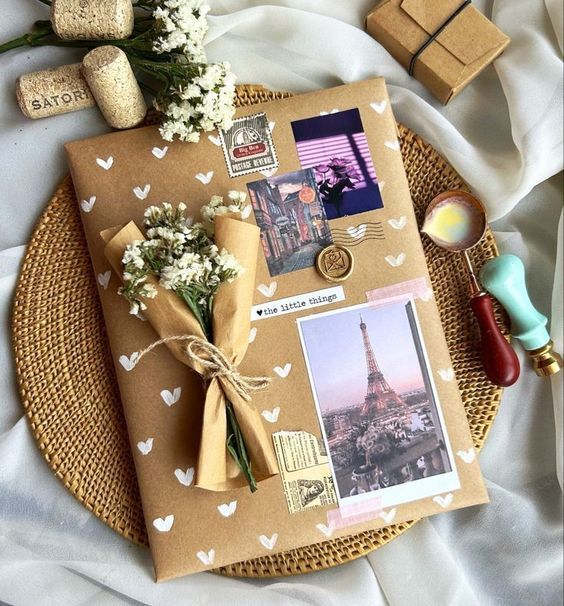
Envelope mini albums use decorative envelopes as pages. Tuck photos, ticket stubs, and small mementos inside each envelope. Label the outside with dates or locations for easy navigation.
Flip books showcase action sequences from summer activities. Use multiple shots of diving into pools, building sandcastles, or catching waves to create motion when pages are flipped quickly.
Folding card albums collapse flat for easy storage but expand to display multiple photos simultaneously. These work well for showcasing different summer destinations or activities side by side.
Photo Album Layout Ideas
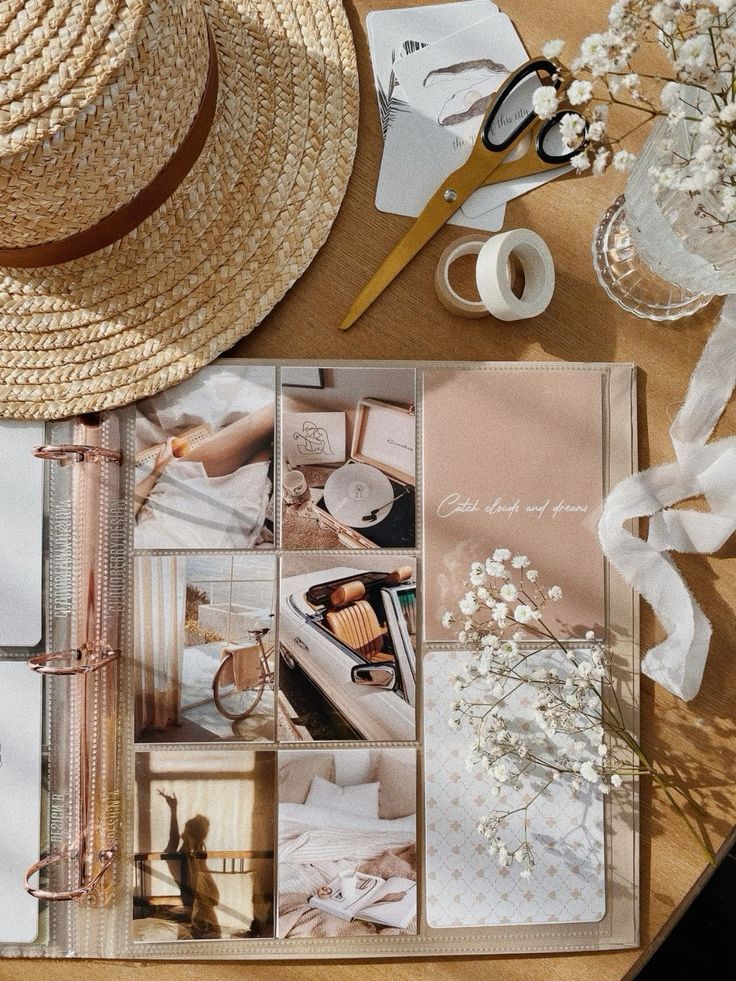
Grid layouts organize multiple small photos in clean, symmetrical patterns. Use consistent spacing and similar-sized images for a professional look that highlights variety in your summer experiences.
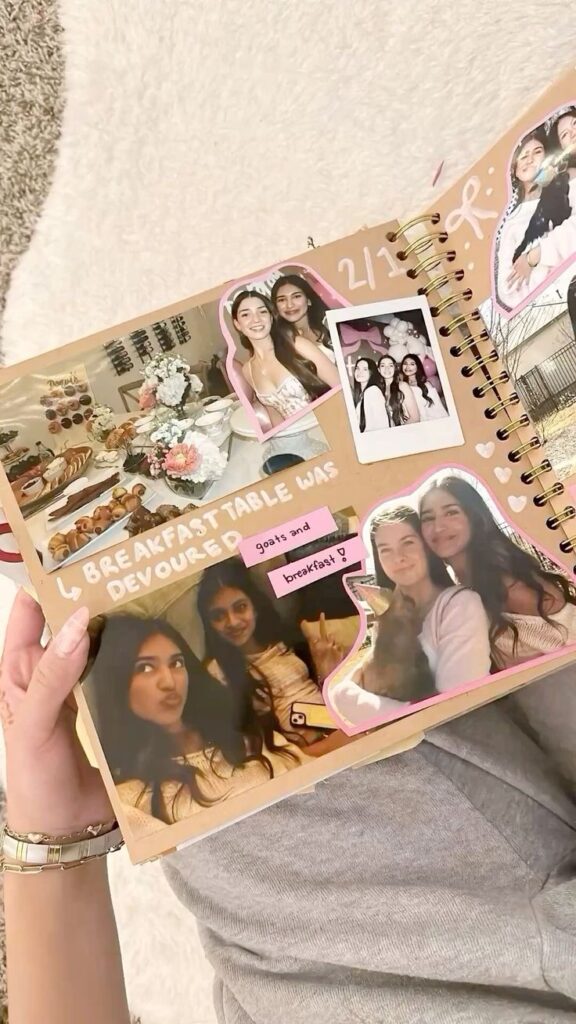
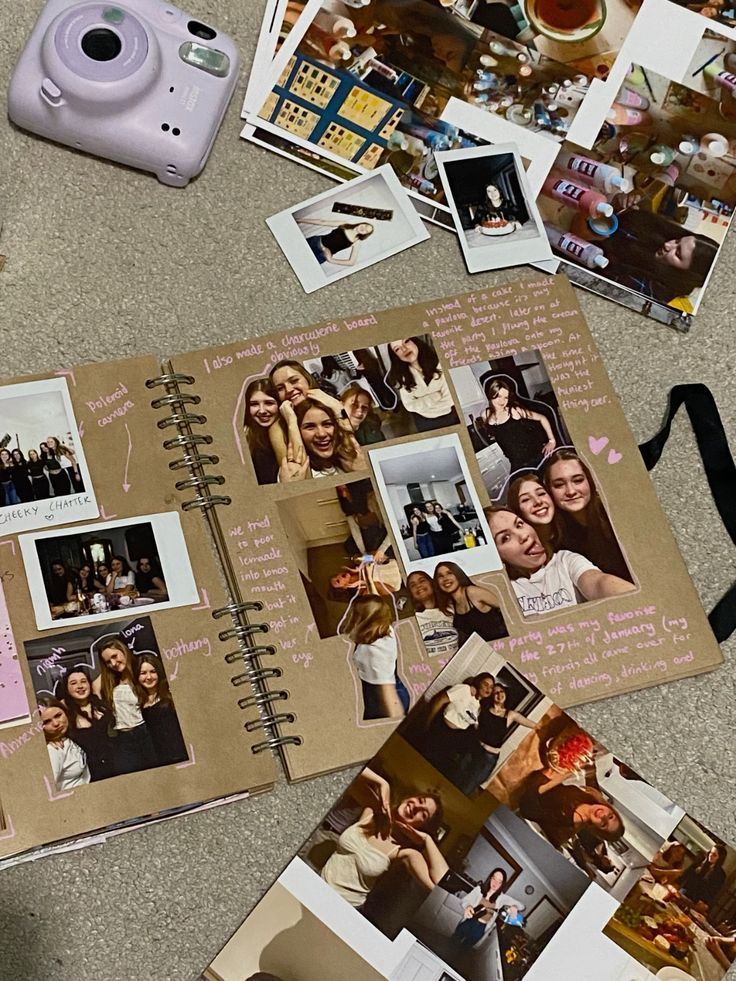
Collage arrangements combine different photo sizes and shapes on single pages. Mix landscape and portrait orientations with circular crops to create dynamic visual interest.
Before and after layouts show transformation stories. Display sunsets progressing from day to night, garden growth, or vacation prep versus relaxation shots.
Color-coordinated spreads group photos by dominant colors. Dedicate pages to blue ocean shots, golden sunset images, or green nature photography for cohesive visual flow.
Story circle layouts arrange photos in circular patterns around central focal images. This technique draws attention to key moments while supporting them with related detail shots.
Fun DIY Photo Journal Techniques
Handwritten captions add personal touches that typed text cannot match. Use different colored pens to match photo moods or weather conditions during specific moments.
Ticket and map integration transforms your photo journal into a comprehensive travel record. Paste boarding passes, entrance tickets, and route maps alongside corresponding photos.
Weather tracking includes daily temperature, conditions, and mood indicators. Create simple icons or use stickers to mark sunny, rainy, or perfect beach days.
Quote collections feature memorable conversations, funny mishaps, or inspiring moments from your summer vacation. Write these directly on pages or create decorative text boxes.
Texture additions incorporate sand, pressed flowers, or fabric swatches that connect to specific memories. Seal delicate items with clear tape or photo corners for preservation.
Preserving and Sharing Your Finished Album
Your completed summer photo album needs proper storage to maintain its quality for years to come. Digital sharing options can help you connect with loved ones while keeping the original safe.
Tips for Protecting and Storing Your Album
Store your photo album in a cool, dry place away from direct sunlight. Heat and humidity can warp pages and fade photographs over time.
Use acid-free storage boxes or sleeves to prevent yellowing and deterioration. These materials won’t release harmful chemicals that damage your photos.
Essential storage supplies:
- Acid-free storage box
- Silica gel packets for moisture control
- Cotton gloves for handling
- Tissue paper between pages
Handle your album with clean hands or cotton gloves. Natural oils from your skin can leave marks on photos and decorative elements.
Keep the album upright rather than stacked under heavy items. This prevents pages from sticking together or becoming bent.
Check on your album every few months. Look for signs of moisture damage, loose elements, or fading colors that need attention.
Sharing Your Summer Album With Friends and Family
Take high-quality photos of each page to create a digital version. Use natural lighting and shoot straight down to avoid shadows and distortion.
Create an Instagram story series featuring your favorite album pages. Tag friends who appear in the photos to help them relive those summer memories.
Digital sharing methods:
| Method | Best for | Time needed |
|---|---|---|
| Photo scanning | High quality copies | 2-3 hours |
| Phone photos | Quick sharing | 30 minutes |
| Video flip-through | Social media | 15 minutes |
Host a viewing party where friends can see the physical album. This creates new memories while celebrating the old ones.
Consider making smaller duplicate albums for close family members. Use the same photos but create personalized covers and captions for each person.


