Making your own bags is a fun and budget-friendly way to create something useful that matches your style. Whether you’re looking for sturdy shoppers, flexible string bags, or elegant fabric clutches, crafting them yourself means you get exactly what you want—right down to the fabric and finishing touches. DIY bags allow you to personalize your accessories while learning practical sewing skills you can use again and again.
With a few basic materials and simple techniques, you can turn leftover fabric into beautiful bags that are both functional and unique. This guide will introduce you to the basics and inspire you to start sewing your own shoppers, string bags, and clutches at home.
Key Takeaways
- Learn easy ways to start making your own bags.
- Discover simple projects for shoppers, string bags, and clutches.
- Personalize your accessories with your own fabric choices and style.
Getting Started with DIY Bags
Creating your own bags lets you pick exactly the size, style, and fabric you want. By understanding the basic materials, fabric choices, and simple sewing skills, you can begin making shoppers, string bags, or fabric clutches at home.
Essential Materials and Tools
To begin, gather the necessary materials. Basic tools include fabric scissors, pins, a measuring tape, and a seam ripper. A reliable sewing machine helps, but you can also sew by hand for simpler projects.
Here is a list of commonly used materials for DIY bags:
- Cotton fabric or canvas
- Felt or fabric scraps for accents
- Sewing thread (choose a color to match or contrast your fabric)
- Needles (machine or hand-sewing)
- Bag patterns or simple sewing patterns
- Iron and ironing board for pressing seams
- Fasteners such as zippers, snaps, or buttons
Having these tools ready ensures a smoother crafting experience and more professional-looking results.
Choosing the Right Fabric
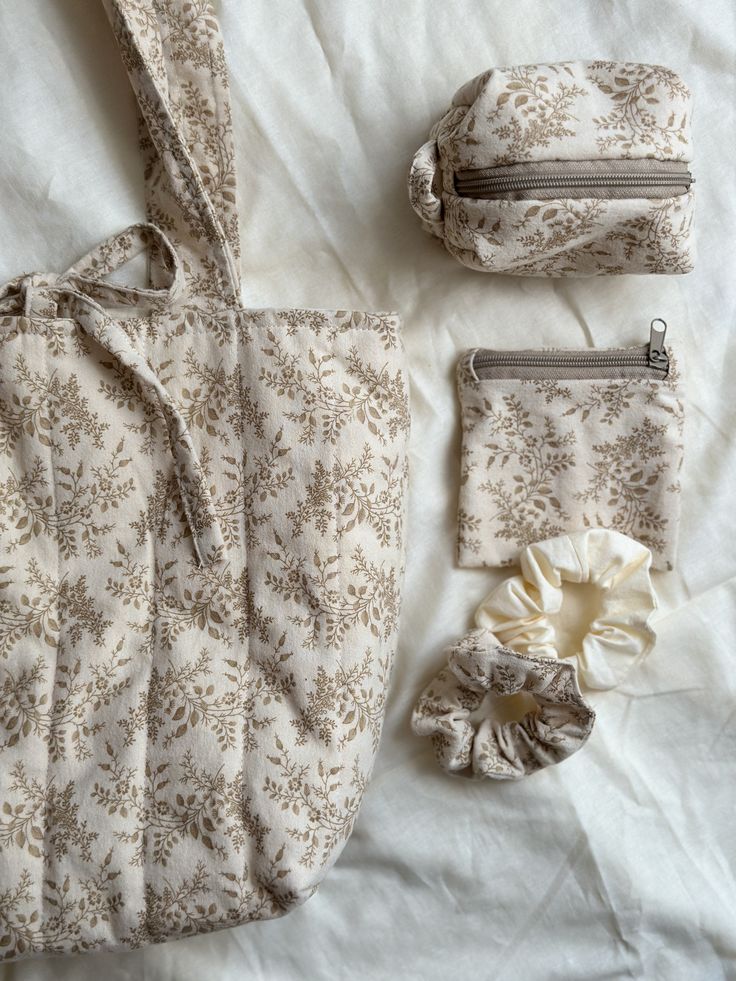
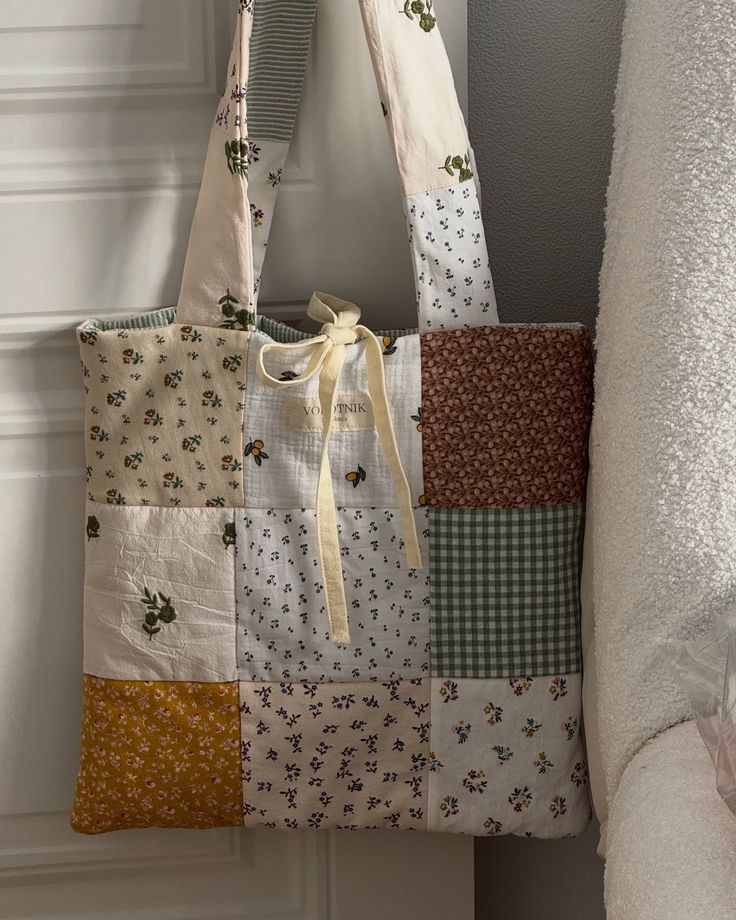
Choosing the right fabric is key for both durability and appearance. Cotton fabric works well for most shoppers and clutches due to its blend of strength and ease of sewing. If you want a stiffer bag, canvas or denim are sturdy options.
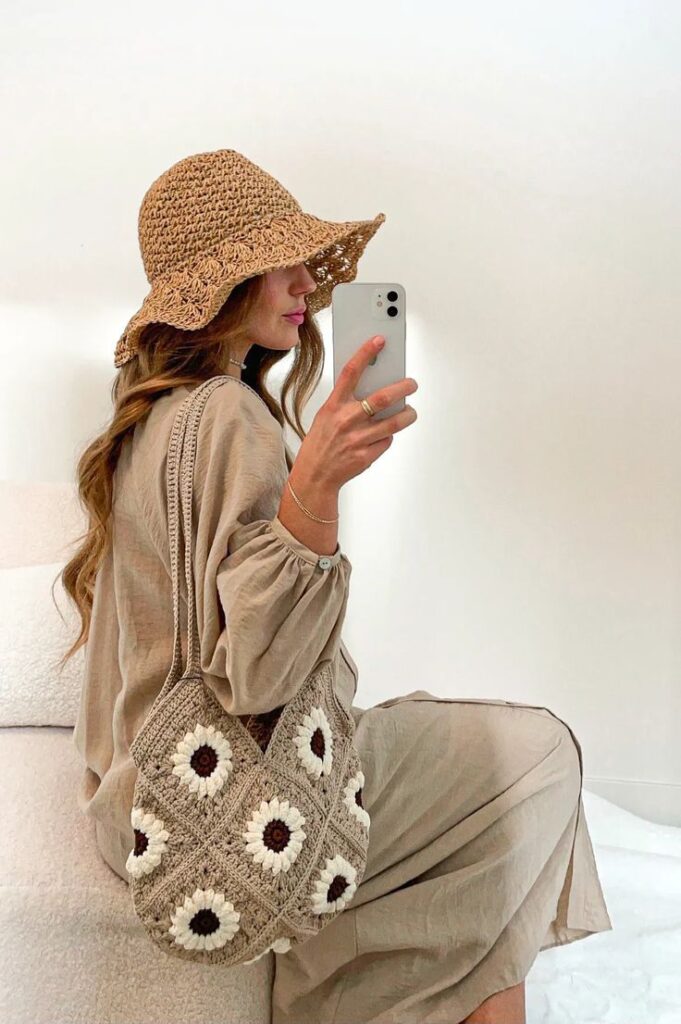
For lighter bags like string bags, lightweight cotton or mesh work well. Clutches often look best in bold prints, metallics, or felt for a soft, structured look.
Fabric scraps are useful for making pockets, linings, or colorful decorations. Always wash and iron your fabric before cutting to avoid shrinkage and uneven seams. Matching the right fabric to the function of your bag helps keep your projects looking good and lasting longer.
Basic Sewing Techniques
Most DIY bag patterns use basic stitches, so you don’t need advanced skills. Learn to sew a straight stitch for joining pieces and a zigzag or overlock stitch to finish raw fabric edges and prevent fraying.
A small seam allowance—the fabric between your stitching and the edge—keeps seams strong, usually about ¼ inch (6mm) for small bags and ½ inch (12mm) for totes. Always backstitch at the beginning and end of seams for added durability.
Follow simple sewing patterns for your first bag, such as a basic tote bag or drawstring pouch. Practice turning fabric pieces right side out and pressing seams flat for a neater result. With these foundational skills, you’ll feel more confident moving on to more complex bags.
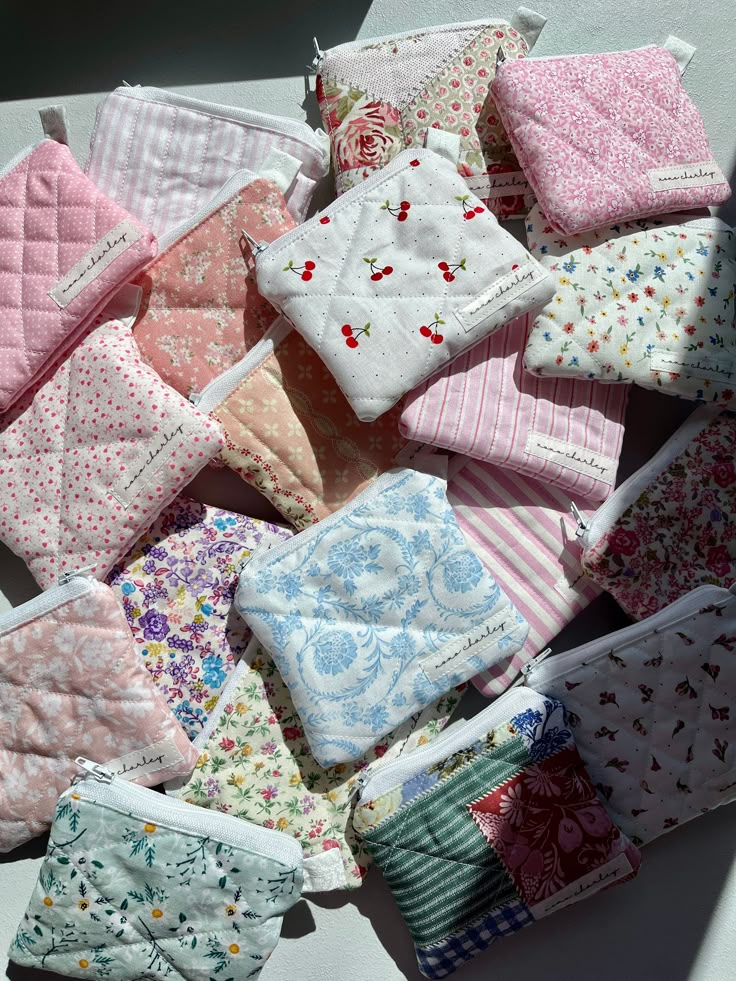
DIY Shoppers and Tote Bags
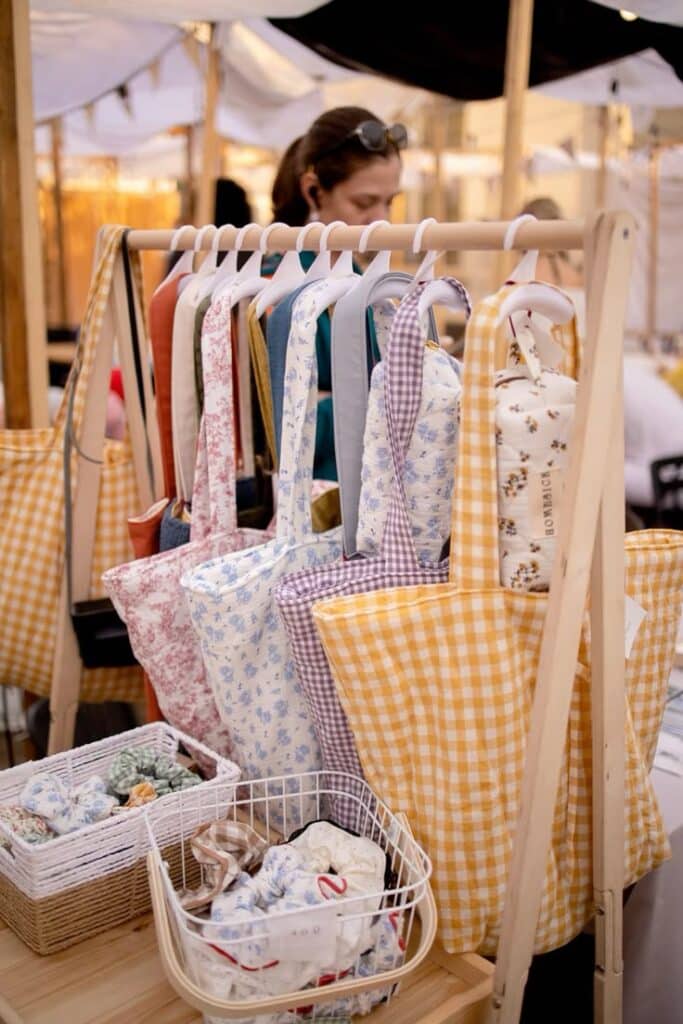
DIY tote bags and reusable shoppers are practical projects that help cut down on plastic waste and let you express your style. You can make simple grocery bags for everyday errands, craft large totes for carrying more items, or get creative with felt designs.
Simple Reusable Grocery Bags
Reusable grocery bags are a staple for errands and eco-friendly habits. They’re easy to sew with basic cotton or canvas fabric, and you can customize size and handle length. Flat-bottom designs make them sturdy for carrying heavier groceries or bottles.
To create one, cut two rectangles (about 16 inches by 18 inches) and two straps (20 inches each). Sew the sides and bottom, then attach the straps at the openings.
Tips:
- Use French seams for added strength.
- Choose washable, durable fabric.
- Add a pocket for shopping lists or coupons.
A simple DIY tote bag can last for years if you reinforce the seams and wash it regularly.
Making a Large Tote Bag
A large tote offers plenty of room for shopping trips, picnics, or travel. You’ll need heavier fabric such as denim, upholstery cloth, or canvas for extra durability. Many sewing tutorials recommend adding interfacing to stiffen the base and sides.
Cut out two large rectangles (20 inches by 22 inches) for the main panels and two long straps. Sew the panels right sides together and box the bottom corners by sewing across them at a diagonal, trimming away the triangles. Attach sturdy straps, either with double stitching or rivets for extra hold.
Customizations like inside pockets, magnetic closures, or even a zipper top make the tote more functional. Decorate the outside with fabric paint, embroidery, or iron-on patches for a personal touch.
Felt Tote Bag Designs
Felt tote bags are quick DIY projects and don’t require finished seams, thanks to felt’s non-fraying edges. Use thick, sturdy felt sheets (at least 2mm) for a durable bag that holds its shape.
For a basic felt tote, cut two body panels and two wide handles. Sew or glue the panels along the sides and bottom, then attach handles with reinforced cross-stitches or metal fasteners for extra strength.
Felt totes are ideal for smaller items like books, craft supplies, or as a gift bag. You can add contrast with colored felt shapes, appliqués, or stitched-on embellishments. Try a layered look by cutting decorative shapes and attaching them in patterns or designs.
Useful for quick gifts or craft fairs, felt tote bags are both functional and easy to personalize.
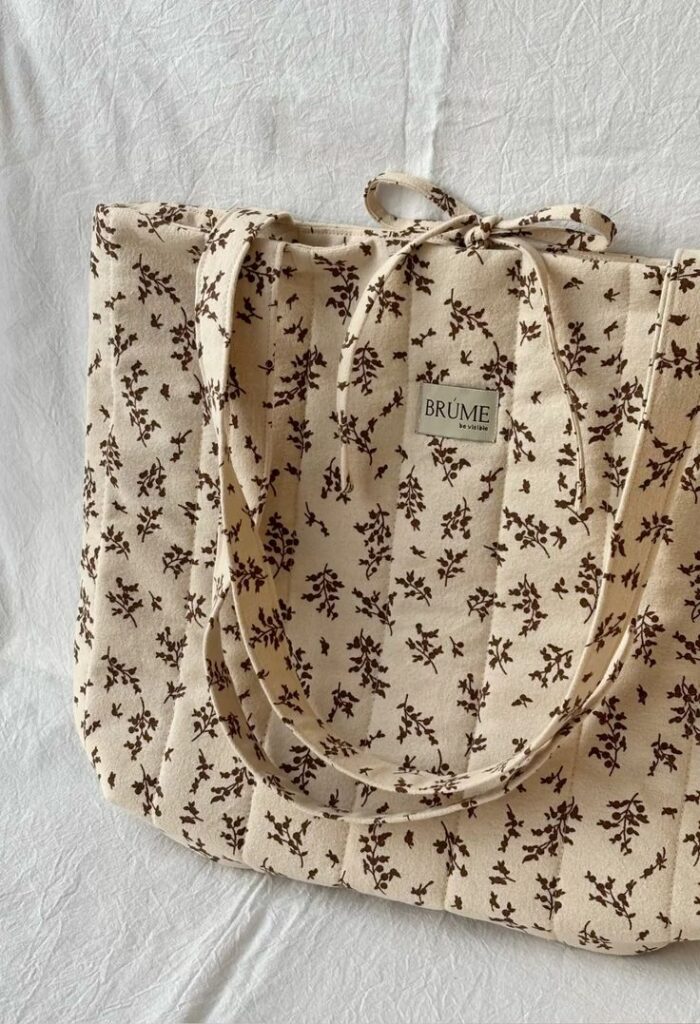
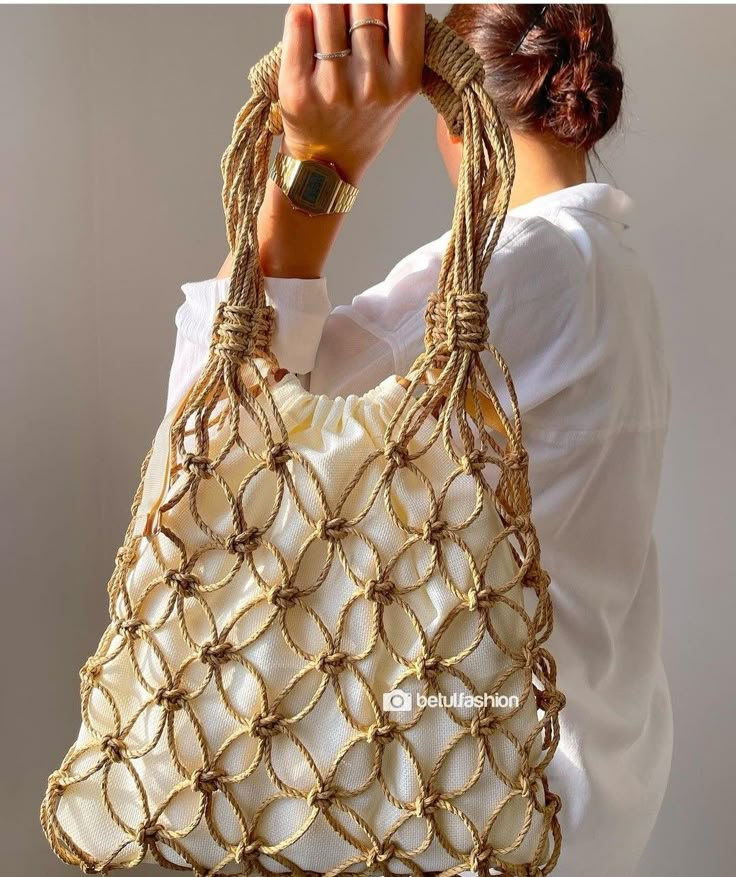
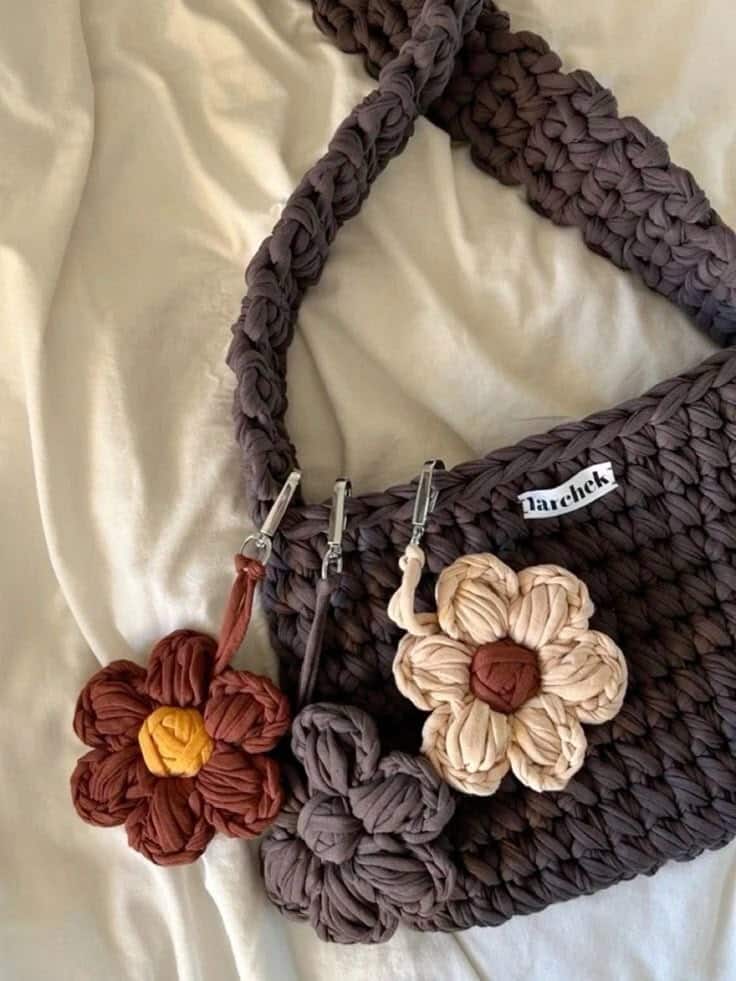
Crafting String Bags & Pouches
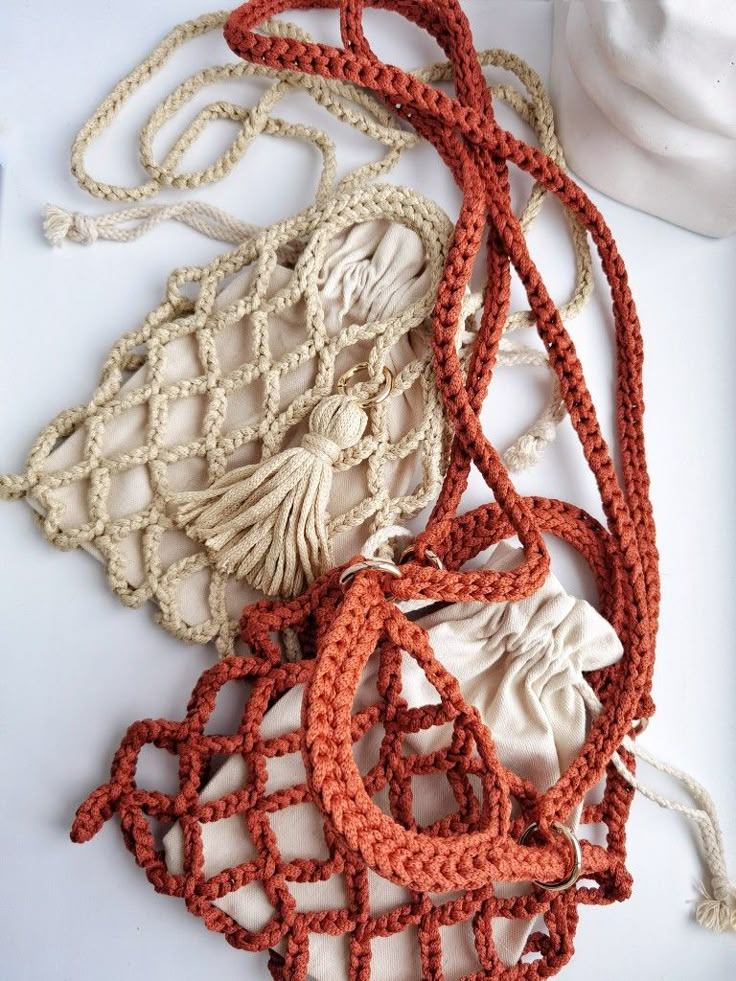
String bags and pouches are excellent beginner-friendly sewing projects. With basic skills, you can create versatile bags for shopping, organizing, and gifting using simple techniques and a range of fabrics.
Basics of Drawstring Bags
A drawstring bag is practical and easy to stitch, making it perfect for carrying small items. You’ll need two fabric rectangles, matching thread, and a cord or sturdy ribbon for the drawstring.
Cut the fabric to your desired size, place the right sides together, and sew along the sides and bottom. Create a tunnel at the top by folding and stitching about an inch down from the edge. Insert the cord using a safety pin, then knot the ends to prevent fraying.
These bags are useful for travel, gym gear, or organizing drawers. Reusable drawstring pouches can also replace disposable plastic bags for lightweight shopping or produce storage.
Mini Backpack Creations
Mini backpacks are functional and trendy, letting you carry essentials hands-free. Start with durable fabric (canvas or denim works well) and a pattern with a flap and straps.
Sew the main body, adding a small zippered or flap pocket if you like. Attach two adjustable straps and a drawstring closure at the top. Use reinforced stitching at stress points for added durability.
You can personalize your mini backpack with patches or embroidery. This project suits everyday use, day trips, or as a unique coin purse-sized backpack for kids.
Ideas for Fabric Gift Bags
Fabric gift bags are an eco-friendly alternative to wrapping paper. Use cotton, linen, or even upcycled fabric scraps. Simple drawstring or fold-over styles work best for quick projects.
Cut two pieces of fabric slightly bigger than your intended gift, stitch them together, and add a drawstring at the top. For special occasions, decorate the bag with ribbon, lace, or custom labels.
Fabric gift bags come in many sizes for jewelry, small gifts, or edible treats. They’re reusable and can be part of the gift itself, making each occasion a little more personal.
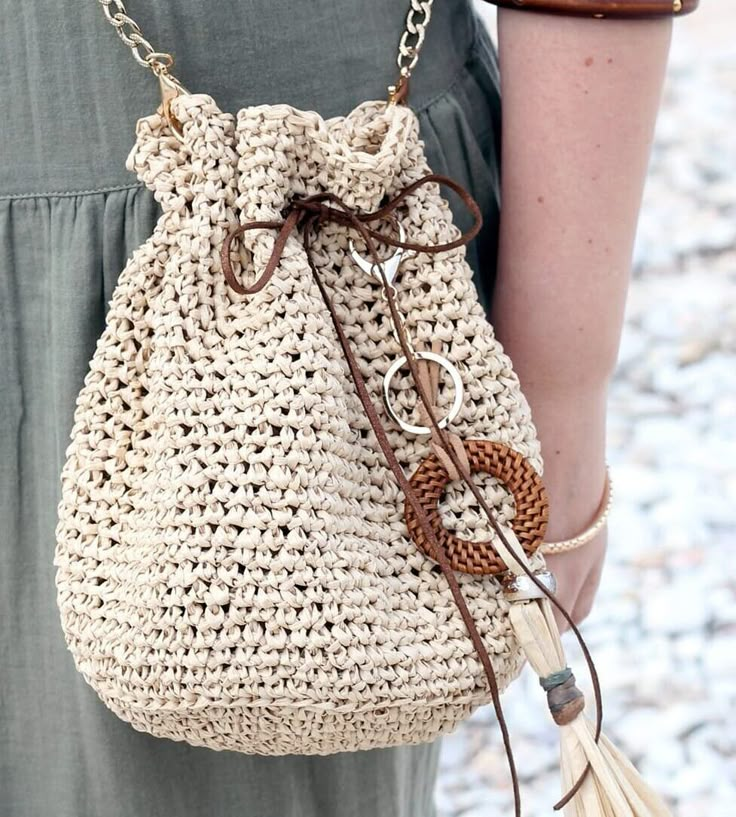
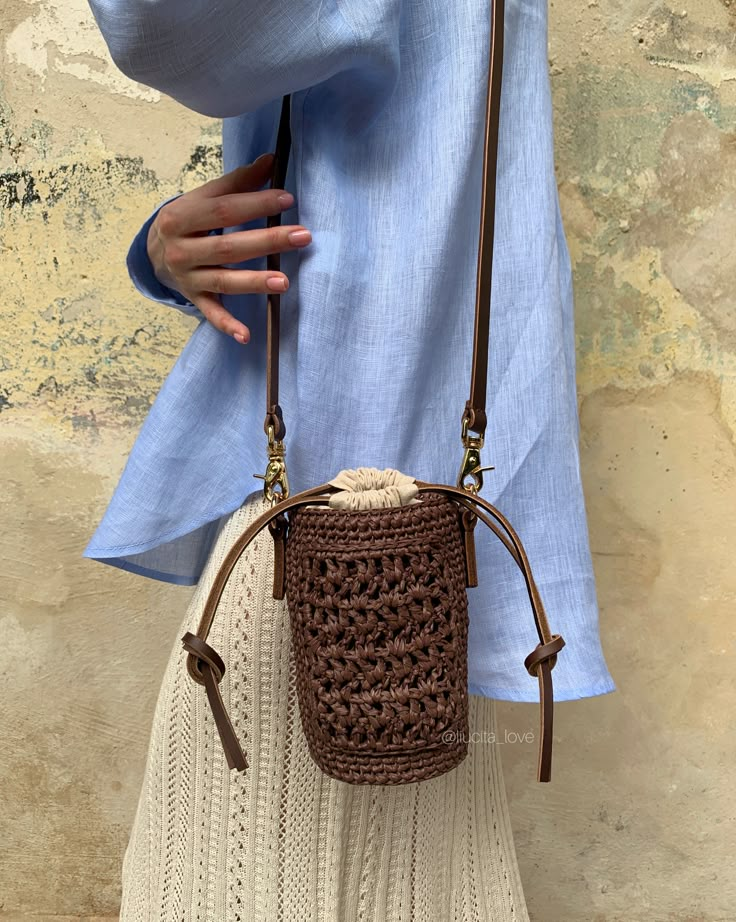
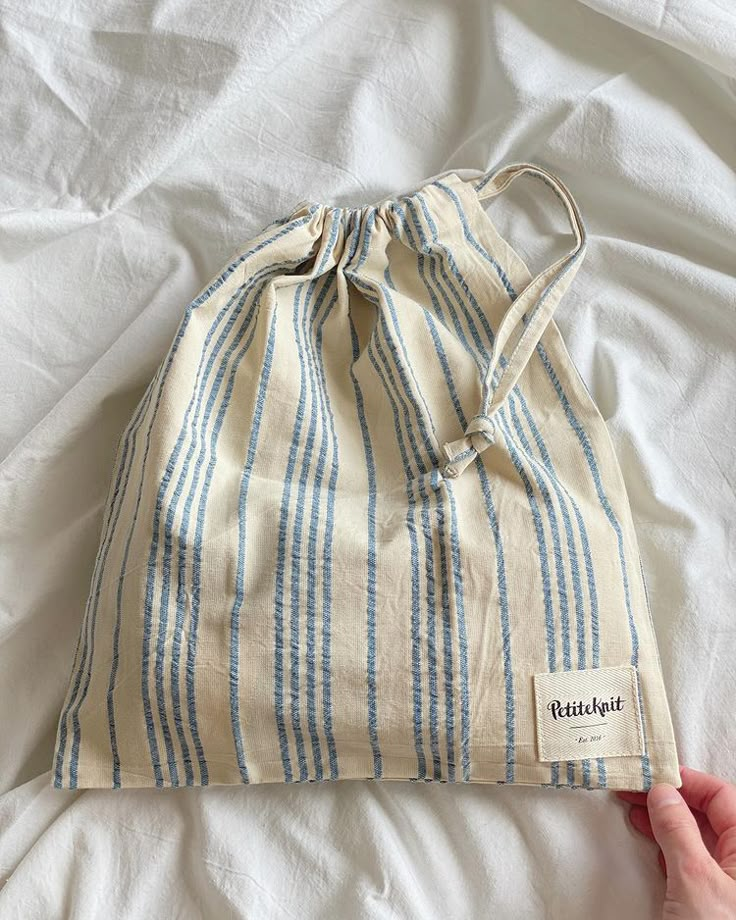
DIY Fabric Clutches and Purses
Making your own fabric clutches and purses allows you to choose colors, patterns, and shapes that match your style. You can use simple fabrics, try leather accents, or personalize each handbag for different needs, from evening events to daily errands.
Envelope-Style Clutch Tutorial
An envelope-style clutch purse is easy to sew and looks elegant for almost any occasion. To start, cut a rectangle of sturdy fabric, such as cotton or faux leather, and add a lining for structure. Fold the fabric into an envelope shape by making two folds: one for the body and the other for the triangular flap.
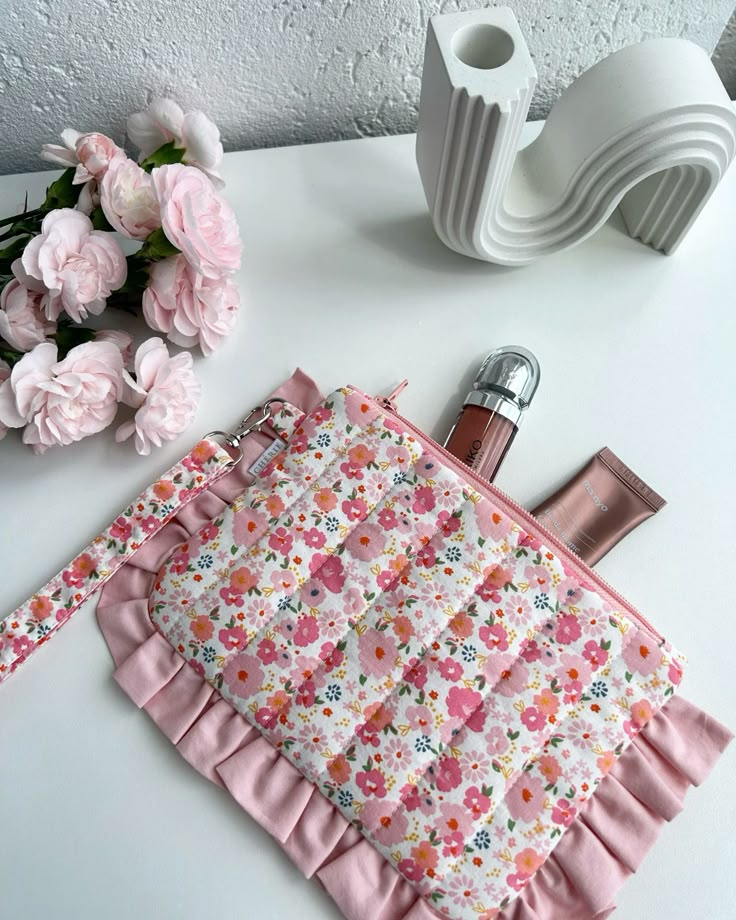
Sew along the sides of the body and leave the flap edge open. To close your clutch, attach a magnetic snap, button, or hook-and-loop fastener. If you’d like, add decorative stitching or a strip of contrasting fabric along the flap’s edge. Play around with quilted effects for extra texture. This type of clutch bag is just the right size for carrying essentials like your phone, keys, and cards.
How to Sew a Clutch Bag
If you want to sew a classic clutch bag, gather basic supplies: fabric, a zipper or magnetic snap, interfacing, pins, and a free pattern if available. Cut two outer fabric pieces and two lining pieces using your preferred pattern or a rectangular shape that suits your needs.
Fuse interfacing onto the fabric to add firmness. Place the right sides together with the zipper or snap in place, and sew along the edges. Turn the bag right side out and press the seams. For a softer finish, try cotton or linen; for a more formal look, opt for velvet or leather accents. Insert the lining, sew the opening shut, and you’re done. Use bright fabrics or bold patterns for a standout handbag.
Tips for Creating Diaper Bags and Messenger Bags
When making a DIY diaper bag or messenger bag, focus on space and convenience. Choose strong, washable fabrics like canvas or twill. Reinforce the handles and straps with extra stitching for durability, as these bags will carry more weight.
Include several pockets and dividers inside the bag to organize diapers, bottles, wipes, and keys. Consider a quilted shoulder bag style for added comfort, especially if you plan to carry the bag for long periods. Velcro or magnetic snaps make quick access easier. For messenger bags, an adjustable strap increases versatility and comfort. Look online for a free pattern that matches the size and style you want.
Personalizing Your DIY Bags
Personalizing your own clutch bag, purse, or handbag is simple and enjoyable. Use embroidery, fabric paint, and iron-on patches to add initials, floral motifs, or favorite icons. Add metal studs, ribbons, or leather tassels to the front flap for a fashionable touch.
For an extra-special look, line your clutch purse with a contrasting fabric or use reclaimed leather from an old jacket for a unique accent. Create a custom label or tag inside your handbag for a professional finish. If you’re gifting the purse, include the recipient’s name or a meaningful message using permanent fabric markers. This way, every bag and purse you make is one-of-a-kind.


