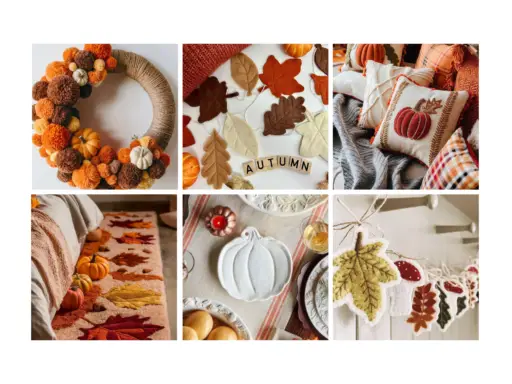
Celebrate the beauty of fall by creating your own DIY autumn paintings. With just a few materials like canvas, acrylic paint, or watercolor, you can transform your space into a cozy autumn haven. It’s a fulfilling way to express your creativity and enjoy the colors of the season.
Whether you are a beginner or an experienced artist, various painting techniques can elevate your artwork. Explore tutorials that guide you through each step, inspiring you to bring vibrant autumn scenes to life. Displaying your finished pieces will not only enhance your home decor but also serve as a reminder of your artistic journey.
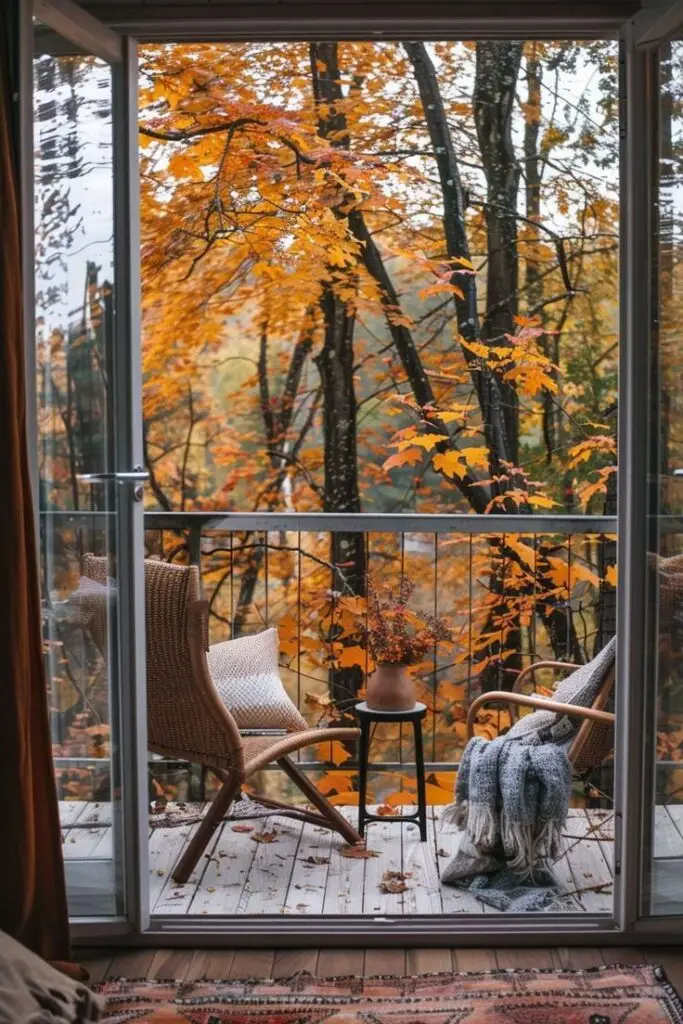
Embrace the tranquility that painting can bring, and let your imagination flow with colors that reflect the spirit of autumn. This is the perfect time to engage with nature’s palette and create something truly unique.

Key Takeaways
- Use simple materials to start your autumn painting project.
- Explore various techniques to enhance your artwork.
- Display your creations to celebrate the fall season.
Materials and Set-Up
To create stunning DIY autumn paintings, you need to gather appropriate paints, canvases, and additional supplies. Each choice impacts your painting process and final results.
Choosing Your Paints
For autumn paintings, your choice of paint can greatly influence texture and vibrancy. Acrylic paint is an excellent option due to its quick drying time and versatility. It allows you to layer colors effortlessly, which is ideal for autumn leaves’ rich hues.
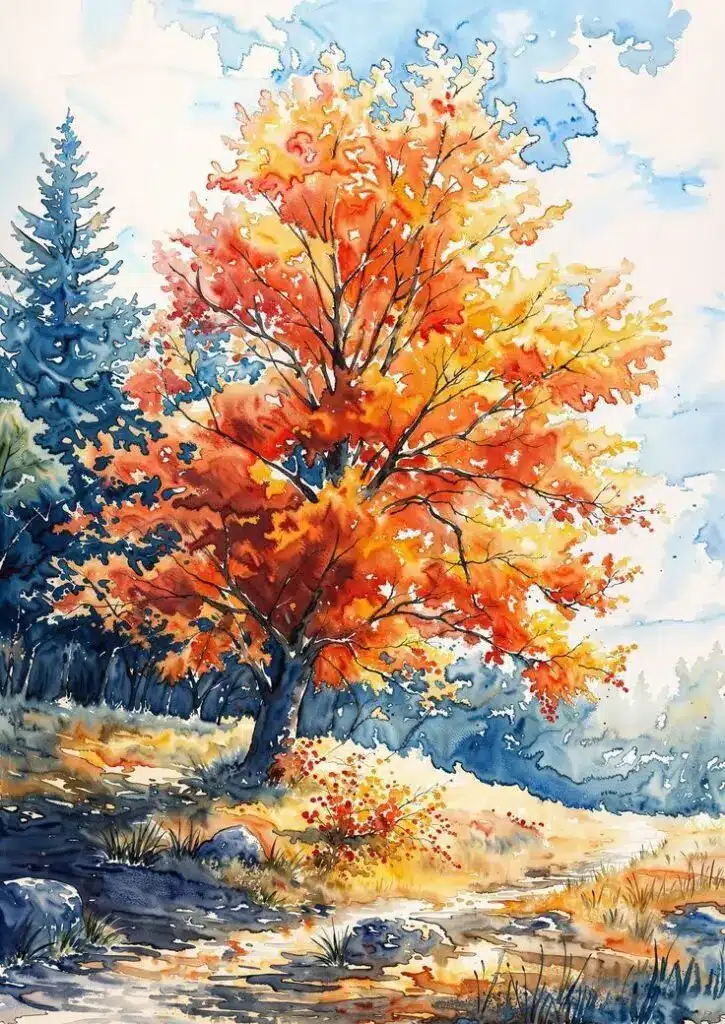
Oil paint offers depth and richness, perfect for subtle gradients in your work. Remember that oil takes longer to dry, providing ample time for blending. If you prefer a lighter approach, watercolor can be used for soft, delicate effects commonly seen in autumn landscapes.
Choose your colors wisely. Consider using warm tones such as burnt orange, deep reds, and golden yellows to capture the essence of the season.
Selecting the Right Canvas
The type of canvas you choose will affect how your paint adheres and looks upon drying. Stretched canvas is popular for its durability and ready-to-use nature. It can handle various paint types, from acrylic to oil.
Canvas boards offer a more cost-effective option and are sturdy for painting smaller pieces. Consider watercolor paper if you opt for watercolors, as it can absorb the paint better and prevent warping.
Ensure your canvas aligns with your artistic vision; larger canvases are great for bold expressions, while smaller ones can work well for detailed studies.
Gathering Additional Supplies
Prepare your workspace with essential tools to streamline the painting process. Paintbrushes in various shapes and sizes are vital. Flat brushes work well for broad strokes, while detail brushes are perfect for intricate work.
You’ll also need a painter’s palette for mixing colors. A disposable palette can simplify clean-up, which is important for maintaining a tidy workspace. Use clean water for brushes, especially if using acrylic or watercolor.
Don’t forget about sketching materials, such as charcoal or pencils, to outline your composition before painting. Proper clean-up tools, like rags or paper towels, are essential for maintaining your brushes and preventing paint from drying on them.
Painting Techniques and Tutorials
Understanding various painting techniques can enhance your autumn artwork significantly. This section covers essential methods for creating vibrant autumn landscapes, adding texture, mixing colors, and provides a straightforward tutorial for a fall canvas painting.
Basics of Autumn Landscape
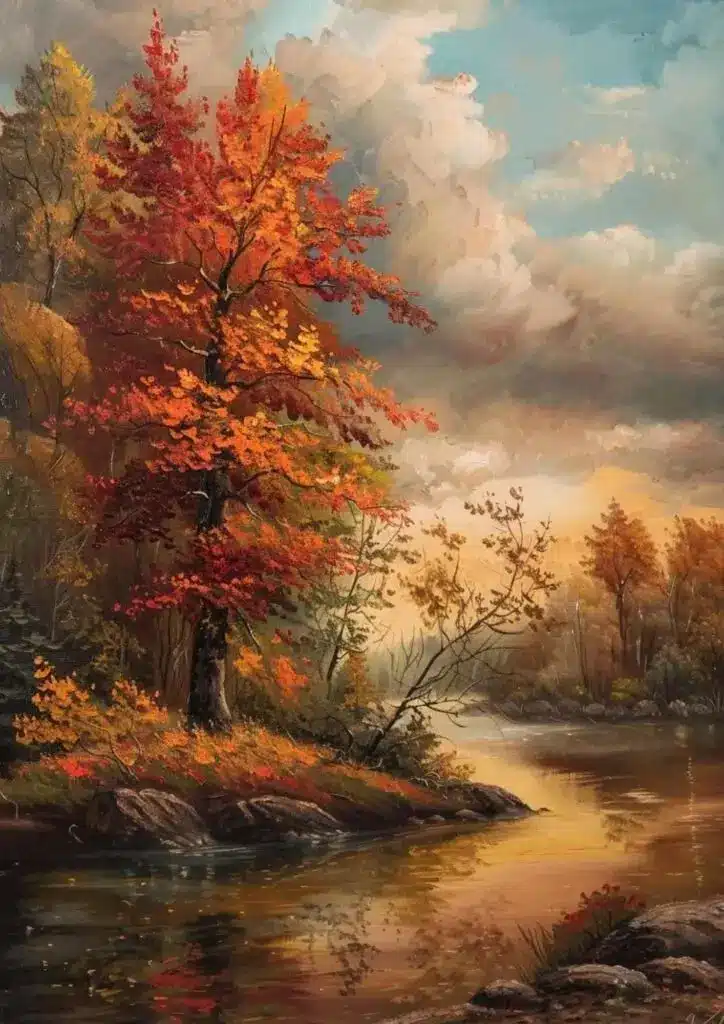
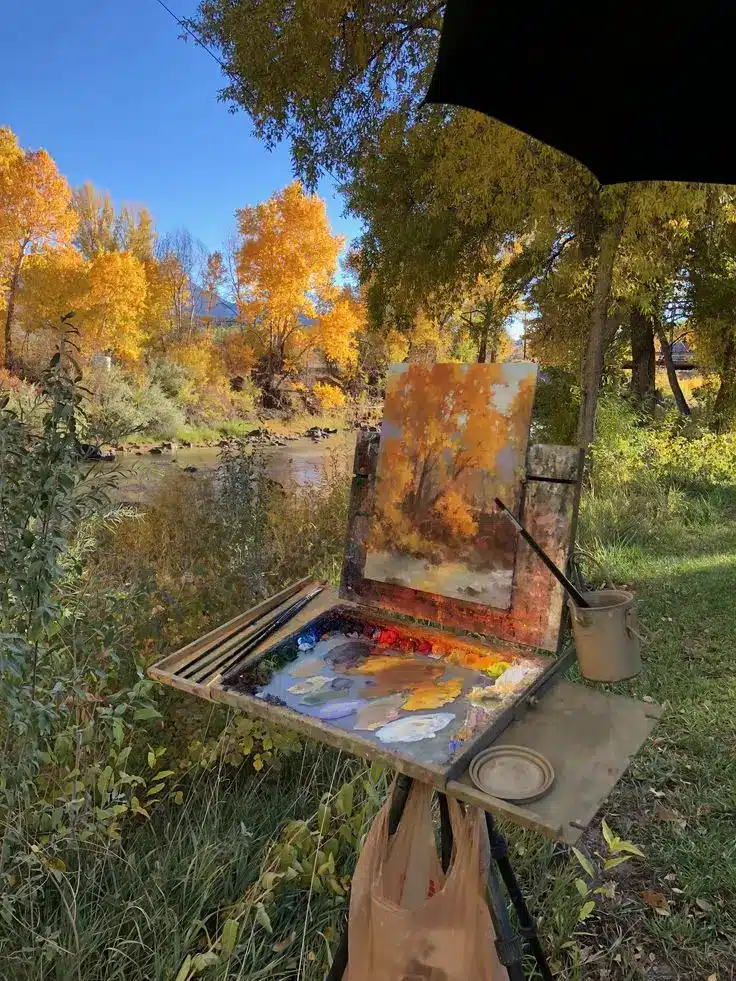
When painting an autumn landscape, start by identifying focal points such as trees, hills, or water. Utilize perspective to create depth in your painting. Employ a horizon line about one third from the top or bottom to guide composition.
Use warm colors like reds, oranges, yellows, and browns to represent the season. Consider using a palette knife along with brushes for sharp, defined edges in trees.
Lightly sketch your design with pencil, making adjustments as needed. This planning will aid in translating your vision to the canvas more effectively.
Creating Texture with Brushes
To add texture, experiment with different brush types. A fan brush can create distinct leaves, while a round brush is ideal for detailed areas like tree bark.
Try dry brushing techniques; this involves lightly dragging a dry brush over the surface. It produces a layered effect, reflecting light naturally.
Incorporating stamping techniques can also enhance your artwork. Use sponges or textured materials to create unique patterns that resemble fallen leaves or grass.
Mixing Autumn Colors
Mixing paint for autumn shades involves understanding color theory. Start with the primary colors—red, blue, and yellow—as your base.
To achieve vibrant orange, mix red and yellow in equal parts. For deeper tones, like burnt sienna, incorporate small amounts of blue or purple.
Experiment with translucent glazes. Thin your paint with water or medium to create a layered effect, mimicking the atmosphere of an autumn day.
Keeping a color chart handy will help you track the shades you create, ensuring consistency throughout your project.
Step-By-Step Fall Canvas Painting
Prepare your canvas: Select a size that suits your project, then apply a base coat—consider a light blue or creamy white to represent the sky.
Sketch your outline: Use light pencil marks to outline major elements like trees and hills.
Apply the background: Begin by painting the sky and distant hills. Use blended strokes to create smooth transitions.
Add trees: Move on to your focal trees, using a mix of greens and yellows for foliage. Layer darker colors for depth.
Incorporate details: Paint highlights using lighter shades. Add in textures with brushes and sponges as described earlier.
Finalize your painting: Let your work dry, then evaluate areas that may benefit from more contrast or highlights.
Engaging with these techniques will provide you with the skills to create stunning, vibrant autumn paintings.

Inspiration and Ideas
As the leaves change and the air turns crisp, autumn provides a rich palette for your paintings. From pumpkins to sunsets, there are numerous themes to explore that capture the essence of this season.
Painting Pumpkins and Fall Foliage
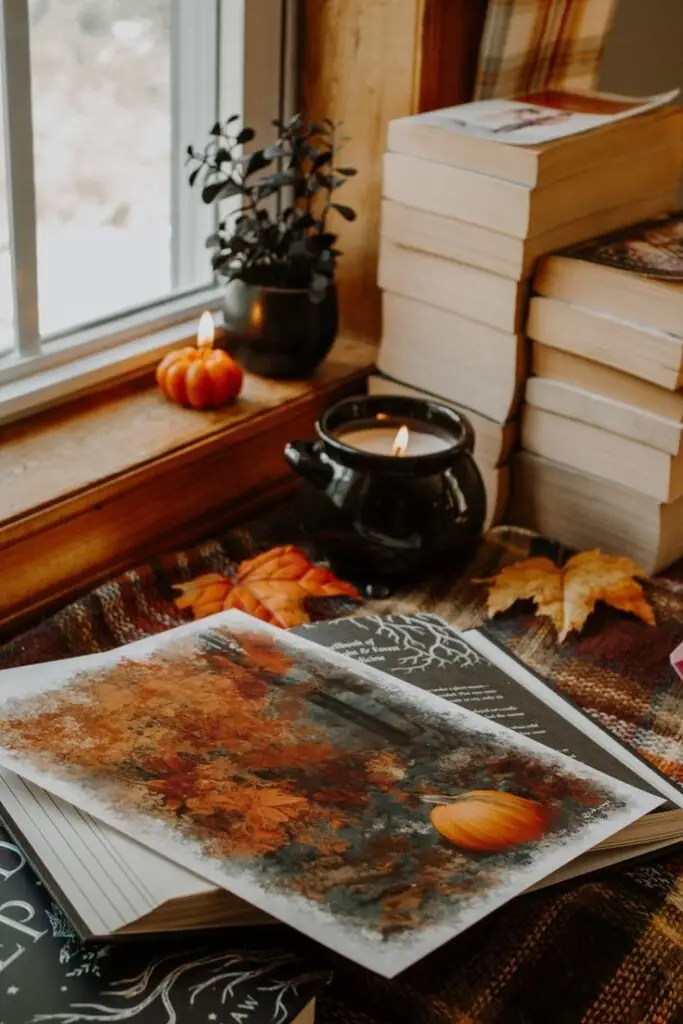
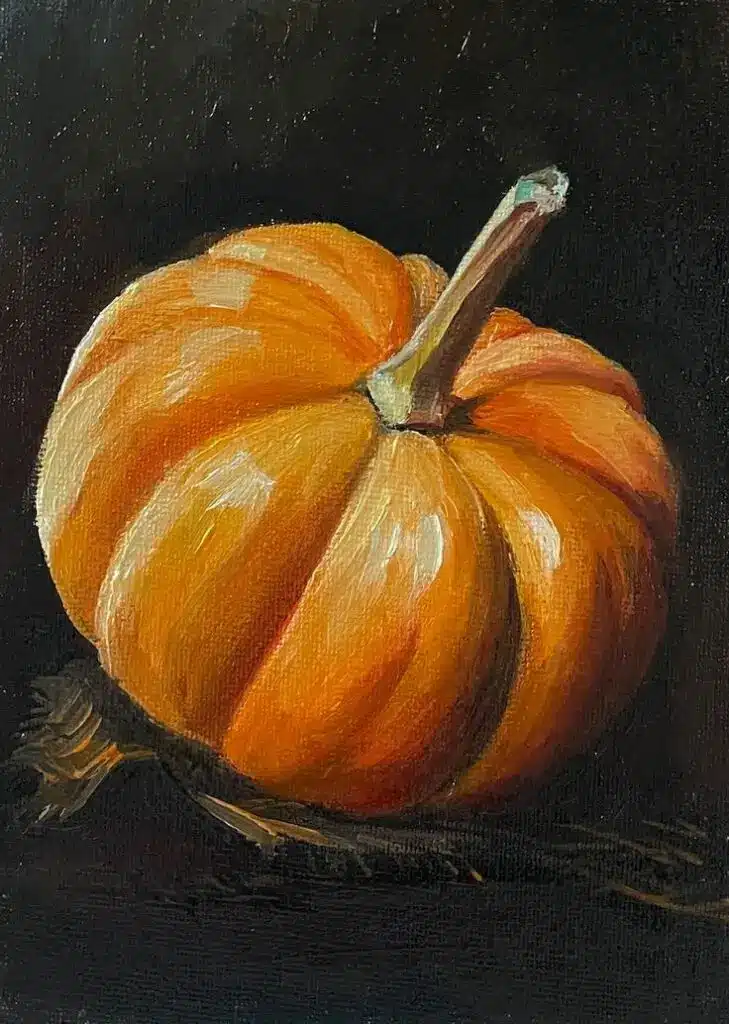
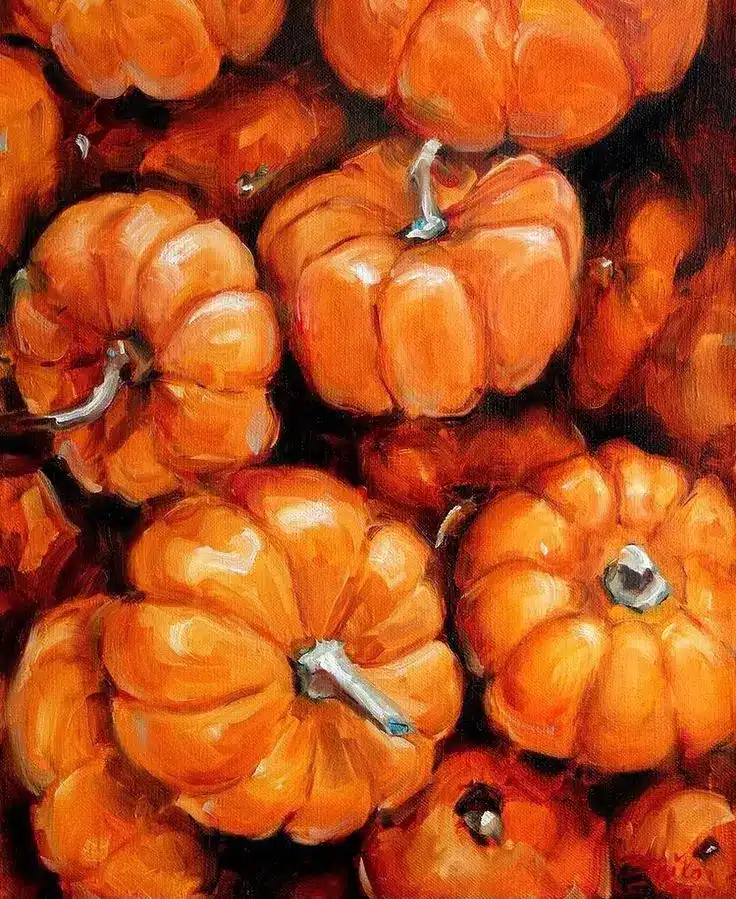
Pumpkin painting is a classic autumn activity that can be both enjoyable and artistic. Select various shapes and sizes for a more dynamic composition. You can paint pumpkins using bright oranges, deep reds, and textured layers to create depth. Incorporate fall foliage by adding maple leaves or other autumn colors around your pumpkins.
Consider using stencils to add intricate designs or lettering. A simple technique like blending colors can give the leaves a natural gradient. For added interest, use textured tools like sponges or brushes to create unique patterns on your pumpkins.
Capturing the Autumn Sunset
Autumn sunsets are known for their vibrant colors and breathtaking beauty. To replicate this, start with a soft gradient base using sunset colors like pink, orange, and purple.
Focus on layering techniques to achieve depth. You can add silhouettes of trees or distant mountains to enhance the scene. Experiment with brush strokes to depict clouds, which can add movement to your painting.
Consider incorporating reflections if you’re depicting a landscape with water. This can enhance the realism and complexity of your artwork while bringing the warm glow of the sunset into the foreground.
Abstract Approaches to Autumn Scenes
For a unique take, explore abstract painting that embodies the essence of fall. This can involve bold splashes of color inspired by autumn leaves or pumpkins. Use geometric shapes or fluid lines to represent movement, capturing the feeling of the season on canvas.
You might also incorporate mixed media by adding elements like dried leaves or textured paper. This creates dimension in your artwork, making it visually engaging.
Let your creativity flow by focusing on emotion rather than precise imagery. Play with color contrast to symbolize change, making your piece resonate with autumn’s transient beauty.
Completing and Displaying Your Artwork
After finishing your DIY autumn paintings, it’s important to add the right touches and consider how to showcase your artwork effectively. The following tips will help you enhance your paintings and create an inviting display.
Adding the Finishing Touches
The finishing touches can significantly elevate your artwork. Consider using a clear varnish to protect the paint and enhance the colors. This will give your painting a polished, glossy finish, making the shades of autumn pop.
Using a fine brush, you can add highlights or deeper shadows to specific areas for depth. For example, if you’ve painted an easy autumn forest landscape, emphasizing the bark and leaves will add realism.
Finally, remember to clean up any edges or smudges around the canvas. A clean presentation makes a big difference in how your work is perceived.
Tips for Displaying Your Painting
Proper displaying can transform your artwork into a stunning focal point. Choose a location with ample natural light, as it enhances the colors without causing fading. Avoid direct sunlight, which can damage the painting over time.
Use appropriate framing to complement your artwork. A simple frame can showcase the beauty of your autumn scene without overwhelming it. If your piece has vibrant colors, consider using a neutral frame to maintain focus on the artwork.
For smaller pieces, consider using easels or hanging them at eye level for optimal viewing. Grouping your paintings can also make an impactful statement.
Creating a Themed Gallery Wall
Creating a gallery wall allows you to celebrate your DIY autumn paintings. Start by choosing a consistent color palette that ties the pieces together, focusing on shades of autumn.
Arrange your artwork in a balanced layout. Use different frame styles or sizes for interest while ensuring each piece harmonizes. You might mix your autumn landscapes with seasonal decor for a more expansive theme.
To enhance the display, incorporate other elements like mirrors or decorative objects that mirror the autumnal vibe. This adds depth and draws the eye around the room, creating an engaging visual experience.


