As the air turns crisp and the scent of woodsmoke fills the evenings, our instinct is to draw the warmth of the season indoors. Nothing transforms a home for autumn quite like handcrafted decor. These aren’t just projects; they are mindful acts that root us in the spirit of the season, creating a cozy and welcoming atmosphere that store-bought items simply cannot replicate.
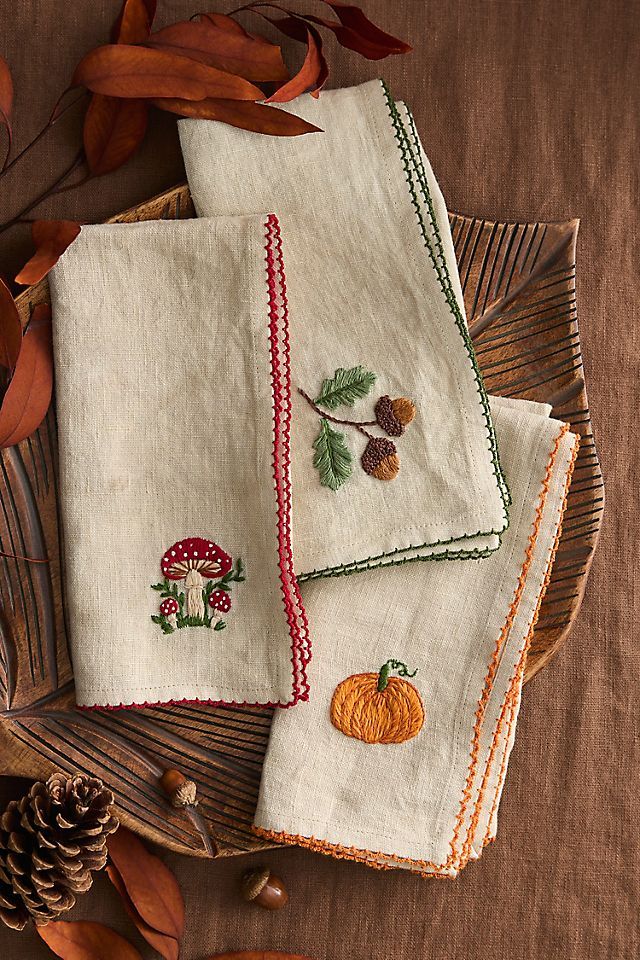
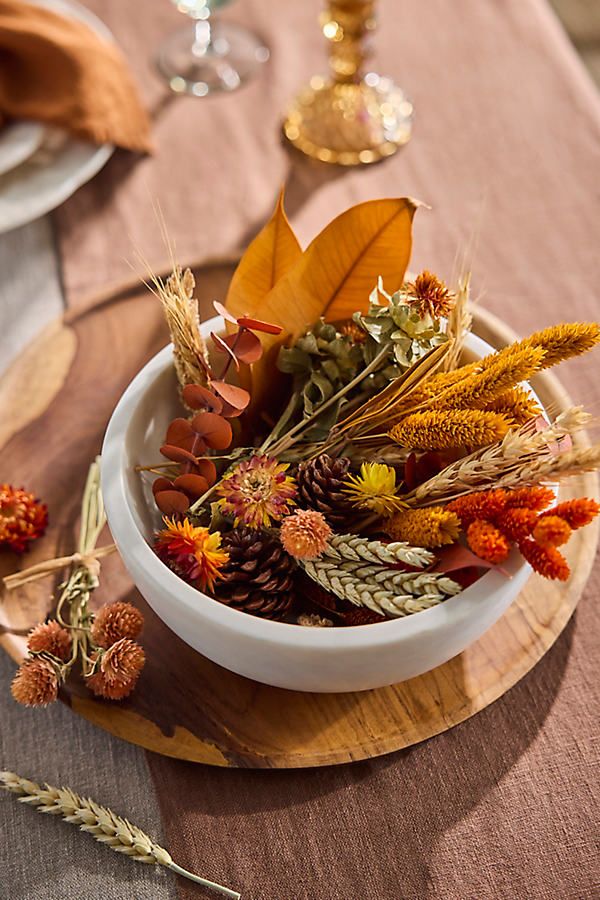

This guide focuses on the quintessential fall DIYs—leaf garlands and door wreaths—offering innovative, high-quality, and budget-friendly techniques to make your home an autumnal sanctuary. We move beyond flimsy crafts to create lasting, beautiful pieces that define seasonal elegance.
The Art of the Autumn Door Wreath
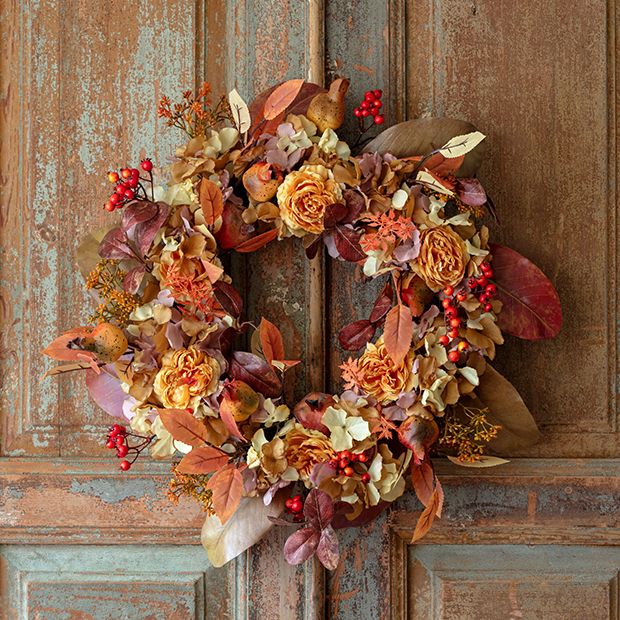
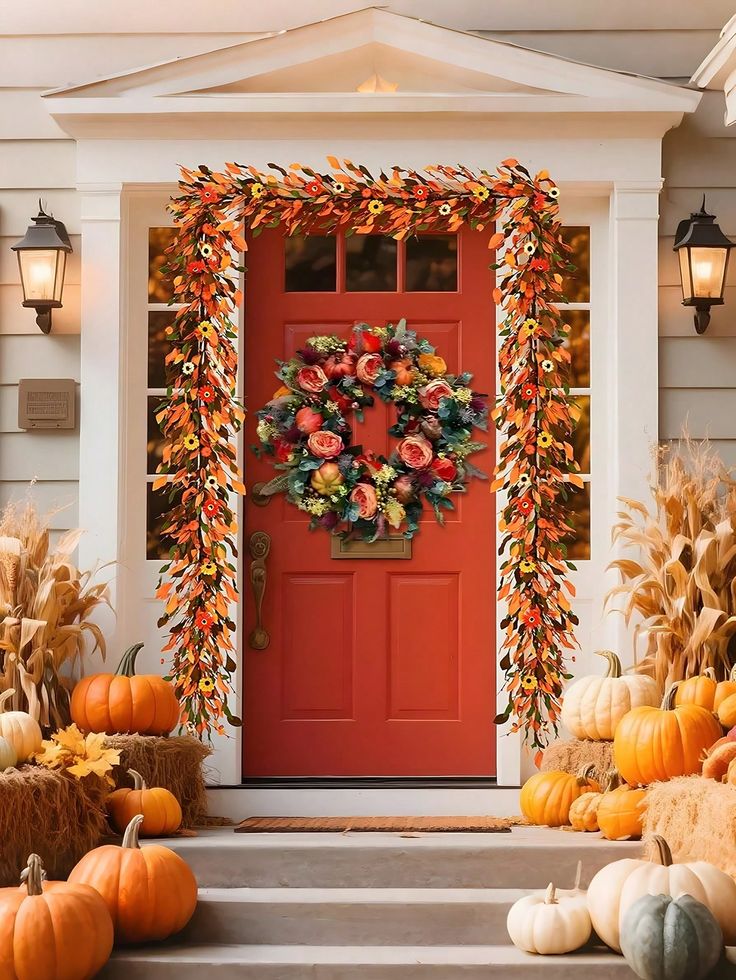
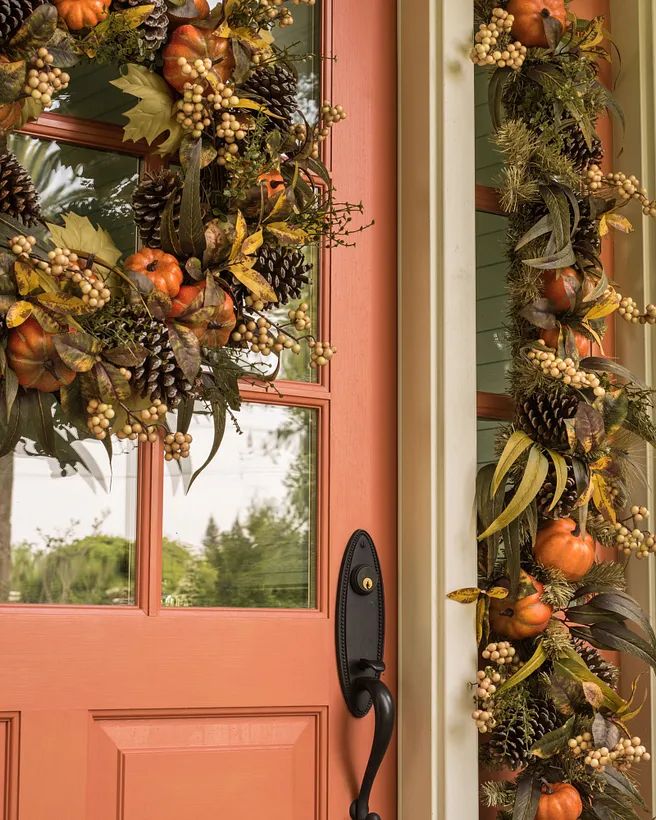
The door wreath is the ultimate welcoming statement. It is the first visual embrace your guests receive. Moving past the simple arrangement of faux flowers, a high-quality DIY wreath relies on texture, depth, and a careful balance of natural and permanent materials.
DIY Project 1: The Layered Grapevine Wreath
The grapevine wreath form is the professional’s secret weapon. Its rustic, natural structure provides a perfect, organic base that instantly elevates the finished product, requiring less coverage and material than a foam or wire form.
Materials Needed:
- Base: 18-inch Grapevine Wreath Form.
- Foliage: 5-6 large faux fall foliage bushes (a mix of maple, oak, and eucalyptus in rust, deep red, and gold).
- Texture: Pinecones (collected or purchased), dried wheat stalks, or small berry clusters.
- Accent: 1 roll of wired ribbon (burlap, plaid, or deep velvet in a neutral like chocolate brown or cream).
- Tools: Wire cutters, hot glue gun, and floral wire.
Step-by-Step Construction:
- Prep the Picks: Use wire cutters to separate your foliage bushes into individual, smaller stems or “picks.” The key to a full wreath is to have many small pieces, not a few large ones.
- Establish the Flow: Position your first few foliage picks to define the visual flow of the wreath. Instead of covering the entire form, aim to cover two-thirds of it, leaving some natural grapevine exposed for a rustic touch. Insert the stems directly into the woven grapevine. The friction should hold them, minimizing glue use.
- Layer and Fluff: Continue inserting stems, making sure to stagger their direction. Expert Tip: Fluff the leaves and bend the wires. Flat foliage looks cheap; creating dimension by pulling some leaves forward and pushing others back makes the wreath appear bountiful and expensive.
- Add Texture and Depth: Insert your pinecones and berry clusters. Use a small amount of hot glue for the heavier items to ensure they are secure. Group textures in odd numbers (three pinecones clustered together) to look more natural.
- The Professional Bow: Create a large, multi-loop bow from your wired ribbon. Wired ribbon is crucial because it allows you to shape the loops perfectly. Attach the finished bow to the wreath using floral wire, tucking it into a point where the foliage begins or ends.
- The Shake Test: Hold the finished wreath vertically and give it a gentle shake. Tighten any piece that moves to ensure longevity on your door.
DIY Project 2: The Monochromatic Wheat Wreath
For a more minimalist, sophisticated aesthetic, the monochromatic wheat wreath brings an elegant, harvest-focused touch that is on-trend for a “Quiet Luxury” fall.
Materials Needed:
- Base: 14-inch Wire Wreath Frame.
- Foliage: 3-4 bunches of dried wheat stalks (available at craft stores or online).
- Tools: Floral wire, hot glue gun (optional).
Step-by-Step Construction:
- Create Bundles: Gather 8-10 wheat stalks and secure the bundle tightly with floral wire near the bottom of the heads. You will need about 10-12 such bundles, depending on the desired fullness.
- Wire to the Frame: Place your first bundle on the wire frame. Use floral wire to wrap the bottom, secured part of the bundle to the frame.
- The Layering Technique: Take the second bundle and overlap the stems of the first bundle by about two-thirds. This layering hides the wire and creates a continuous, flowing look.
- Continuous Flow: Continue wiring bundles around the frame, always overlapping the previous bundle’s stems. Keep the wheat heads pointing in the same direction to maintain a clean, circular flow.
- The Finish: When you reach the start, tuck the final bundle’s stems underneath the heads of the very first bundle and secure tightly with wire. This completes the seamless circle. The natural, light golden color of the wheat is stunning on a dark-colored door.
Crafting the Evergreen Autumn Garland

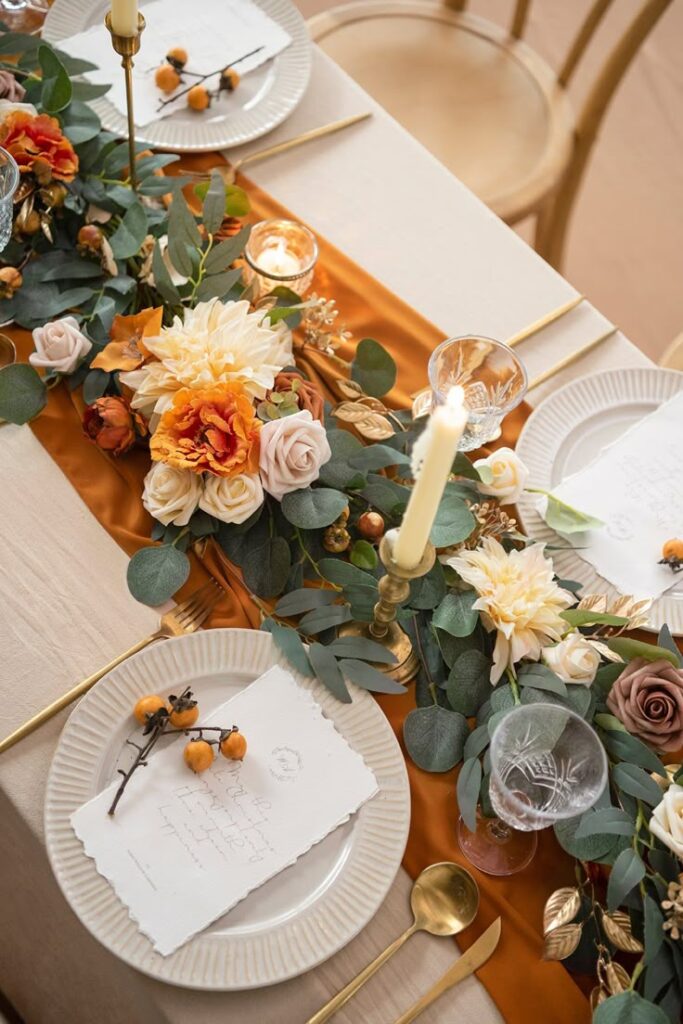
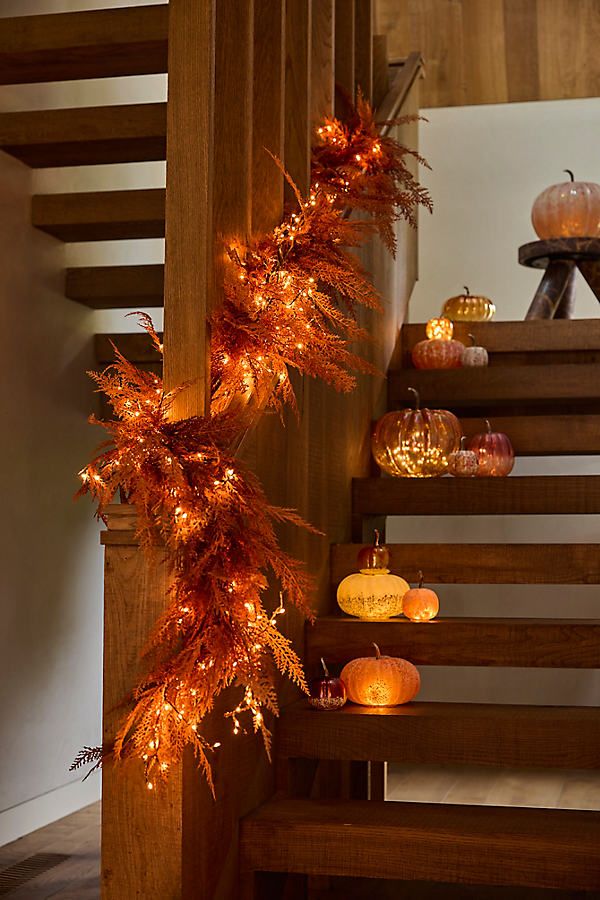
Garlands are the backbone of indoor fall decorating. They drape across mantels, wind up staircases, or frame doorways, instantly making a space feel grand and festive. The secret to an impressive garland is volume, texture, and the thoughtful incorporation of natural elements.
DIY Project 3: The Rustic Pinecone and Leaf Garland
This design utilizes a basic, inexpensive faux leaf garland and transforms it into a premium, custom piece by adding layers of texture and “foraged” materials.
Materials Needed:
- Base: 1-2 standard 6-foot Faux Maple Leaf Garlands (as a starting point).
- Texture: 20-30 Pinecones, 1-2 bags of small Faux Berry Sprays (cranberry or orange/gold mix).
- Structure: 1-2 bundles of thin, natural twigs or dried grapevines.
- Tools: Floral wire, hot glue gun.
Step-by-Step Construction:
- Bulk Up the Base: If your base garland is thin, use floral wire to twist two garlands together. This immediately doubles the volume and provides a richer foundation. Drape the garland where it will hang—a mantel, shelf, or banister—before adding accents, as the shape will change.
- Add Organic Structure: Cut the natural twigs or grapevines into short, manageable pieces (6-8 inches). Weave these twig pieces into the base garland along its entire length. This step is critical; it breaks up the artificial uniformity and gives the garland a genuine woodland, foraged feel.
- The Pinecone Placement: Use floral wire to secure pinecones along the entire length of the garland. Focus on the areas that will drape or hang over the edge. Expert Tip: Attach the pinecones to the back side of the garland wire, so they hang slightly lower than the leaves, creating natural downward weight and dimension.
- Berry Pop: Cut the berry sprays into small clusters. Use a small dab of hot glue to secure the clusters sporadically throughout the garland, giving small bursts of color. Stagger the placement so they don’t look lined up.
- Enhance the Light: If the garland is on a mantel, weave a string of warm-toned, battery-operated LED fairy lights through the inner core. The gentle glow bouncing off the multi-toned leaves creates a magical atmosphere.
Expert Techniques for Longevity and Polish
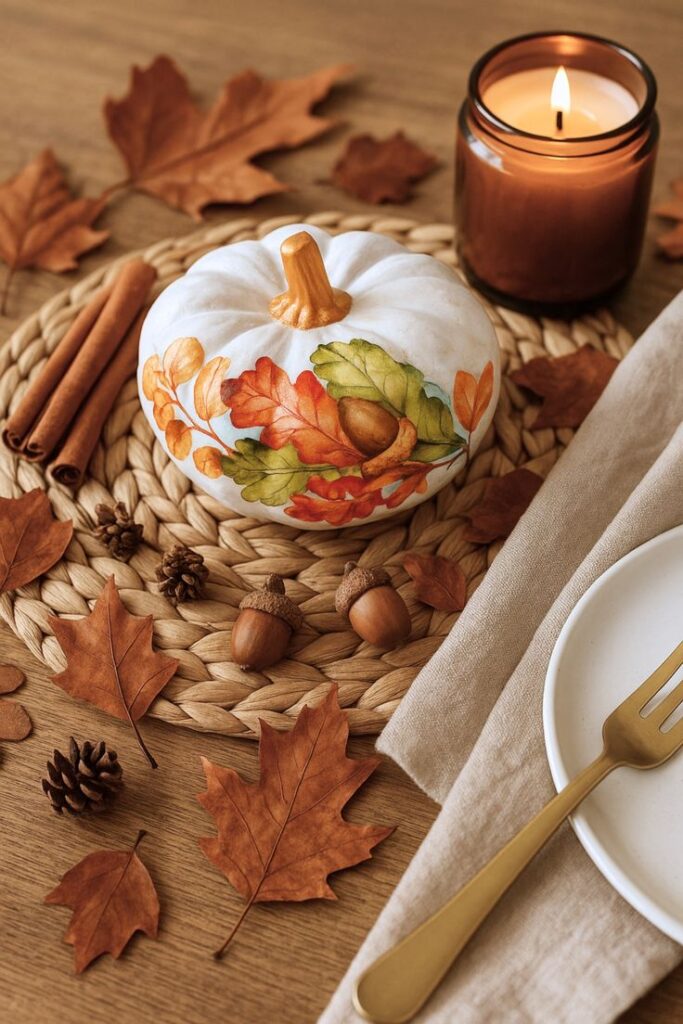
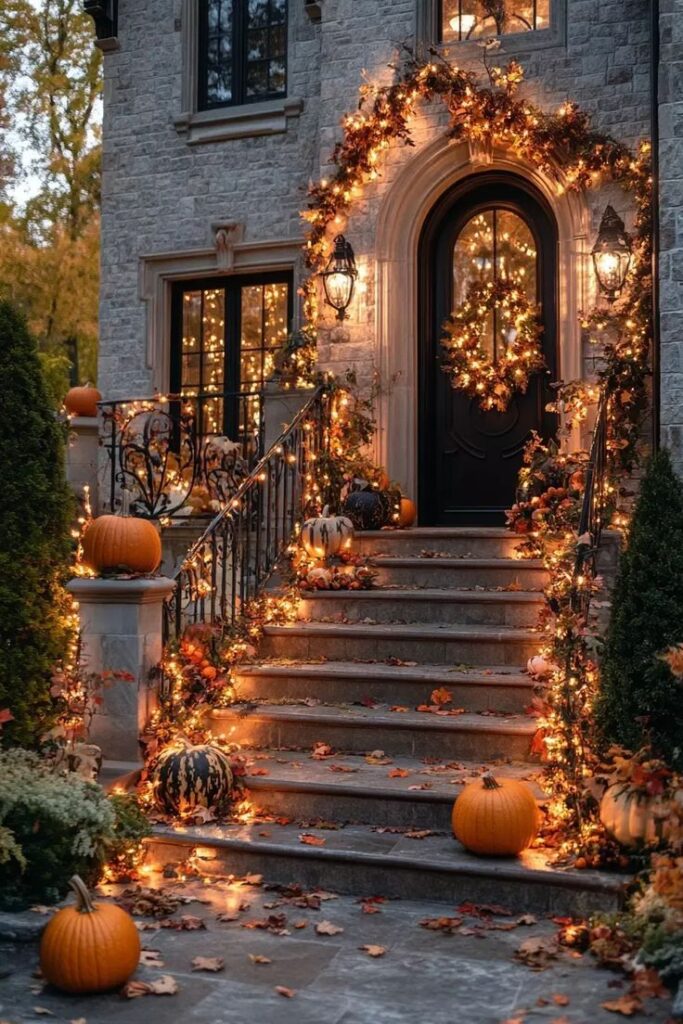
Creating a truly high-quality DIY involves paying attention to small details that differentiate a beautiful piece from a quick craft.
1. The Art of Foraging and Preservation
Many of the best textures are free. Acorns, small twigs, pinecones, and even dried flower heads (like hydrangeas or sedum) are perfect for adding authenticity.
- Preserving Leaves: To use real leaves in a garland, you must seal them or they will curl and crumble. An easy method is to press them between wax paper, then iron them on a low setting. The wax seeps into the leaf, preserving the color and shape for a few weeks of display.
- Scented Accents: Enhance the atmosphere by hot-gluing a few cinnamon sticks or dried orange slices to the underside of your wreath or garland. The heat from nearby lights or the sun will subtly release a wonderful fall scent.
2. The Power of High-Quality Faux
“The modern DIYer should invest in a few high-quality faux florals and greenery,” advises floral designer Grace Monroe Home. Mix expensive pieces—like a hyper-realistic velvet pumpkin or deep burgundy eucalyptus—with your budget finds. No one will know the difference, but the few high-end accents will elevate the whole arrangement.
3. Securing for the Elements
If your wreath or garland is for an outdoor space, especially a door that is used frequently:
- Seal Everything: Use exterior-grade hot glue or small, clear zip ties to secure pieces.
- Minimize Fabric: Avoid using cotton fabric or ribbon that will absorb moisture. Stick to wired ribbon, burlap, or velvet, which hold up better to the elements.
Conclusion: Crafting Your Seasonal Narrative
DIY fall decor is not about saving a few dollars; it’s about infusing your home with personality, intention, and the palpable warmth of the season. Each leaf, pinecone, and piece of ribbon tells a story—your story—of welcoming the change of seasons. The Layered Grapevine Wreath and the Rustic Pinecone Garland are your starting points for this seasonal storytelling. They offer elegant, durable, and highly customizable ways to create a home that truly embodies the cozy, rich spirit of autumn.
Your Call to Action:
Take a 15-minute nature walk this week. Gather a small handful of pinecones, twigs, and acorns. Use these found treasures as the inspiration for your first project. Start your Leaf Garland today, weaving the bounty of the outdoors into your home’s central spaces. The tools are simple, the cost is minimal, and the transformative power is immense. Embrace the craft, and let your home shine with the unique warmth of your own hands.


