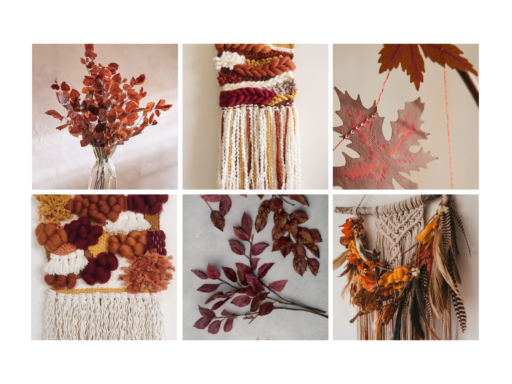
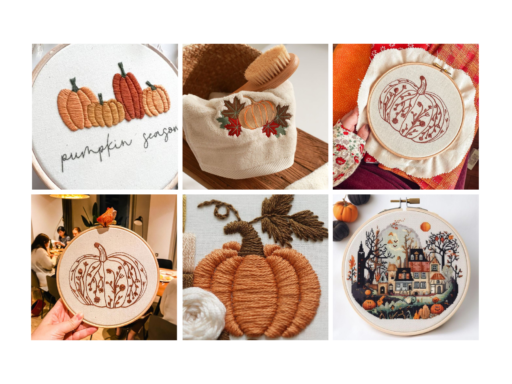
Autumn is a season filled with vibrant colors and a spirit of creativity. Engaging in DIY autumn clay projects allows you to bring that seasonal beauty into your home through art. From crafting decorations to creating unique gifts, the possibilities are endless when you work with clay.
Whether you’re a beginner or have some experience, there are various techniques and tools that can help you achieve stunning results. Embrace the fall by making charming pieces that reflect the warmth and richness of the season, while also enhancing your crafting skills.
With the right materials and inspiration, you can transform simple clay into delightful autumn masterpieces that celebrate this beautiful time of year. Let your imagination run wild as you create projects that capture the essence of fall.


Key Takeaways
- Discover how to choose the right clay for your autumn projects.
- Explore essential techniques and tips for crafting with clay.
- Get inspired with unique ideas that celebrate fall themes.
Choosing Your Clay
Selecting the right type of clay is crucial for your autumn DIY projects. Each type offers unique benefits and challenges that may influence your final creations.
Pros and Cons of Air-Dry Clay
Pros:
- No Oven Required: Air-dry clay hardens naturally and is convenient for home use.
- Easy to Work With: It’s soft and malleable, making it suitable for beginners and various techniques.
- Non-toxic: Generally safe for all ages, it’s a good choice for family projects.
Cons:
- Durability Concerns: Items made from air-dry clay may be less sturdy than those made from other types.
- Moisture Sensitivity: Finished pieces can be vulnerable to water damage unless sealed properly.
- Limited Detail: Fine details may not hold as well as in other types, affecting intricate designs.
Working with Oven-Bake Clay
Pros:
- Durability: Oven-bake clay becomes hard when baked, resulting in stronger finished pieces.
- Details and Finish: It holds fine details very well, perfect for intricate designs and textures.
- Variety of Colors: Available in numerous colors, reducing the need for additional paint.
Cons:
- Requires Oven: You’ll need access to an oven for baking, which may not suit all project timelines.
- Temperature Sensitivity: Each brand has specific baking times and temperatures; incorrect handling can lead to issues.
- Potential for Burning: If left in the oven too long, it can scorch, ruining your project.


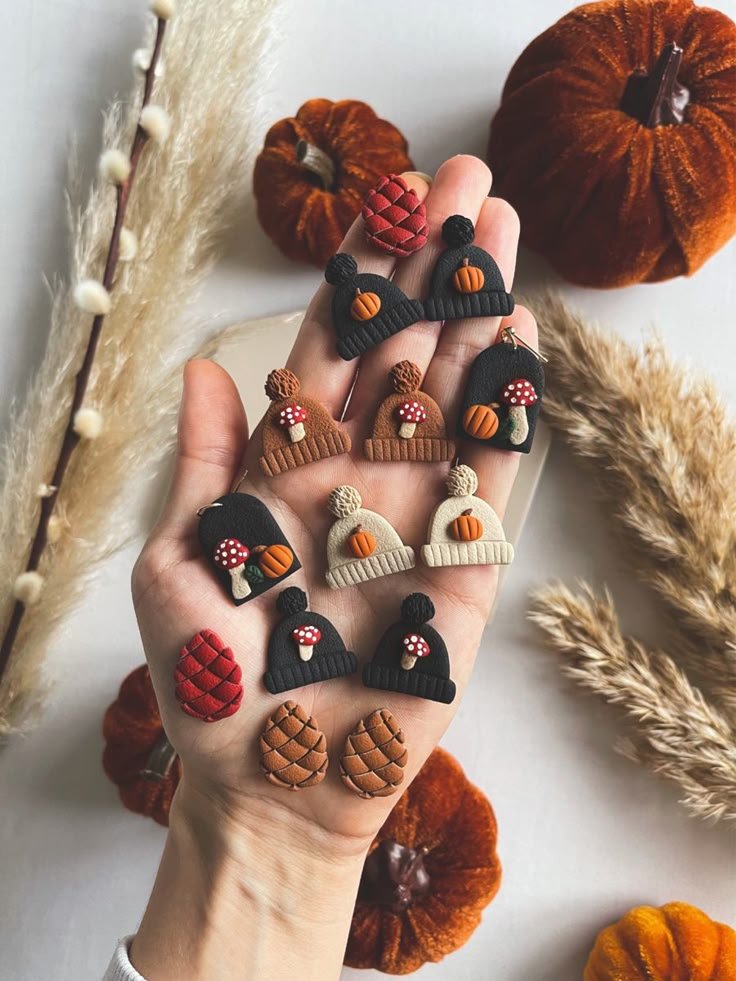
Creating with Polymer Clay
Pros:
- Versatility: Polymer clay can be sculpted, molded, or used for embellishments in various crafts.
- Vibrant Colors: It comes in a wide range of hues, allowing for creative freedom without the need for additional paint.
- Shrinkage-Free: It doesn’t lose size in the baking process, ensuring your designs remain true to form.
Cons:
- Baking Required: Like oven-bake clay, it needs to be cured in an oven, which may deter some crafters.
- Handling Care: It can become soft in warm environments, making it tricky to work with in hot conditions.
- Potential Toxicity: Some brands may require careful handling, especially around children or pets, so choose safe options.


Basic Techniques and Tools
Before starting your autumn clay projects, it’s important to establish a well-prepared workspace and familiarize yourself with the essential tools and techniques needed for clay crafting. This knowledge will help you create beautiful and functional pieces with ease.
Preparing Your Workspace
A clean and organized workspace is crucial for any crafting project. Begin by gathering all your materials before you start. Lay down a plastic tablecloth or newspaper to protect your surfaces from clay residue.
Ensure good lighting to accurately see colors and details. Keep your tools within reach to minimize interruptions. Consider having a small container of water nearby for softening the clay and keeping your hands moist, which can prevent cracking while you work.
Essential Tools for Clay Crafting
Having the right tools can significantly enhance your clay crafting experience. Here are some essential items:
- Rolling Pin: For flattening clay evenly.
- Clay Knife: To cut shapes and trim edges with precision.
- Texture Tools: For adding patterns or designs easily.
- Acrylic Paint: For painting your finished pieces—water-based paint works well.
- Mod Podge: Perfect for sealing your projects and providing a glossy finish.
Each tool plays a specific role, simplifying your crafting process and enhancing the final result.
Basic Clay Shaping Techniques
To create beautiful shapes from your clay, mastering a few basic techniques is necessary. Start with smoothing: Use your fingers or tools to smooth out any imperfections.
Rolling helps achieve uniform thickness when making flat pieces.
Pinching is an effective method for crafting vessels; simply pinch and shape the clay until it forms the desired shape.
Lastly, scoring and slipping are essential for joining pieces together. Lightly scratch the edges of the clay pieces you want to join and apply some slip (a mixture of water and clay) to adhere them securely.
Following these techniques will lead you towards successful clay projects this autumn.
Autumn-Themed Project Ideas
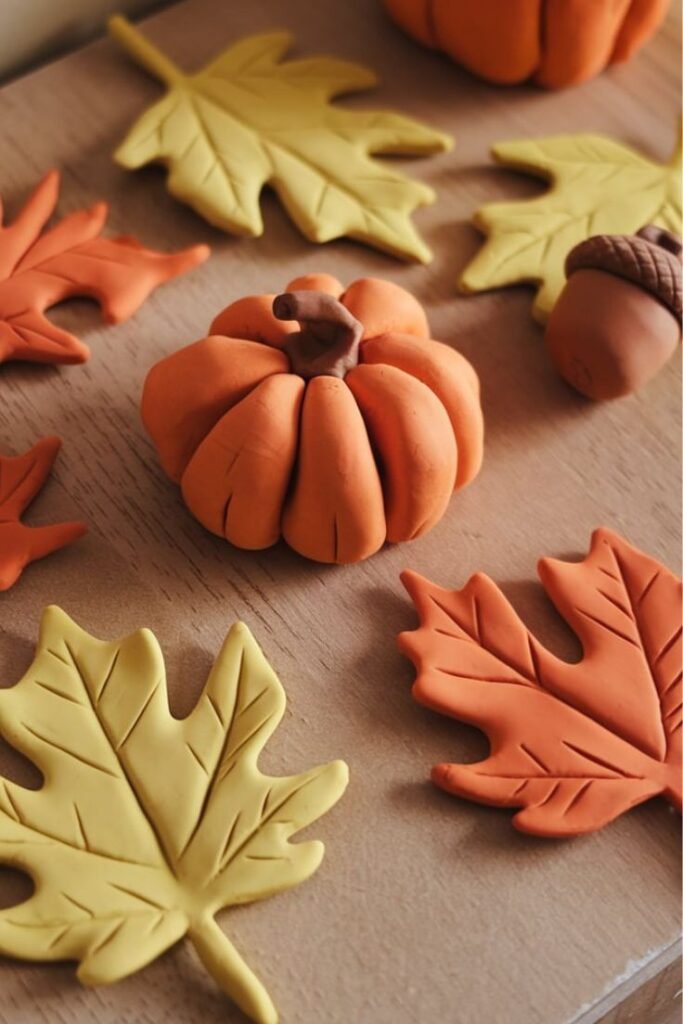
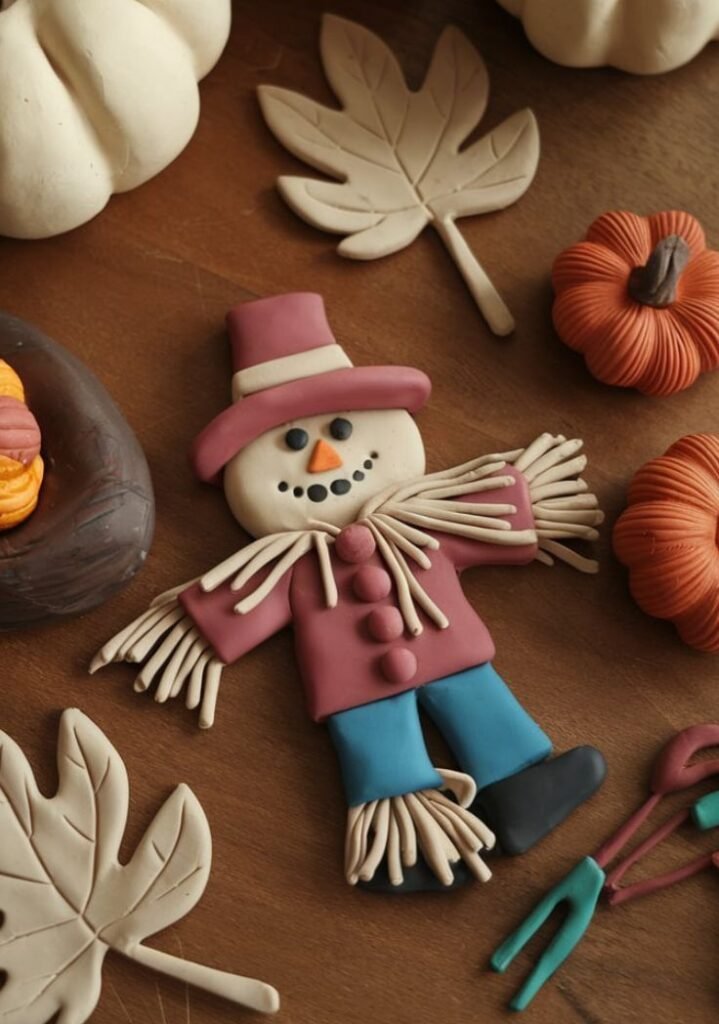
You can create various autumn-themed projects using clay that add charm and warmth to your home. From leaf impressions to festive wreaths, these ideas will help you embrace the season.
Clay Leaf Impressions
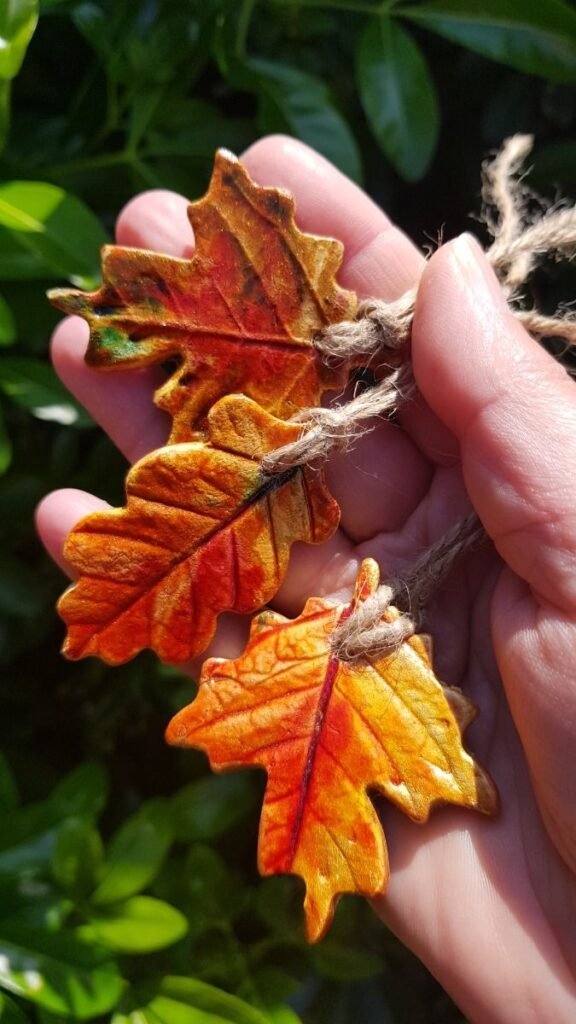
Clay leaf impressions provide a simple yet beautiful way to capture the essence of autumn. Collect leaves from different trees to use as your molds.
- Materials Needed:
- Air-dry clay
- Leaves (maple, oak, etc.)
- Rolling pin
- Acrylic paint (optional)
Start by rolling out the clay to your desired thickness. Press the leaves firmly into the clay, then carefully remove them to reveal the impression. Once dry, you can paint the impressions in warm autumn colors, such as red, orange, and gold. These pieces can serve as wall art or decorative table settings.
Festive Fall Wreaths
Creating a festive fall wreath with clay elements adds a personal touch to your home decor. An acorn wreath or a fall leaf garland can become a centerpiece on your front door.
- Materials Needed:
- Air-dry clay
- Wire wreath frame
- Hot glue gun
- Craft paint
Shape clay into leaves, acorns, or pumpkins, and let them dry completely. Attach these pieces to a wire frame using a hot glue gun. You can mix and match colors and textures to create a visually appealing wreath. This project allows you to customize your decor according to your taste and ensures a unique autumn display.


DIY Fall Gnomes and Pumpkins
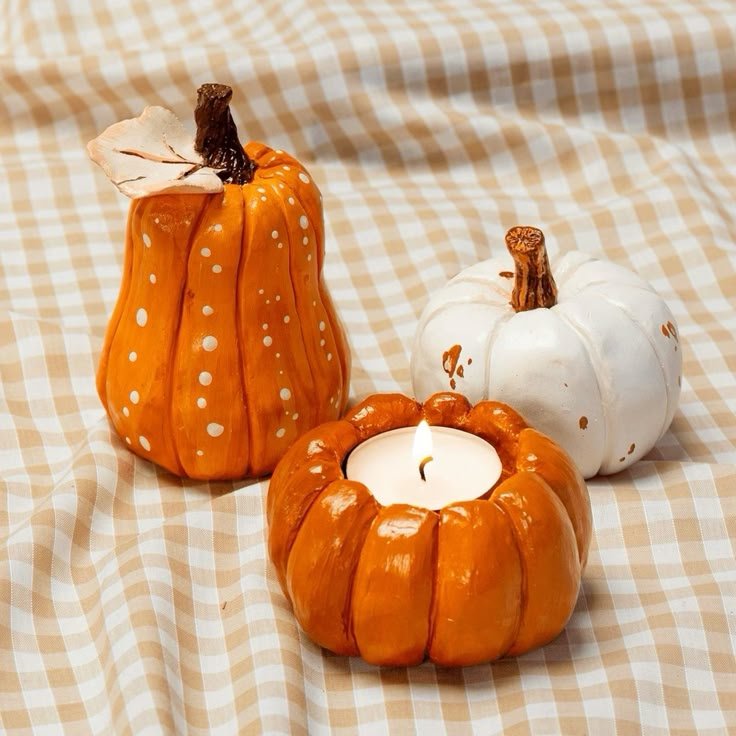
Making DIY fall gnomes and pumpkins with clay can be a delightful family activity. This hands-on project brings out creativity while producing charming decorations.
- Materials Needed:
- Air-dry clay
- Paint
- Fabric scraps (for gnome hats)
- Small faux pumpkins (optional)
To create your gnomes, shape the clay into oblong bodies and round noses. Add details like hats made from fabric scraps. For the pumpkins, mold the clay into pumpkin shapes and add grooves for realism. Once everything is dry, paint your creations in seasonal colors. These additions will enhance your fall decorations and make perfect gifts for loved ones.
Finishing and Protecting Your Creations
To enhance the beauty and longevity of your autumn clay projects, consider incorporating various painting and sealing techniques. You can also add textures and embellishments that reflect the season, using natural elements for a rustic touch.
Painting and Sealing Techniques
Start by choosing acrylic paints for their versatility and quick drying time. Use a wide range of colors, including metallic paints to add a shimmering effect to your designs. For a rustic autumn look, earthy tones work well.
Once your paint is completely dry, apply a sealant to protect your creations. Use a clear acrylic sealer in spray or liquid form. This not only safeguards against moisture but also enhances color vibrancy.
Consider using multiple coats for added durability. Let each coat dry fully before applying the next. Follow the manufacturer’s instructions for best results, ensuring your handmade gifts can withstand handling.
Adding Textures and Embellishments
Textures can elevate your projects significantly. You can achieve this by pressing natural elements, like pine cones and leaves, into the clay before it hardens. This gives a unique surface design that adds depth.
Once you complete the painting, think about incorporating glitters and other embellishments. Sprinkle fine glitter on wet paint for a sparkling finish. Additionally, you can use fabric, ribbons, or twine to enhance the festive look.
Remember to use a strong adhesive to attach heavier items securely. This ensures that your project remains intact and visually appealing. Experiment with combinations to find what resonates with your autumn theme.


