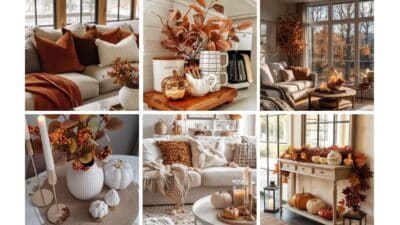
Refreshing your living space doesn’t require a hefty budget or expensive designer furniture. You can completely transform any room using simple materials you likely already have at home, along with basic crafting supplies that cost very little. From creating wall art with old magazines to repurposing household items into decorative pieces, countless opportunities exist to add personality and style without opening your wallet.
The key to successful budget decorating lies in viewing your existing belongings with fresh eyes and embracing your creativity. You’ll discover how everyday items like glass jars, fabric scraps, and even old t-shirts can become beautiful decor elements that rival store-bought alternatives. With some planning and a willingness to experiment, you can achieve a completely new look that reflects your personal style while keeping your finances intact.
1) Create DIY wall art using old magazines or newspapers
Turn those old magazines and newspapers into stunning wall art instead of tossing them in the recycling bin. You probably have stacks gathering dust somewhere in your home already.
Cut out colorful pages, interesting headlines, or vintage advertisements to create layered collages. Mix different textures and colors from various magazines to build visual stories on your walls.
Try creating geometric patterns by folding newspaper pages into triangular shapes and arranging them in interesting formations. You can also weave magazine strips together to form unique textured pieces.
For a cohesive look, choose pages with similar color schemes or themes. Fashion magazines work great for glamorous bedroom decor, while nature magazines suit living spaces perfectly.
Frame your finished pieces in thrift store frames or create your own borders using rolled magazine pages. This adds a polished, professional appearance without extra cost.
Consider making a series of smaller pieces rather than one large artwork. Group them together on your wall for maximum visual impact and fill empty spaces beautifully.
2) Repurpose glass jars into colorful candle holders
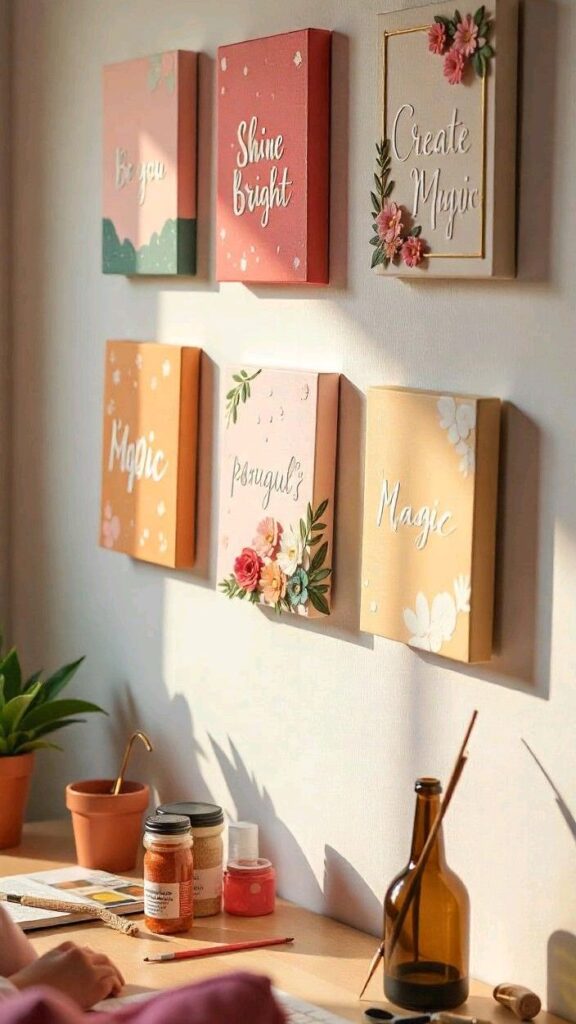
Transform your empty candle jars and food containers into stunning decorative pieces. You can create beautiful candle holders without spending money on new decor.
Start by thoroughly cleaning your glass jars. Remove any labels and leftover wax by heating the jar slightly and wiping clean.
Paint the outside of your jars with glass paint in bright colors. Try using translucent paints that allow light to shine through beautifully when you add candles.
Add texture by wrapping jars with twine, lace, or colorful fabric. Secure with hot glue for a rustic or elegant look that matches your room’s style.
Create patterns using painter’s tape before applying spray paint. Remove the tape after painting for clean geometric designs or stripes.
Glue on decorative beads, buttons, or small stones around the jar’s surface. This adds dimension and catches light in interesting ways.
Place battery-operated tea lights inside for safety. Real candles work too if you monitor them carefully and ensure proper ventilation.
Your repurposed jars instantly become custom lighting that adds warmth to any space while showcasing your creativity.
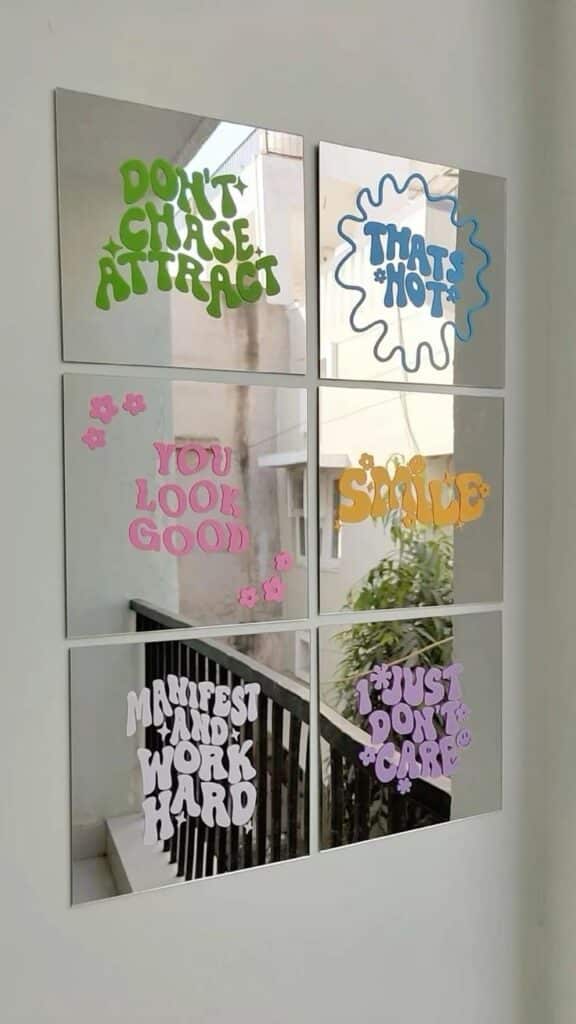
3) Use string lights to add warmth and ambiance
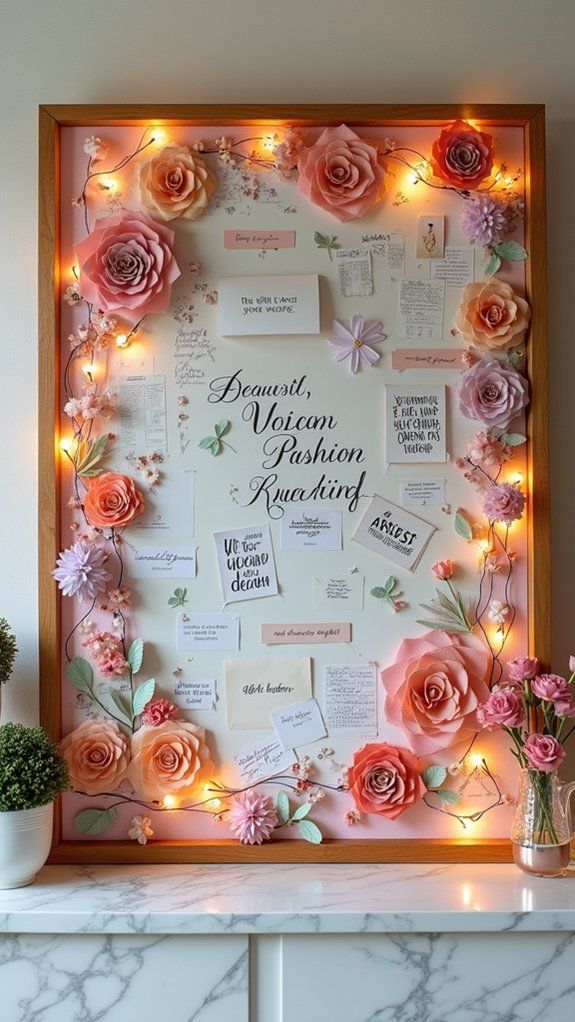
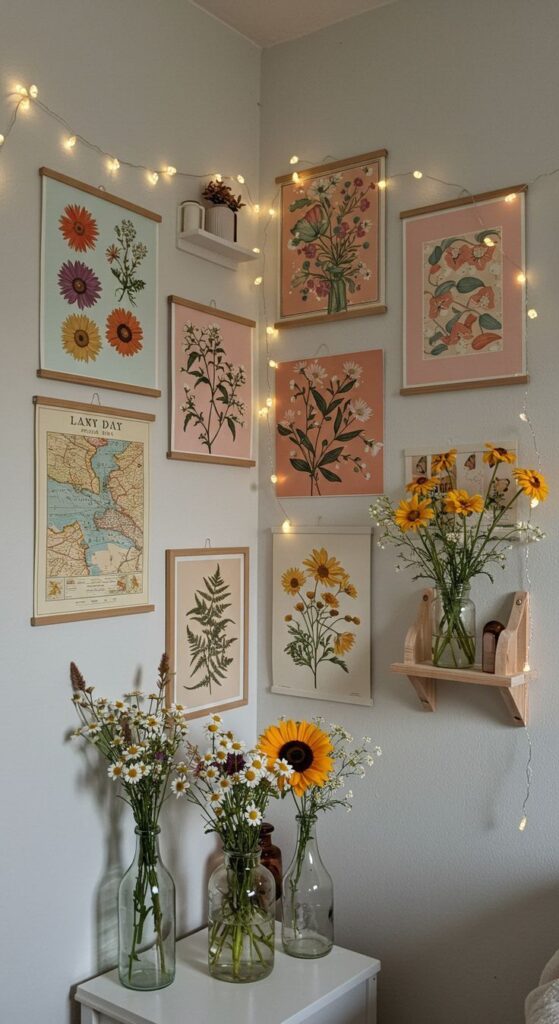
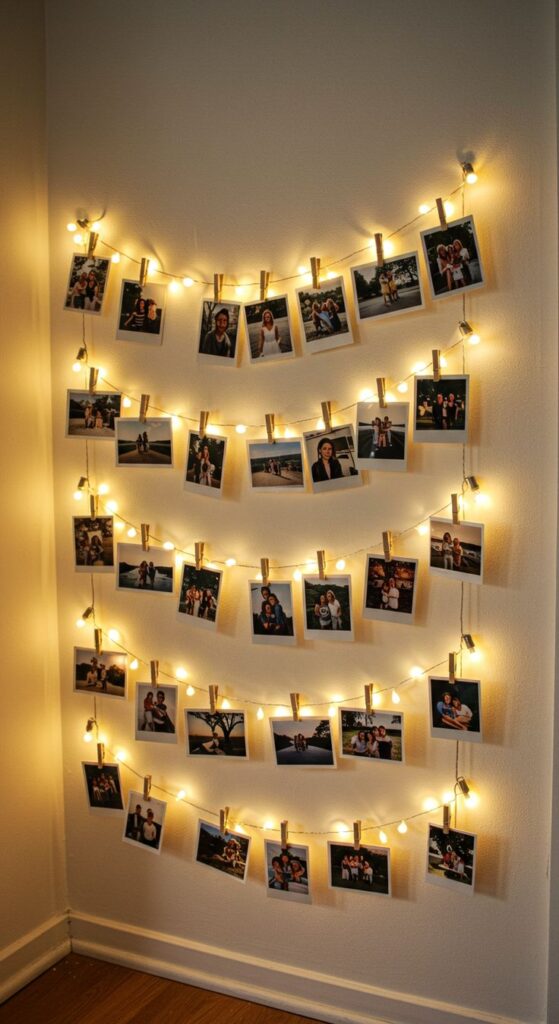
String lights are one of the most affordable ways to transform any room instantly. You can find basic sets for just a few dollars at discount stores or online.
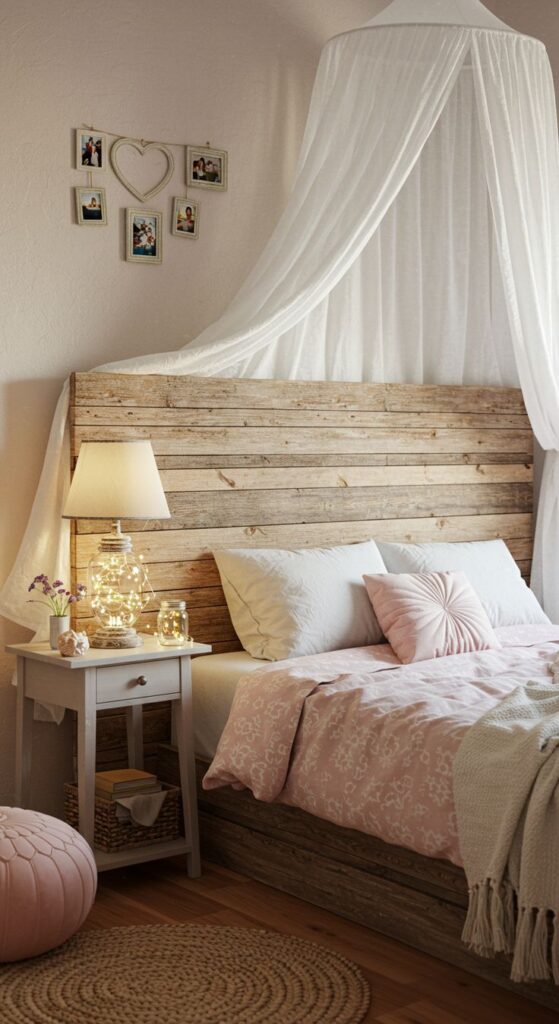
Drape them around your bedroom headboard to create a cozy reading nook. The soft glow makes your space feel like a boutique hotel without the expense.
Try weaving lights around door frames or windows for an enchanting border effect. This simple trick adds depth and visual interest to plain walls.
Create DIY mason jar lanterns by placing battery-operated string lights inside glass jars. Add some decorative stones or moss at the bottom for extra charm.
You can also trace string lights along your ceiling perimeter to mimic expensive recessed lighting. This technique makes rooms appear larger and more welcoming.
For living areas, wrap lights around large floor plants or drape them over mantels. The warm illumination creates perfect mood lighting for movie nights or entertaining guests.
Battery-operated options work great in areas without nearby outlets. They’re also safer for bedrooms and children’s spaces since there are no cords to worry about.
4) Make a photo collage with prints from your phone
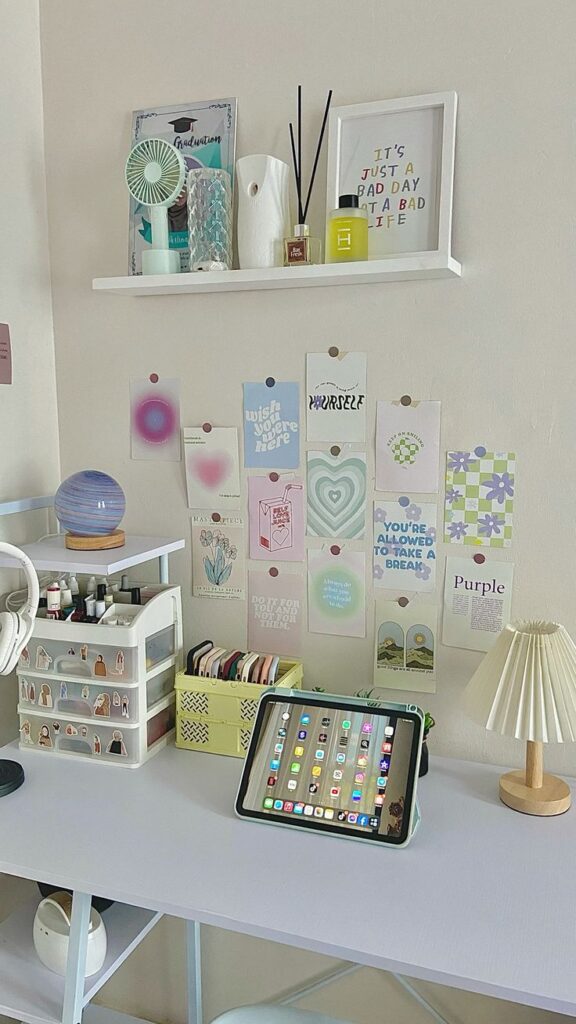
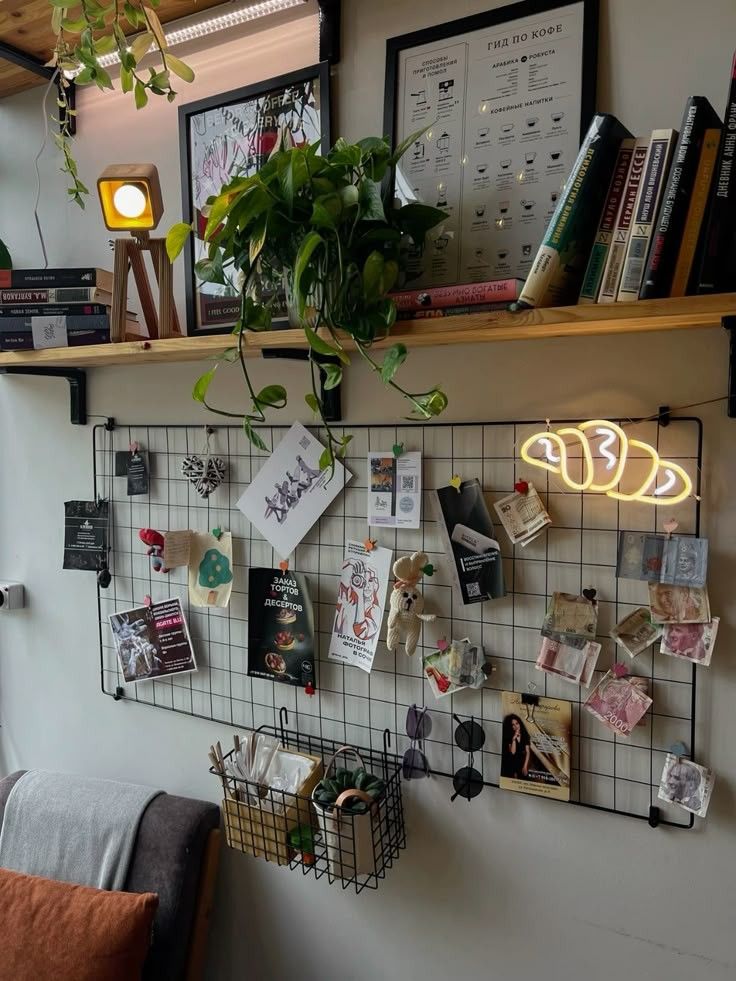
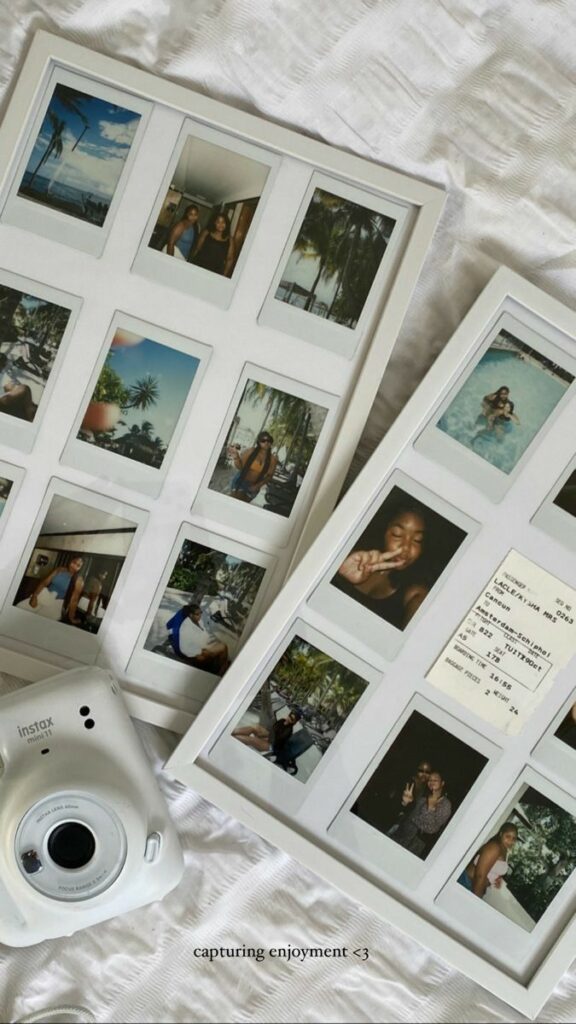
Transform your favorite phone photos into beautiful wall art without breaking the bank. You can print photos directly from your phone at home or visit a local drugstore for affordable prints.
Start by selecting 10-15 photos that share a theme or color scheme. Mix different sizes like 4×6 and 5×7 prints to create visual interest.
Arrange your photos on the floor first before hanging them. Try different layouts until you find one that looks balanced and pleasing to your eye.
You can create a heart shape, grid pattern, or organic cluster design. Use small nails or removable adhesive strips to hang lightweight prints without damaging walls.
This project works perfectly for dorm rooms, bedrooms, or any space that needs a personal touch. Photo collages make excellent gifts for family members too.
The best part is you probably already have all the photos you need right on your phone. Simply choose your favorites and start printing for an instant room makeover.
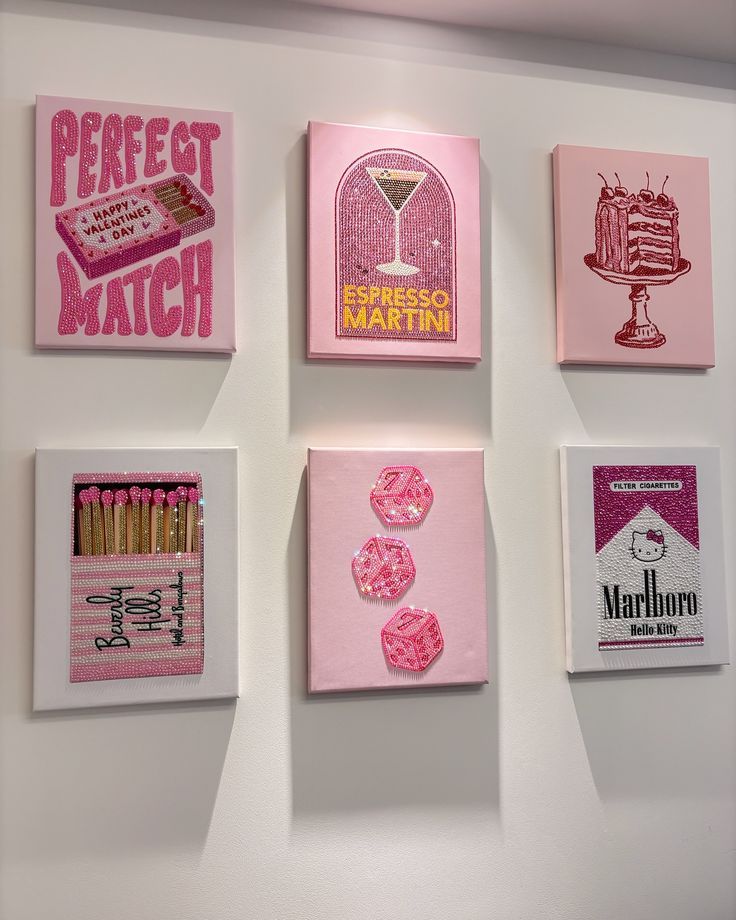
5) Upcycle old t-shirts into decorative throw pillows
Transform those old t-shirts collecting dust in your closet into cozy throw pillows. This simple project costs almost nothing and adds personality to any room.
Choose t-shirts with graphics or designs you love but no longer wear. The size of your shirt will determine your final pillow dimensions.
Turn the shirt inside out and sew across the bottom hem. Cut off the sleeves and neckline, leaving enough fabric to work with.
Sew the top opening closed, leaving a small gap for stuffing. Turn the pillow right-side out through this opening.
Fill your pillow with old stuffing, foam, or even fabric scraps from other projects. Push filling into corners for a full shape.
Hand-stitch the opening closed with small, tight stitches. Your new decorative pillow is ready to display.
This method works especially well with sentimental shirts from concerts, sports teams, or school events. You preserve the memories while creating functional home decor.
Make several pillows from different shirts to create a coordinated set. They work perfectly on beds, couches, or reading chairs.
6) Paint an accent wall with leftover paint cans
Transform any room instantly by creating a bold accent wall using paint you already have. Check your garage or basement for partial cans that have been sitting unused.
You can use a single leftover color for a classic accent wall behind your bed or sofa. This approach works especially well with darker or brighter shades that add drama to neutral spaces.
Mix multiple leftover colors to create unique patterns or designs. Try geometric shapes, stripes, or color blocks for a modern artistic look that costs nothing extra.
Consider painting just the lower half of a wall or creating a painted headboard effect. These smaller accent areas require less paint while still making a significant visual impact.
Prep your wall properly by cleaning and priming if needed. Use painter’s tape to create clean lines and protect adjacent surfaces from accidental brush strokes.
Start with lighter colors as your base, then layer darker shades on top. This technique helps you stretch limited paint supplies while building depth and interest.
An accent wall instantly updates your space without requiring new furniture or expensive decor items.
7) Craft a handmade garland from paper scraps
Paper garlands offer one of the easiest ways to add color and charm to any room without breaking your budget. You can create beautiful decorations using paper scraps you already have at home.
Start by gathering colorful paper from old magazines, scrapbook paper, or wrapping paper remnants. Cut the paper into your desired shapes like circles, hearts, or triangles.
Use a hole punch to make small holes in each paper piece. Thread string, twine, or yarn through the holes to connect all the pieces together.
For a quicker option, you can glue paper shapes directly onto a long piece of string or ribbon. Let each piece dry completely before hanging.
Paper garlands work perfectly for indoor decorating since they’re lightweight and inexpensive. You can hang them around doorframes, windows, or across walls as festive backdrops.
The best part about paper garlands is their versatility. You can customize colors and shapes to match any season, holiday, or room theme using materials you likely have on hand.
8) Turn wooden pallets into rustic shelves
Wooden pallets offer an excellent way to create stylish storage without breaking your budget. You can often find free pallets at local businesses or purchase them inexpensively.
The simplest approach involves splitting one pallet into three equal sections to create your shelf boards. Use deck boards from a second pallet to construct the supporting legs.
Another method requires sawing the vertical stringer boards to create a wall-mounted design. This works perfectly for lightweight items and decorative displays.
You’ll need basic tools like a saw, sandpaper, and screws for most pallet shelf projects. Start by cleaning your pallets thoroughly and sanding rough edges smooth.
Pallet shelves bring instant rustic charm to any room in your home. Their rectangular shape makes them naturally suited for conversion into functional storage solutions.
These DIY shelves work well in kitchens, bathrooms, living rooms, or bedrooms. You can leave them natural for maximum rustic appeal or paint them to match your decor.
The project requires minimal woodworking experience and can typically be completed in a weekend. Your new shelves will provide both storage space and attractive rustic decoration.
9) Rearrange furniture to refresh the room’s flow
Moving your furniture around costs nothing but can transform your space completely. Start by pulling furniture away from walls to create more intimate conversation areas.
Try rotating your sofa to face a different direction or moving it to the center of the room. This simple change can make your living room feel entirely new.
Swap furniture between rooms for an instant refresh. Move that accent chair from your bedroom into the living room, or bring a side table from another space.
Focus on improving traffic flow by creating clear pathways through the room. Remove obstacles that force people to walk around furniture awkwardly.
Create a focal point by arranging seating around a coffee table or fireplace. This draws the eye and makes the room feel more purposeful.
Consider moving your bed to a different wall in the bedroom. This single change can make the entire room feel larger and more functional.
Group furniture in odd numbers when possible, as this creates visual interest. Three items together often look more appealing than pairs.
Take measurements before moving heavy pieces to ensure everything fits properly in its new location.
10) Use fabric scraps to make no-sew curtains
Transform leftover fabric pieces into stylish window treatments without touching a sewing machine. Fabric scraps from old projects can create unique curtains that add personality to any room.
Cut your fabric scraps into strips of equal width. You can make them any length depending on your window size and desired curtain height.
Use fabric glue or iron-on hem tape to attach the strips together. This creates a patchwork effect that looks intentionally designed rather than makeshift.
For a boho look, sew fabric pieces together in irregular patterns using different textures and colors. Traditional quilting squares also work well for a more structured appearance.
Create Roman shades by gluing fabric to existing mini blinds. Simply measure your window, cut fabric to size, and attach with fabric glue for an elegant finish.
Another option involves cutting long vertical strips and hanging them directly from curtain rods using clip rings. This creates flowing fabric strip curtains with minimal effort.
Mix different fabric weights and patterns for visual interest. Cotton, linen, and lightweight materials work best for this type of project.
How DIY Room Decor Can Enhance Your Space
DIY room decor transforms your space by maximizing your budget while creating a home that reflects your unique personality. Budget-conscious decorating allows you to achieve high-end looks for less money and gives you complete creative control over your environment.
Benefits of Decorating on a Budget
Budget decorating stretches your money further than traditional home design approaches. You can achieve the same visual impact as expensive store-bought items for a fraction of the cost.
Cost savings add up quickly when you choose DIY projects. A handmade canvas art piece costs $15 in materials versus $150 for a similar store version.
Your creativity flourishes when working within budget constraints. Limited resources force you to think outside the box and discover innovative solutions you might never have considered.
DIY projects provide lasting satisfaction that purchased items cannot match. Every time you see your handcrafted floating shelves or painted accent wall, you experience pride in your accomplishment.
You develop valuable skills through budget decorating projects. Painting techniques, basic carpentry, and design principles become part of your toolkit for future home improvements.
Personalizing Your Room with Creative Touches
Personal touches make your space uniquely yours rather than looking like a catalog showroom. Your interests, memories, and style preferences shine through in every DIY element you create.
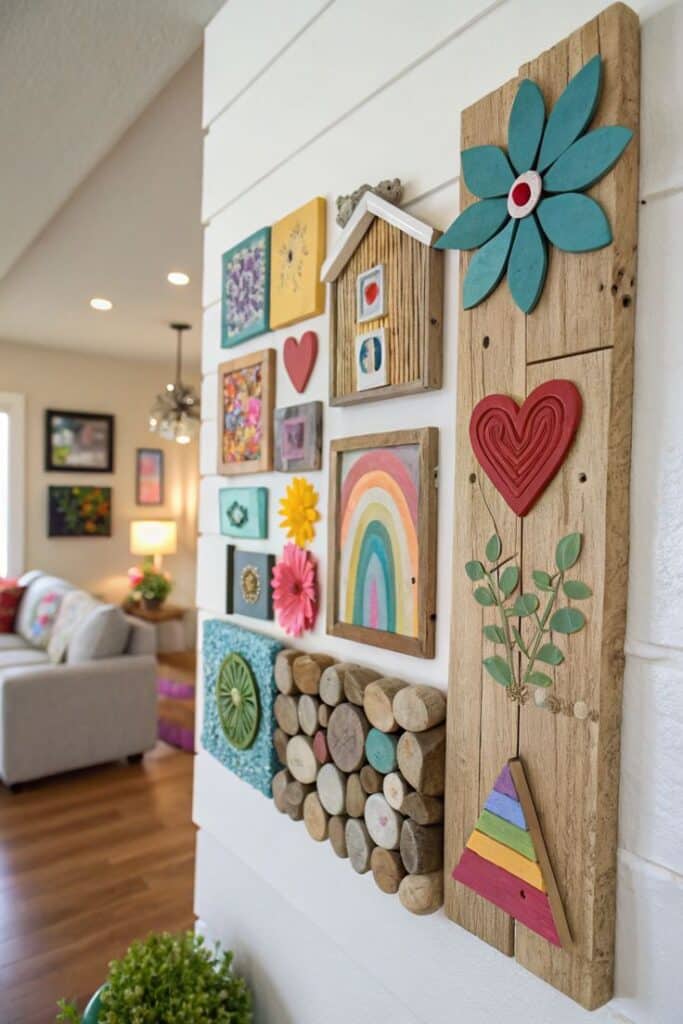
Photo displays tell your story better than generic artwork. Create a gallery wall using frames you’ve painted or decorated, showcasing moments that matter to you.
Your color choices reflect your personality in ways mass-produced items cannot. Mixing custom paint colors or selecting fabric patterns gives you complete control over your room’s mood and energy.
Handmade items carry emotional value that store-bought pieces lack. The throw pillow you sewed or the plant holder you crafted becomes a conversation starter and cherished possession.
You can adapt DIY projects to fit your exact needs and space dimensions. Custom storage solutions and perfectly sized artwork ensure everything fits your room like it was meant to be there.
Tips for Planning Your DIY Room Makeover
Start by defining your design vision and identifying items around your home that can be repurposed. This approach saves money while creating a cohesive look that reflects your personal style.
Finding Inspiration and Setting a Theme
Look through your existing belongings to spark ideas for your room’s new direction. Your favorite throw pillow, artwork, or piece of furniture can become the foundation for your entire color scheme.
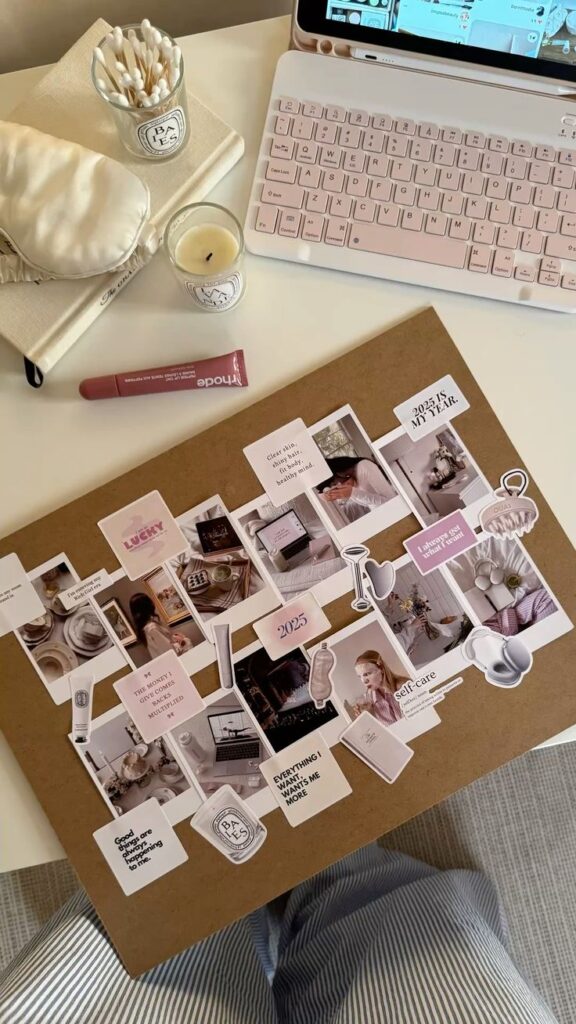
Create a mood board using free apps or simply tape images to a wall. Include photos of rooms you love, fabric swatches, paint chips, and magazine clippings.
Popular budget-friendly themes include:
- Minimalist modern with neutral colors
- Bohemian with layered textures and warm tones
- Farmhouse style using natural materials
- Vintage eclectic mixing old and new pieces
Set realistic expectations for your timeline and budget. Write down your must-have changes versus nice-to-have additions.
Focus on one main focal point per room, like an accent wall or statement furniture piece. This prevents your space from looking cluttered while maximizing visual impact.
Gathering Materials You Already Own
Walk through your entire home with a notebook and list items you can relocate or repurpose. Books, vases, blankets, and artwork from other rooms often work perfectly in new spaces.
Check your storage areas, garage, and closets for forgotten treasures. Old picture frames can be painted, unused fabric can become pillow covers, and glass jars make excellent planters.
Items commonly found at home:
- Mason jars for storage or lighting
- Wooden crates for shelving
- Scarves as table runners or wall hangings
- Books for decorative stacking
Group similar items together to see what you have in abundance. Three small mirrors create more impact than one when arranged as a gallery wall.
Take inventory of your tools and craft supplies. Basic items like paint brushes, scissors, hot glue guns, and sandpaper enable many DIY projects without additional purchases.


