Valentine’s Day is a time to express affection and creativity, and your nails can be a stunning canvas for this celebration. In this article, you will discover five nail art ideas that can elevate your Valentine’s Day look and showcase your personality. Whether you prefer romantic themes or playful designs, there are plenty of options to suit your style.
Nail art allows you to embrace the spirit of the occasion while adding a personal touch to your overall appearance. With a little creativity and some inspiration, your nails can become beautiful expressions of love and artistry this Valentine’s Day.
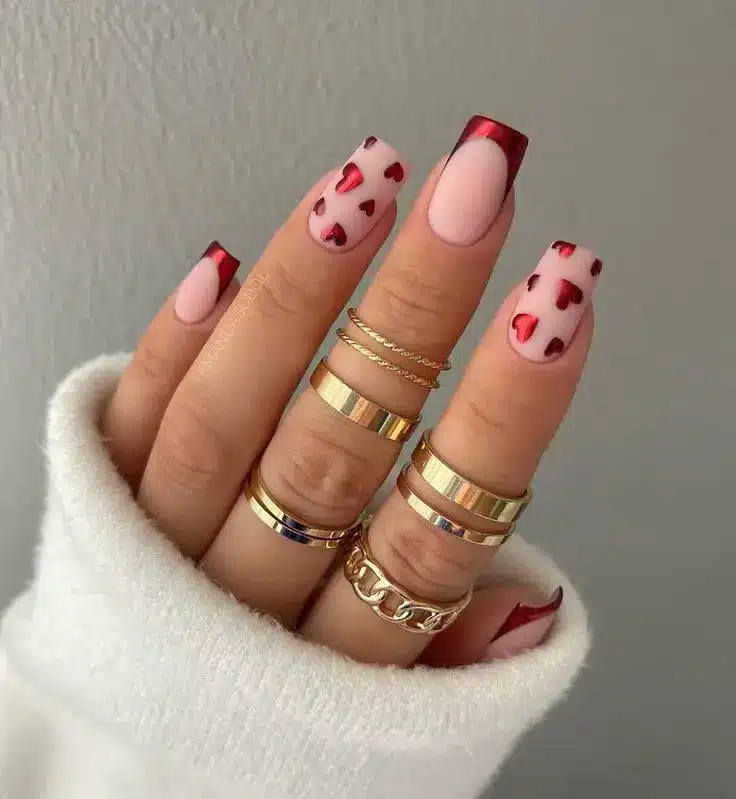
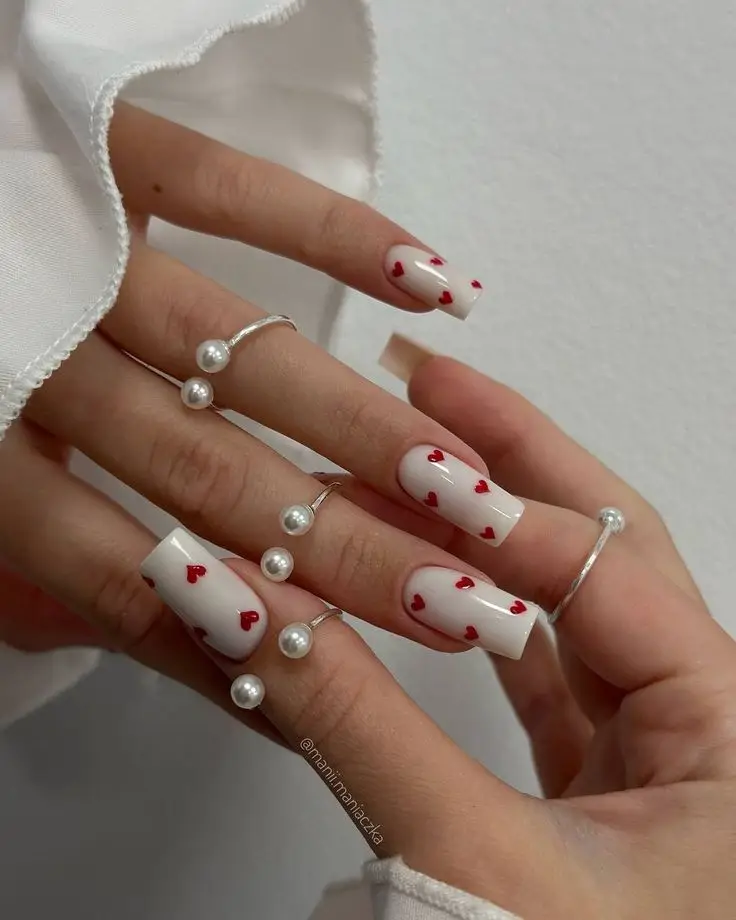
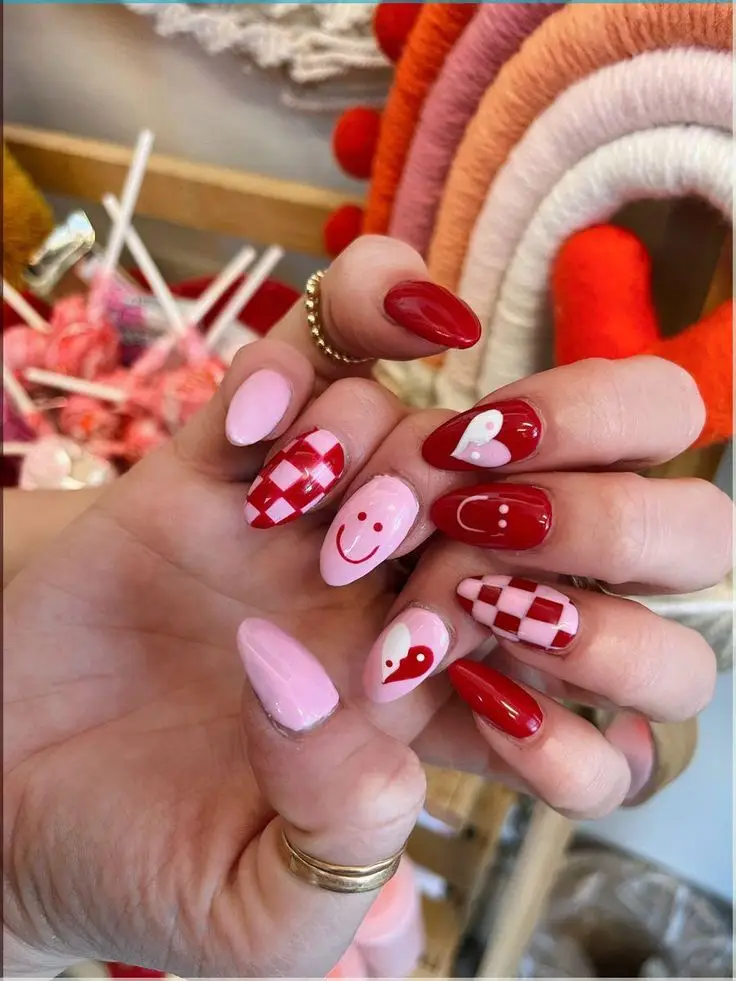
1) Heart-Shaped Accents
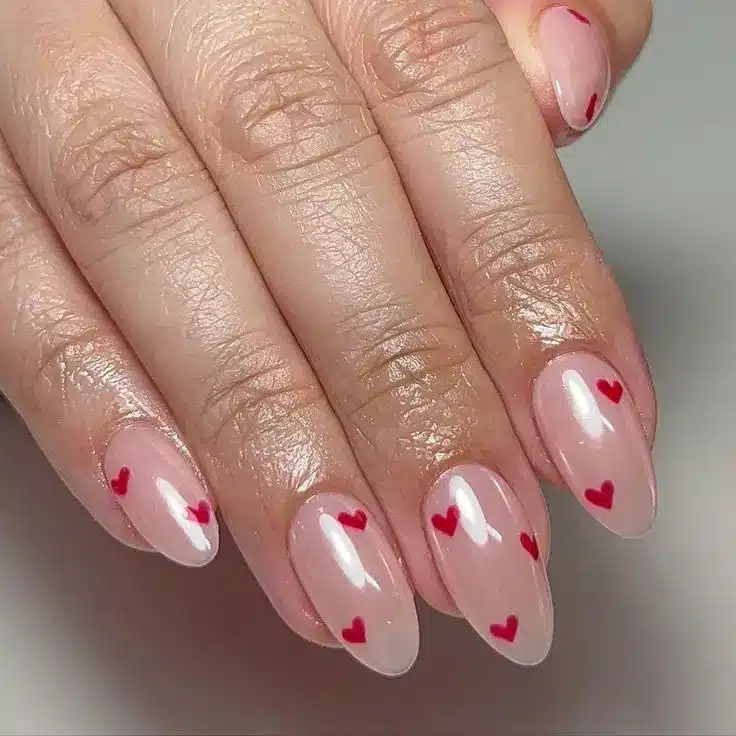
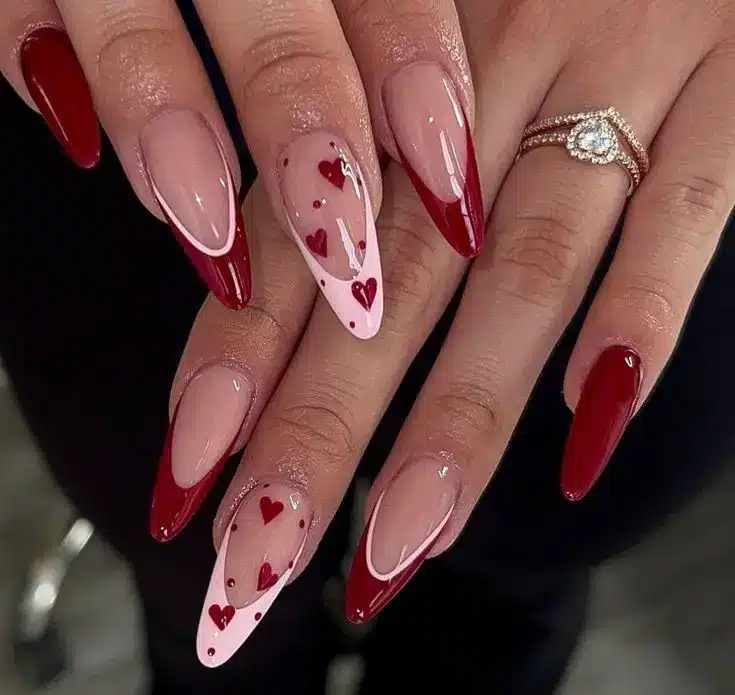
Heart-shaped accents add a sweet touch to your Valentine’s Day nail art. You can create these designs with various techniques, from nail stickers to hand-painted details.
Consider using a dotting tool to form small hearts on a solid color base. This method allows for precision and can be tailored to any color scheme.
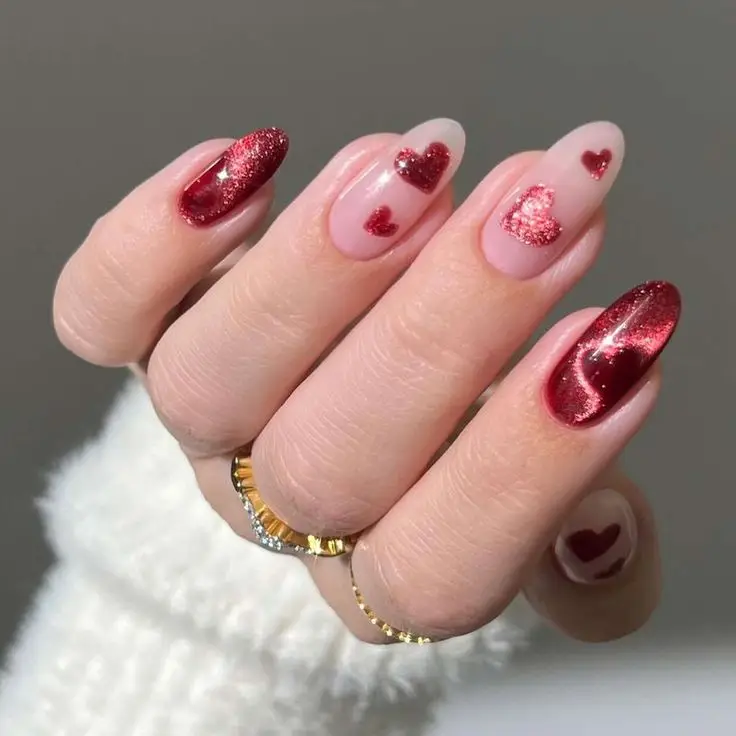
Another option is to apply heart-shaped glitter over your nails. This can create a fun, textured look while keeping your design simple and elegant.
If you’re feeling creative, try combining heart accents with other patterns like stripes or polka dots. This approach can add depth and personality to your nail design.
Experiment with different finishes, such as matte or glossy, to enhance your heart accents further. Each finish provides a unique effect, allowing you to customize your look.
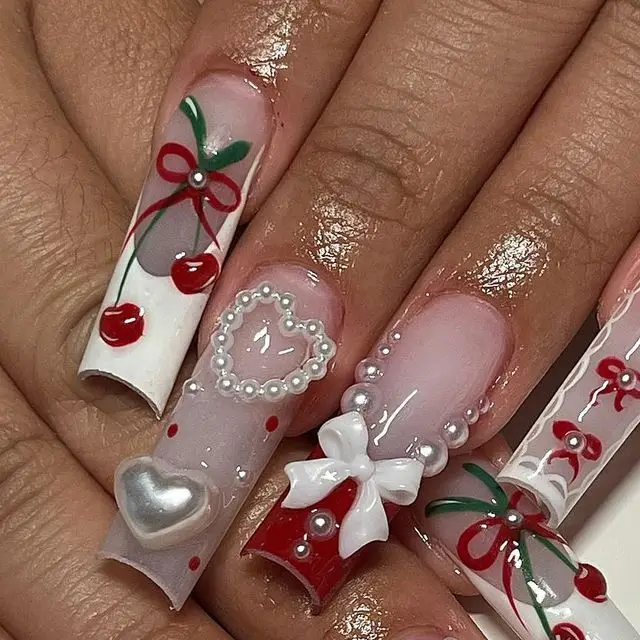
2) Pink Ombre Designs
Pink ombre designs offer a soft and romantic look perfect for Valentine’s Day. By blending various shades of pink, you can create a gradient effect that adds depth to your nails.
Start with a light pink base coat. Then, gradually blend in darker shades towards the tips of your nails. This creates a smooth transition that’s visually appealing.
You can use a makeup sponge to achieve the ombre effect. Apply the colors to the sponge and dab it onto your nails for a seamless blend. Finish with a clear topcoat for added shine.
For an extra touch, consider adding small hearts or sparkles after the ombre is applied. This enhances the romantic vibe of the design.
Pink ombre nail art allows for creativity while maintaining elegance. It’s suitable for both casual outings and more formal settings. Experiment with different pink shades to find the perfect combination for your style.
3) Lace-Inspired Patterns
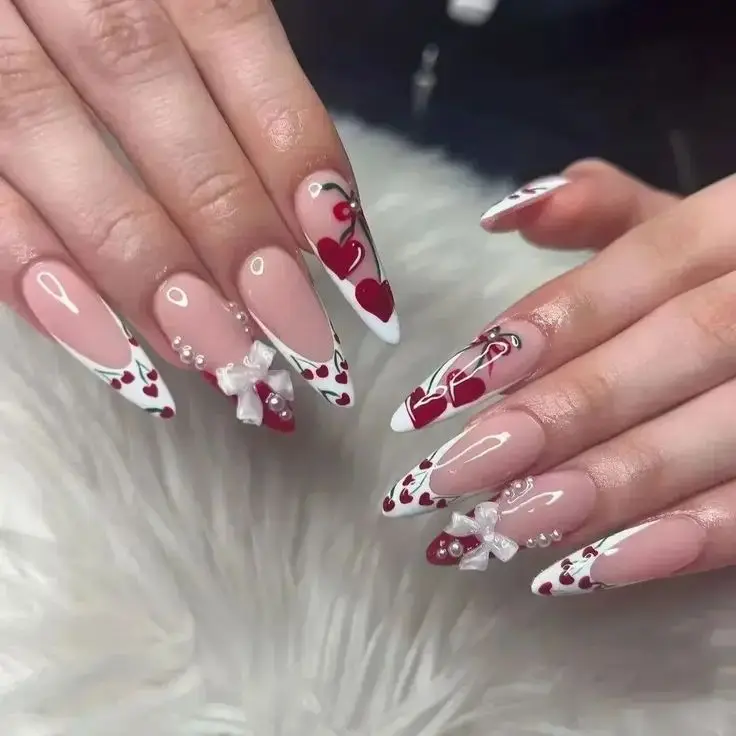
Lace-inspired nail art adds elegance to your Valentine’s Day look. This style can range from intricate designs to simple accents that evoke the feel of delicate lace.
You can create lace patterns using a fine brush or nail stamping plates. White or pastel shades against a deep red or classic nude base can make the design stand out.
For a more dramatic effect, consider combining lace patterns with glitters or rhinestones. This adds texture and keeps your nails looking festive.
Using a matte topcoat can enhance the lace effect, giving it a sophisticated finish. Experiment with different colors for various looks, like black lace on a soft pink background.
You can also play with negative space in your designs. This modern touch adds an interesting visual element while maintaining a clean and refined appearance.
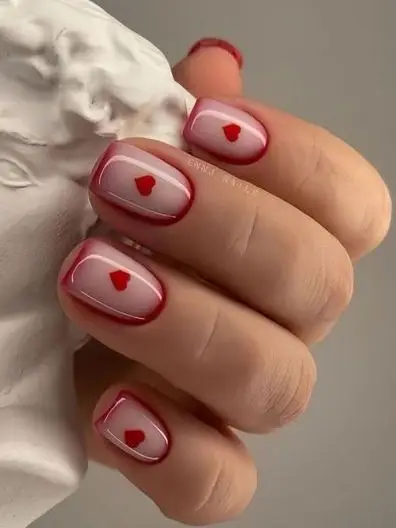
4) Red Glitter Tips
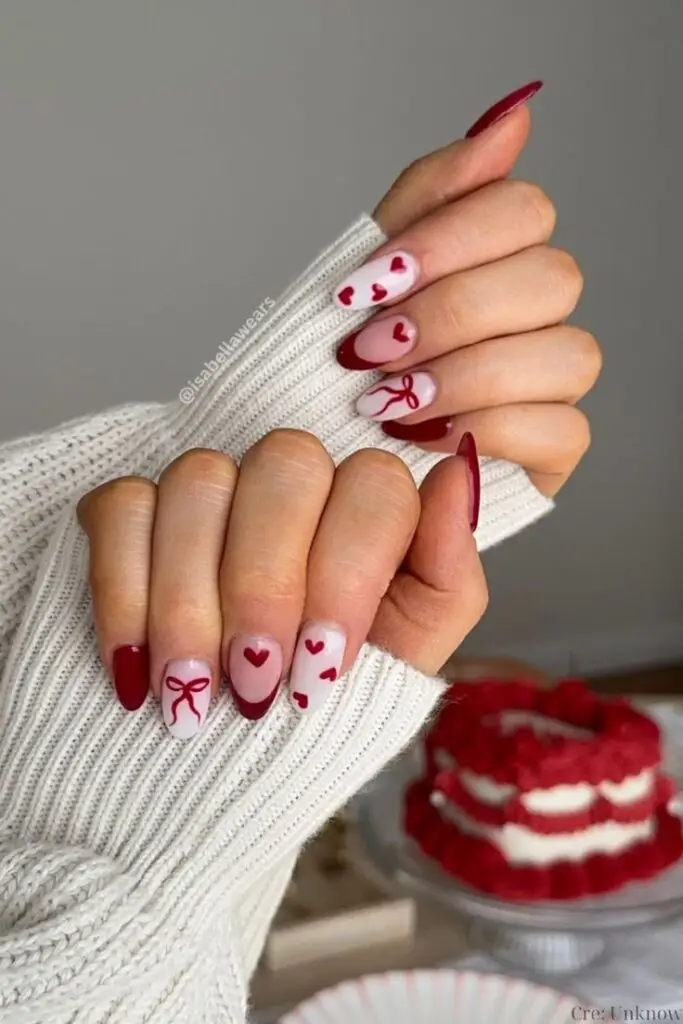
Red glitter tips offer a stylish and festive way to celebrate Valentine’s Day. This design combines the classic elegance of red with the sparkle of glitter to create a chic look.
To achieve red glitter tips, start with a base coat to protect your nails. Apply your favorite red nail polish as the base color and allow it to dry completely.
Once the red polish is dry, use a glitter top coat or loose glitter. Apply it to the tips of your nails for a shimmering effect. The contrast between the solid red and glittering tips enhances the elegance of your manicure.
This design works well on both short and long nails. You can customize the glitter intensity based on your preference, making it versatile for different occasions.
Red glitter tips can be paired with other nail art techniques, such as heart designs or negative space, for a more unique look. This simple yet eye-catching design is perfect for adding a touch of glamour to your Valentine’s Day celebration.
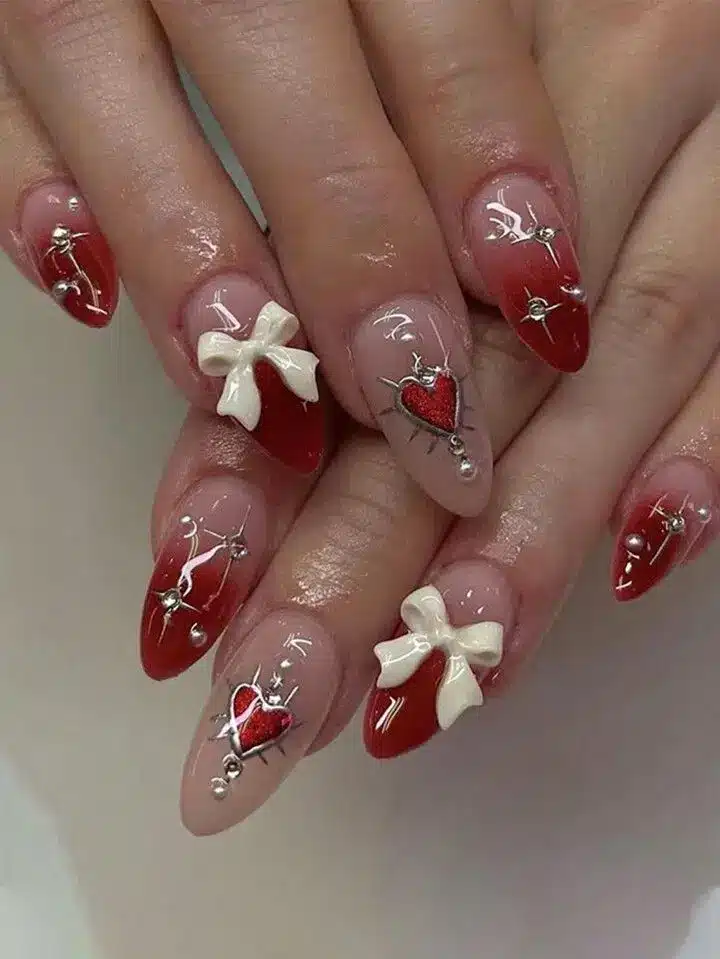
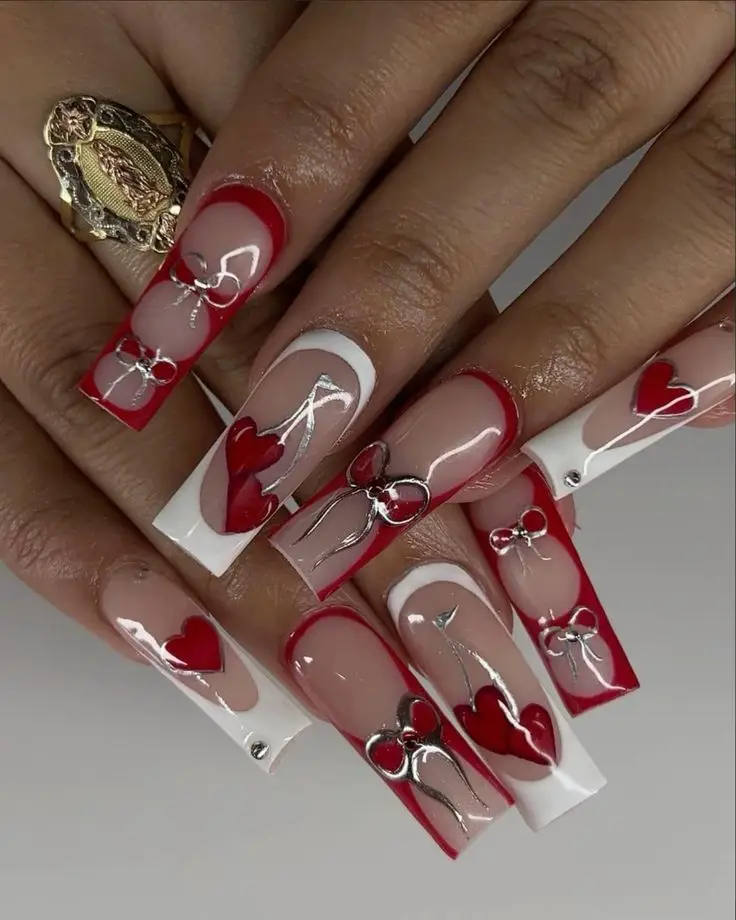
5) Cupid’s Arrow Art
Cupid’s Arrow Art is a charming way to celebrate Valentine’s Day on your nails. This design captures the essence of love with its playful motifs.
To create this look, start with a base coat in soft pink or red. These colors set the perfect backdrop for the arrows.
Once the base coat is dry, use a fine nail brush to paint small arrows in white or gold. You can position them either diagonally or straight across your nails.
For added detail, consider adding tiny hearts at the tips of the arrows. This enhances the romantic aesthetic and draws attention.
Finally, seal your design with a clear top coat. This will not only protect your artwork but also add a glossy finish.
Cupid’s Arrow Art combines simplicity and elegance, making it a perfect choice for your Valentine’s Day celebration.
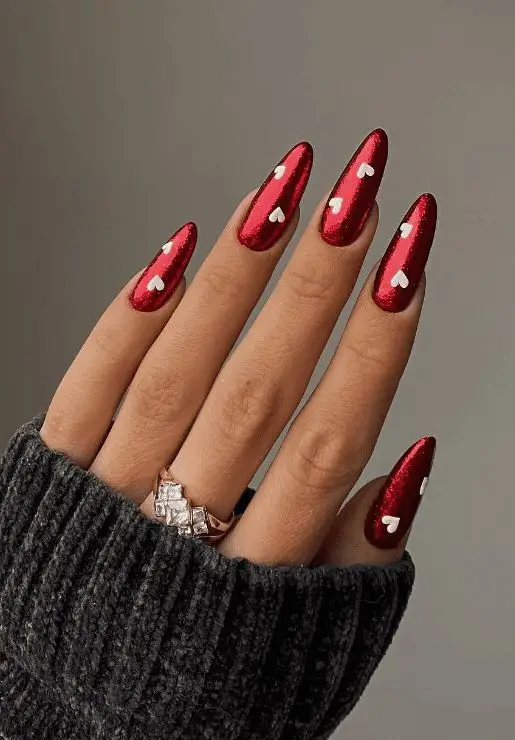
Choosing the Right Colors
Selecting the perfect colors can make a significant difference in your Valentine’s Day nail art. The right palette can reflect your style and set the mood for the occasion, whether you’re going for classic romance or a fresh, modern twist.
Traditional Valentine’s Day Shades
When you think of Valentine’s Day, classic colors come to mind. Red is the quintessential choice, symbolizing love and passion. Pair it with pink, which evokes feelings of affection and playfulness. White serves as a lovely contrast, adding a touch of elegance.
You can also incorporate pastel shades to create a softer look. Consider a mix of blush pinks and light lavenders for a romantic vibe. Adding glitter or sparkle to any of these shades can elevate your design, making it festive and eye-catching. Use a nail art tool or a fine brush for precise detailing, enhancing the beauty of these traditional colors.
Modern and Trendy Alternatives
For a contemporary twist on Valentine’s nail art, consider colors outside the classic palette. Metallic shades like rose gold or silver add a chic, modern feel. These hues can be paired with deeper shades, such as burgundy or navy, for an unexpected combination.
Another popular choice is neon colors. Bright pinks, purples, and even greens can infuse energy into your nail design. You might also explore ombre techniques, blending two shades for a unique look. Don’t hesitate to try patterns, textures, and even matte finishes to create a striking contrast. These alternatives can impress while retaining the romantic essence of the holiday.
Nail Art Techniques
Exploring various nail art techniques can elevate your Valentine’s Day manicure. Two popular methods are stamping and freehand designs, each offering unique aesthetics and levels of complexity.
Stamping Methods
Stamping is a fun and efficient way to create detailed nail art. You start by applying a base coat to your nails. Once dry, apply a colored polish onto a stamping plate, then scrape off the excess polish.
Next, use a stamper to pick up the design. Press the stamper onto your nail to transfer the image. Choose high-quality stamping plates for more intricate designs.
Many brands offer special stamping polishes, which have a thicker consistency for better transfer. Finish with a clear top coat to protect your design. This technique allows for endless creativity with minimal effort.
Freehand Designs
Freehand designs provide unlimited possibilities for nail art but require a steady hand and some practice. Start with a base coat to protect your nails, followed by your chosen color.
Using fine-tipped brushes or dotting tools, apply your design. You can create hearts, swirling patterns, or even abstract art. Layering colors can add depth to your work.
For intricate designs, consider using nail art pens with fine tips. They are easier to control and perfect for adding details. Don’t forget to seal your art with a top coat for durability and shine.
Maintaining Your Valentine’s Day Nail Art
To keep your Valentine’s Day nail art looking fresh and vibrant, focus on longevity and proper aftercare. Simple practices can greatly extend the life of your designs while maintaining their appeal.
Tips for Longevity
Use a Top Coat: Apply a high-quality top coat over your nail art. This protects your design from chips and adds shine. Reapply every few days for best results.
Avoid Prolonged Water Exposure: Limit soaking your nails in water. When washing dishes or bathing, consider wearing gloves to prevent water damage.
Be Gentle: Handle your nails with care. Avoid using them as tools, which can lead to chipping or peeling.
Moisturize Cuticles: Keep your cuticles hydrated with oil or cream. This prevents dryness and minimizes breakage.
Mind Your Activities: If you’re engaging in activities that may damage your nails, like heavy lifting, protect them by using finger guards or gloves.
Recommended Aftercare Products
For maintaining your nail art, consider these products:
Nail Oil: Look for oils enriched with vitamins. This keeps your cuticles healthy and your nails flexible, reducing the chance of breakage.
Strengthening Base Coat: Before applying your nail art, use a strengthening base coat. This provides a solid foundation that enhances durability.
Quick-Dry Top Coat: This type of top coat dries fast and prevents smudging. It seals your design and adds a glossy finish.
Nail Buffer: Regular buffing smooths out any rough edges and keeps your nails looking fresh. Use a gentle touch to avoid damaging your nail surface.
Hand Cream: A good hand cream will keep your skin moisturized and your nails looking their best. Look for formulations with shea butter or almond oil for added nourishment.


