Crisp autumn leaves offer more than just a seasonal backdrop—they give you simple, hands-on ways to bring nature into your home. Whether you want to decorate a room, spend time crafting with kids, or try something creative on your own, leaves provide a versatile starting point. You can turn everyday fall leaves into practical and decorative projects that add warmth and personality to your space.
By using just a few tools and supplies, you can create crafts that highlight the colors and textures of the season. From projects that brighten windows to designs that make cozy accents for evenings indoors, each idea helps you enjoy autumn in a new way.
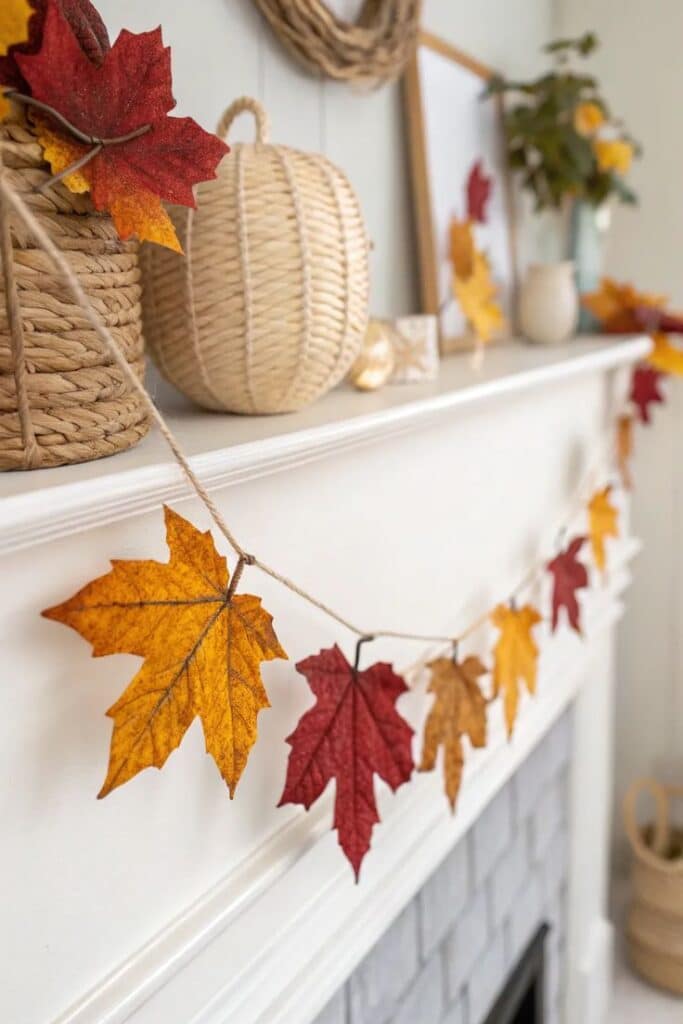
1) DIY Fall Leaf Garland
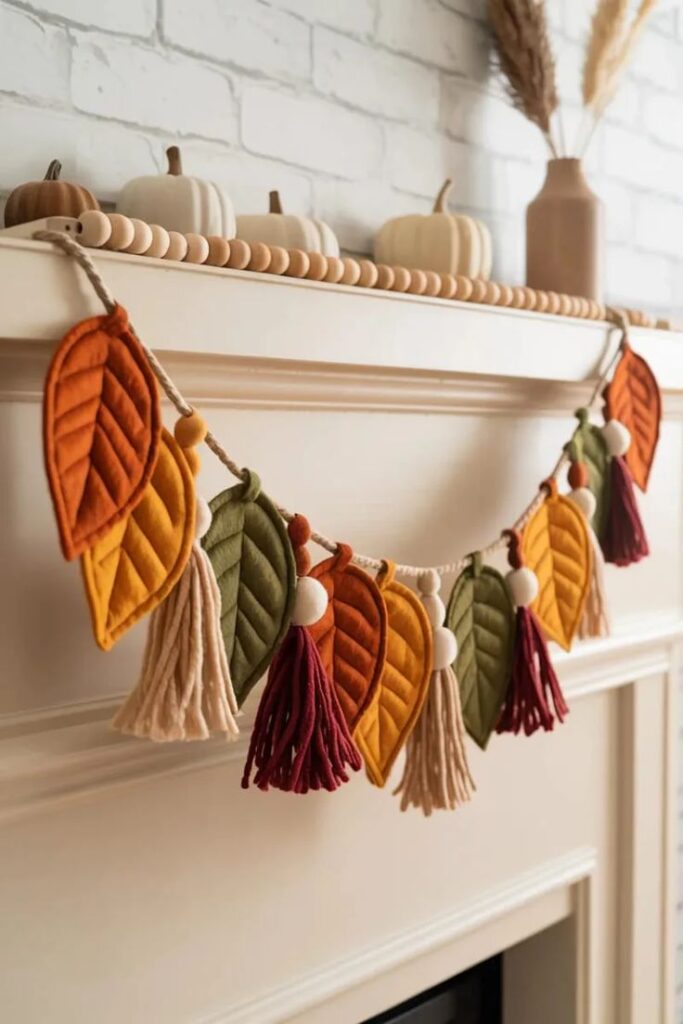
You can make a fall leaf garland with just a few simple supplies. Paper, fabric, or even real leaves work well depending on what you have on hand. Twine, string, or ribbon makes a good base for holding everything together.
If you use real leaves, try pressing them first so they lay flat and last longer. You can also coat them in beeswax to preserve their color and texture. This helps the garland stay sturdy through the season.
For a quicker option, cut leaf shapes from colored paper or felt. Punch a small hole at the top of each leaf and thread them onto your string. Wooden beads or small knots between leaves can add a nice touch.
Hang your garland across a fireplace, along a wall, or above a window. It’s lightweight, easy to move, and can be adjusted to fit any space. You can even make a shorter version to decorate a table or shelf.
This project works well for kids too since it doesn’t require complicated steps. You can let them choose colors, arrange the leaves, or help with threading. It’s a simple way to bring a bit of autumn into your home.
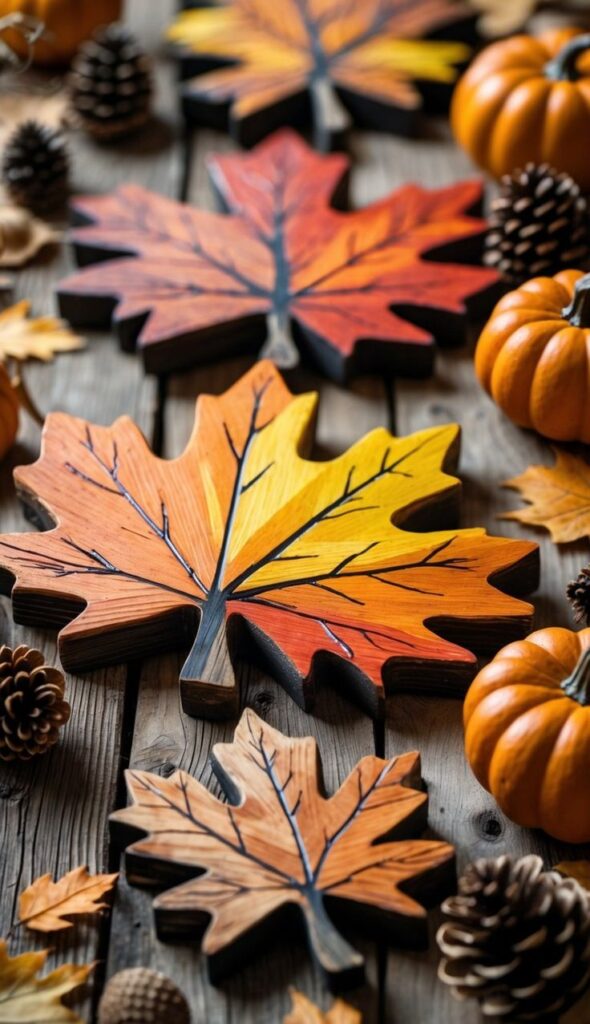

2) Leaf Suncatchers with Colored Paper
You can make simple leaf suncatchers with just tissue paper, scissors, and a template. Cut out a leaf shape from black construction paper to act as the frame. This gives your project a clear outline and helps it stand out in the window.
Tear or cut small pieces of colored tissue paper. Place them inside the leaf frame, overlapping the colors to create a stained-glass effect. You can use glue sticks or contact paper to hold the tissue in place.
Once the tissue is secure, trim any extra paper around the edges. Tape your finished leaf to a sunny window. The light will shine through the colors, making the leaf glow and brighten up the space.
You can try different leaf shapes like maple, oak, or simple ovals. Each design will look unique, and no two suncatchers will turn out exactly the same. This makes the craft fun to repeat with new colors and patterns.
If you want to make it easier for kids, use printable templates. They can focus on filling the shapes with tissue paper while you handle the cutting. This way, everyone can enjoy creating their own colorful fall decoration.
3) Pressed Leaf Art Frames
You can turn simple leaves into artwork by pressing and framing them. This project works well with colorful fall leaves, but you can use green ones too if you prefer a fresh look.
Start by pressing your leaves between heavy books or using parchment paper and weight. Once they’re flat and dry, they’re ready to be mounted.
Choose a background that fits your style, such as plain white paper, dark poster board, or even fabric. The background color will highlight the shapes and tones of your leaves.
Attach the leaves with small dabs of craft glue or double-sided tape to keep them in place. Arrange them in a way that feels balanced, whether that’s a single leaf centered or a group spread across the frame.
Place your design in a frame of your choice. You can use small frames for tabletop displays or larger ones for wall art. This lets you show off the natural details of the leaves while keeping them protected.
Pressed leaf frames make an easy seasonal decoration, and you can update them each year with new finds from your yard or local park.

4) Leaf Printing on Fabric
You can use real leaves to create simple prints on fabric. The natural patterns of veins and edges transfer well, leaving a clear design. This works on cotton, linen, or other natural fabrics.
Start by choosing leaves with interesting shapes and firm surfaces. Apply a thin layer of fabric paint or acrylic paint to the leaf’s underside, where the veins are more defined. Press it firmly onto the fabric, then lift it carefully.
If you want sharper results, practice on a scrap piece of fabric first. You’ll get a feel for how much paint to use and how much pressure to apply. Too much paint can blur the details, while too little may not show the pattern.
You can repeat the process with different leaf shapes and colors. Overlapping prints or alternating colors create a more textured look. Allow the fabric to dry completely before handling.
For longer-lasting designs, heat-set the paint according to the instructions on the paint label. This helps the print stay through washes. You can use the finished fabric for small projects like tote bags, table runners, or decorative patches.
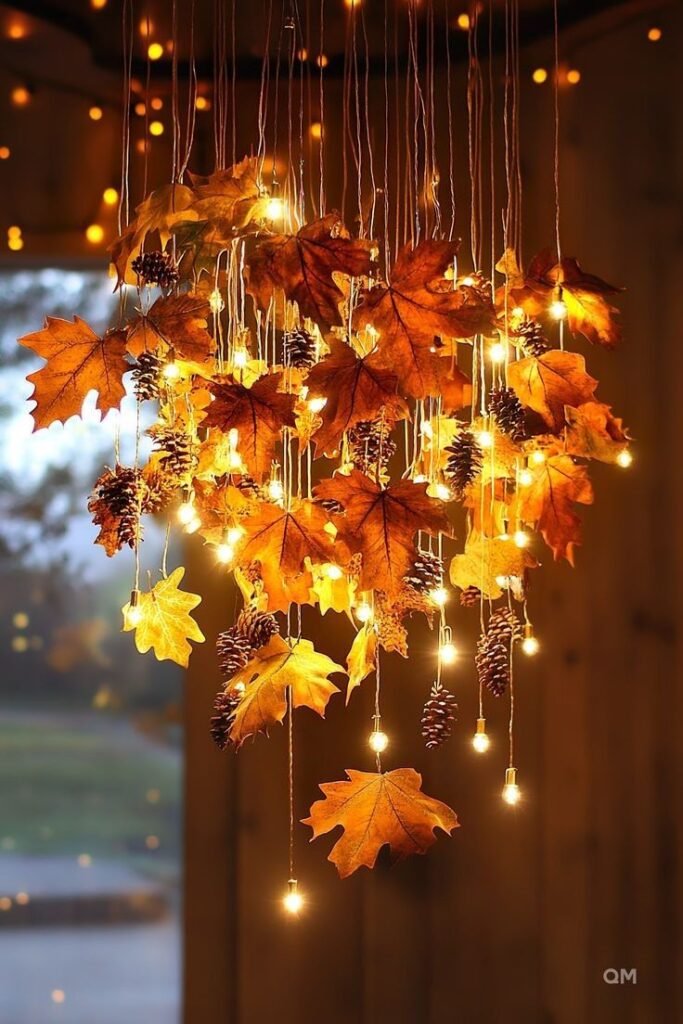
5) Mason Jar Leaf Lanterns
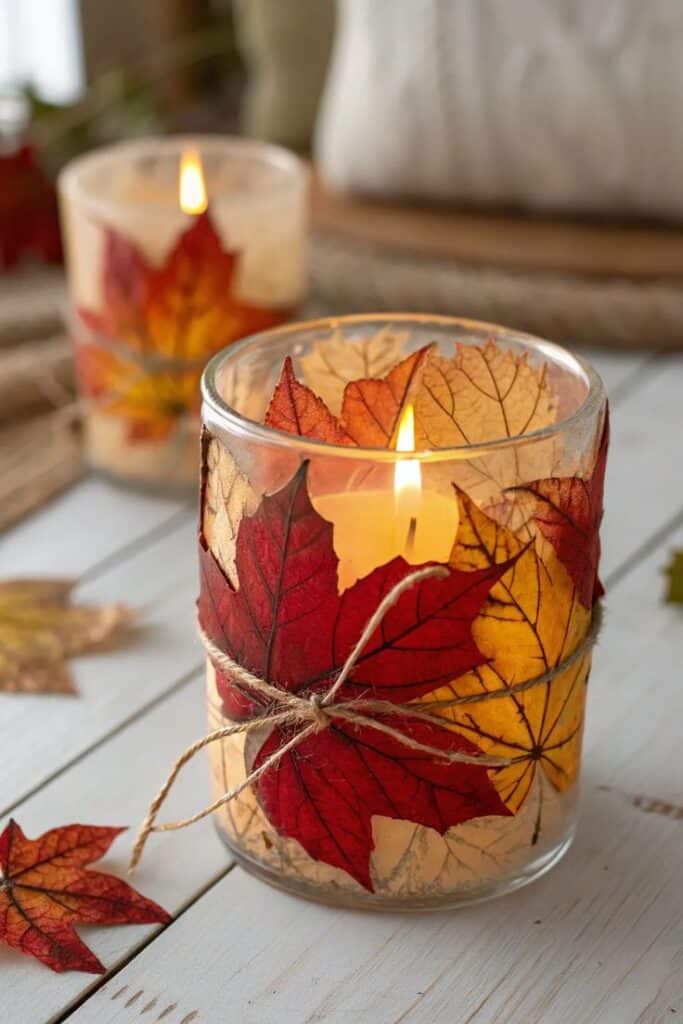
You can turn a simple mason jar into a cozy lantern with just a few leaves and a candle. This project works well with real autumn leaves or faux ones, depending on what you have on hand. Both options give your jar a warm, seasonal look.
Start by cleaning the jar so the surface is clear of dust or oils. Then arrange your leaves around the outside using craft glue or decoupage medium. Press them flat so they stick securely and let them dry before moving on.
Once the leaves are set, place a tea light or battery-operated candle inside the jar. The light will shine through the leaves and create a soft glow. This makes a nice decoration for a table, shelf, or windowsill.
You can choose different leaf colors to match your style. Bright reds and oranges give a bold look, while muted yellows and browns feel more natural. Using jars of different sizes also adds variety if you want to make a group of lanterns.
This craft is simple, uses inexpensive supplies, and can be done in a short amount of time. It’s an easy way to bring a touch of autumn into your home.
Materials and Tools for 5 Leaf Crafts
You’ll need to gather both natural and store-bought items to make these projects work well. The natural pieces bring texture and color, while the basic craft supplies help you shape, attach, and decorate your creations.
Choosing the Right Leaves
Start by looking for leaves in different shapes and sizes. Broad leaves like maple or oak give you more space for painting or printing, while smaller leaves such as birch or elm work well for collages and layered designs.
Pick leaves that are dry but not brittle. Freshly fallen leaves tend to curl, while very dry ones may crumble in your hands. Slightly flexible leaves hold up best when glued or pressed.
Pay attention to color. Bright yellows, reds, and oranges stand out in craft projects, but green leaves can also add balance. If you want your crafts to last longer, press the leaves between heavy books or use wax paper to flatten them before starting.
Avoid leaves with spots, holes, or mold. A quick rinse and pat dry can help remove dirt and small insects. Keeping your leaves clean makes the final project look neater and last longer.
Essential Craft Supplies
Along with leaves, you’ll need a small set of tools and supplies that make the crafting process easier. A few basics include:
- Scissors – for trimming leaves and paper.
- Glue sticks or liquid glue – to attach leaves securely.
- Tape – useful for quick holds.
- Markers, crayons, or paints – for decorating.
- Paper, cardboard, or canvas – as a base.
For added detail, keep items like googly eyes, string, or ribbon nearby. These small extras let you turn leaves into animals, garlands, or simple decorations.
It also helps to have wax paper or old newspapers on your table. These protect your workspace from glue and paint while giving you a flat surface to arrange leaves before attaching them.
Preserving and Preparing Leaves
You can make your leaf crafts last longer by preparing them properly before use. The right methods help keep leaves flat, durable, and colorful so they don’t crumble or fade too quickly.
Drying and Pressing Techniques
Pressing leaves is one of the simplest ways to keep them flat and ready for projects. You can place leaves between sheets of paper and tuck them inside a heavy book. Adding extra weight, such as another stack of books, helps them dry evenly.
If you want faster results, try using an iron. Place the leaf between two sheets of parchment paper and press gently with a low-heat setting. This method works well when you need leaves in a shorter amount of time.
Microwave pressing is another quick option. Sandwich the leaves between absorbent paper and microwave them in short bursts of 20–30 seconds. Always check frequently to avoid overheating or burning.
For larger batches, a flower press or homemade press with cardboard and straps can keep multiple leaves drying at once. This technique is slower but gives reliable, flat results.
Maintaining Leaf Color and Texture
Leaves often lose their brightness after drying, but you can slow this process with a few treatments. Soaking them in a mixture of glycerin and water helps keep them flexible and prevents brittleness. A common ratio is 1 part glycerin to 2 parts water.
Waxing is another method that seals in color. Dip each leaf in melted paraffin or beeswax, then let it cool on wax paper. The thin coating helps the surface stay glossy and less fragile.
Clear acrylic spray provides a lightweight protective layer. Spray both sides of the leaf in a well-ventilated area and let it dry fully before handling. This option works best for leaves used in wall art or decorative displays.
If you want to compare methods, here’s a quick guide:
| Method | Best For | Results |
|---|---|---|
| Glycerin | Flexibility, crafts | Soft, long-lasting |
| Waxing | Decorations, displays | Shiny, sturdy |
| Acrylic Spray | Quick preservation | Lightweight, sealed |


