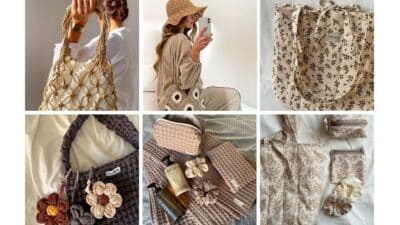
Learning how to knit opens the door to making your own cozy and stylish accessories, even if you’ve never picked up needles before. You can create a simple scarf, a warm hat, and a light top with just a few basic techniques and some patience. It’s easy to get started with beginner-friendly patterns and clear instructions.
With the right supplies and a positive approach, you’ll be surprised at how quickly your confidence grows with each stitch. Whether you want to knit your first scarf or try making a hat or top, you’ll find that these projects are perfect ways to build your skills and enjoy a relaxing hobby.

Key Takeaways
- Learn the simple supplies and steps you need to start knitting.
- Practice your skills by making an easy scarf, hat, and top.
- Gain confidence as you create your first handmade pieces.
Essential Supplies and Basic Techniques
Starting out in knitting is easier with the right supplies and a clear understanding of a few core skills. The most important decisions you’ll make involve choosing your tools, understanding different yarn qualities, and practicing the foundational stitches.
Choosing the Right Yarn and Needles
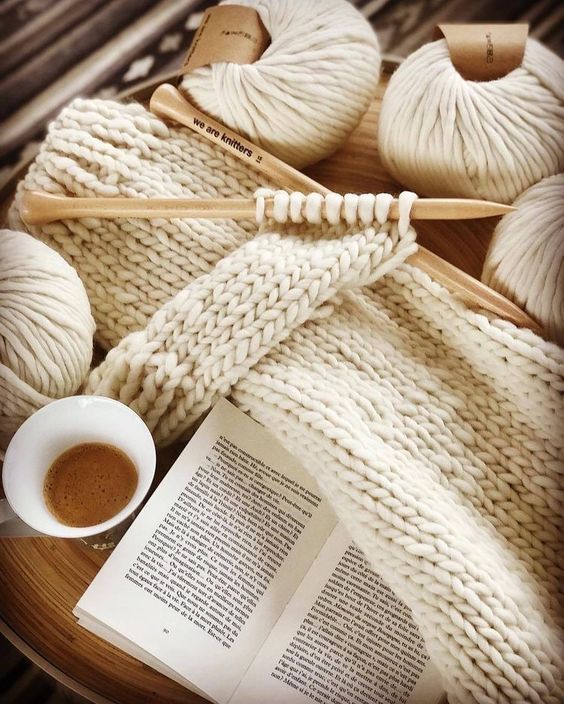
For beginners, straight knitting needles made of wood or bamboo are often recommended because they provide a gentle grip for your yarn and are less slippery than metal. Choose US size 8-10 (5-6 mm) needles for most basic scarf or hat patterns, as this size is comfortable to handle and works well with beginner-friendly yarns.
When it comes to yarn, look for worsted weight or bulky weight yarns. These medium to thick yarns make it easier to see your stitches and help your projects grow quickly. Wool yarn is a good choice because it’s stretchable, warm, and not too slippery for someone just starting out.
You’ll also find a few other tools helpful: a measuring tape for sizing your project, a crochet hook to fix dropped stitches, and a pair of sharp scissors for cutting yarn. Stitch markers can also help you keep track of your rows or pattern repeats if needed.

Understanding Yarn Weight and Fiber
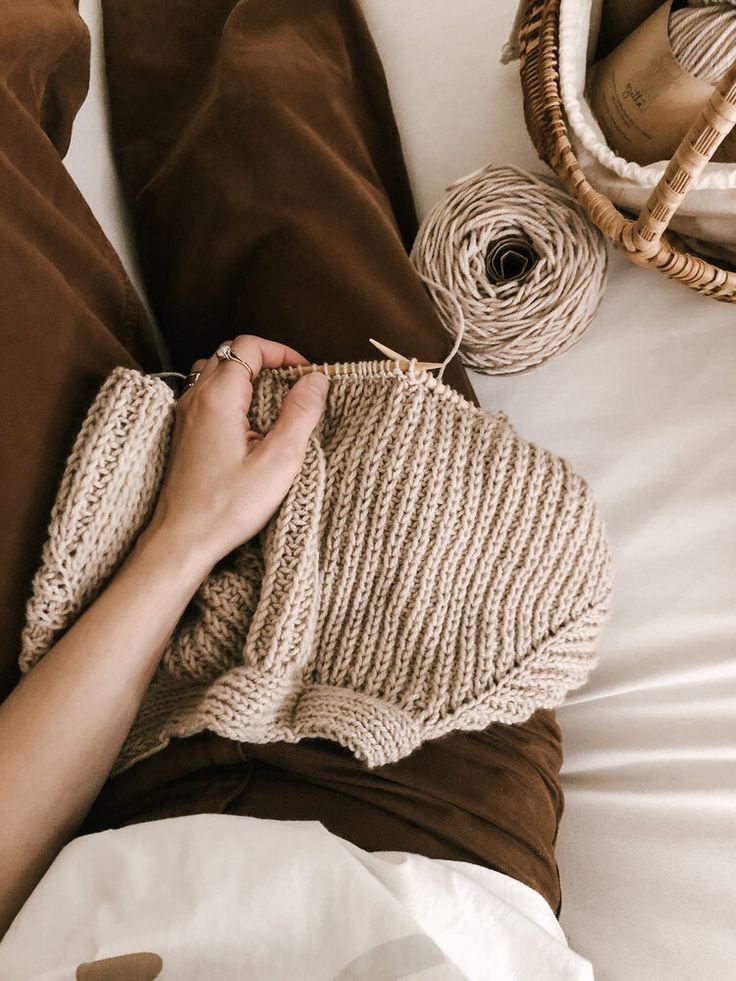
Yarn weight refers to the thickness of the yarn strand. The most common weights for new knitters are worsted weight or bulky weight. These are typically labeled as “medium” or “thick” on yarn packaging. Using these helps you easily learn how to see and count your stitches.
The fiber of the yarn affects how your scarf, hat, or top will feel and behave. Wool yarn is springy and warm, making it great for winter accessories. Acrylic yarn is affordable, machine-washable, and hypoallergenic. Cotton yarn is breathable but less elastic, so it’s better for lightweight tops rather than hats or scarves.
Before buying yarn, check the label for symbols like “4” (worsted) or “5” (bulky) and always compare the recommended needle size to your own needles. This helps ensure your first project turns out the right size and texture.
| Yarn Type | Recommended Use | Notable Features |
|---|---|---|
| Wool | Scarves, hats | Warm, stretchy, easy for beginners |
| Acrylic | Practice, easy care | Affordable, machine-washable |
| Cotton | Summer tops | Breathable, less stretch |
Casting On and Basic Knitting Stitches
The cast on is how you get the first stitches onto your needle. The long tail cast on is popular with beginners, but the knit cast on method is even simpler and easier to control. Practice casting on about 20 stitches to start, which is enough for most basic scarf samples.
Once you’ve cast on, there are two main basic knitting stitches: the knit stitch and the purl stitch. Learning both will let you tackle a range of patterns and textures.
- The knit stitch creates a smooth, “V”-shaped appearance on one side of your work.
- The purl stitch creates a bumpy texture and is the reverse of the knit stitch.
Practice rows of knit stitches to make garter stitch fabric, or try alternating knit and purl stitches to create ribbing. If you get stuck, look for a video tutorial online—seeing the motions often helps more than reading instructions. Mistakes like dropped stitches are common; keep a crochet hook nearby to help pick them back up without unraveling all your progress.
Knitting Your First Scarf
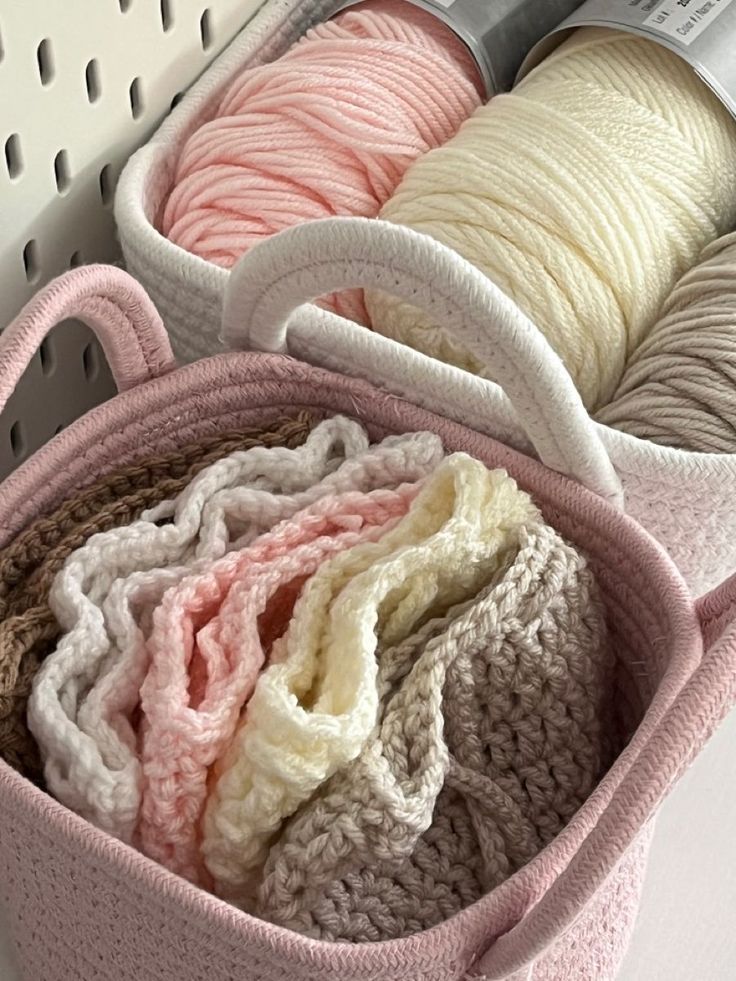
Knitting a scarf is often the easiest way to get started with knitting. You only need a few basic tools, a simple pattern, and some patience to make your first cozy accessory.
Simple Scarf Patterns for Beginners
Begin with patterns that use basic stitches like the garter stitch. This stitch is just knitting every row, and it gives your scarf a soft, squishy texture. Choosing a chunky yarn makes the project go faster and produces a warm, thick scarf.
Look for free knitting patterns labeled “easy scarf” or “beginner scarf knitting pattern.” Many of these patterns are just a rectangle knit back and forth.
Some popular beginner-friendly options include the basic garter stitch scarf, ribbed scarf, or a simple color-blocked design. These patterns help you practice the basics without complex instructions.
Step-by-Step Guide: How to Knit a Scarf
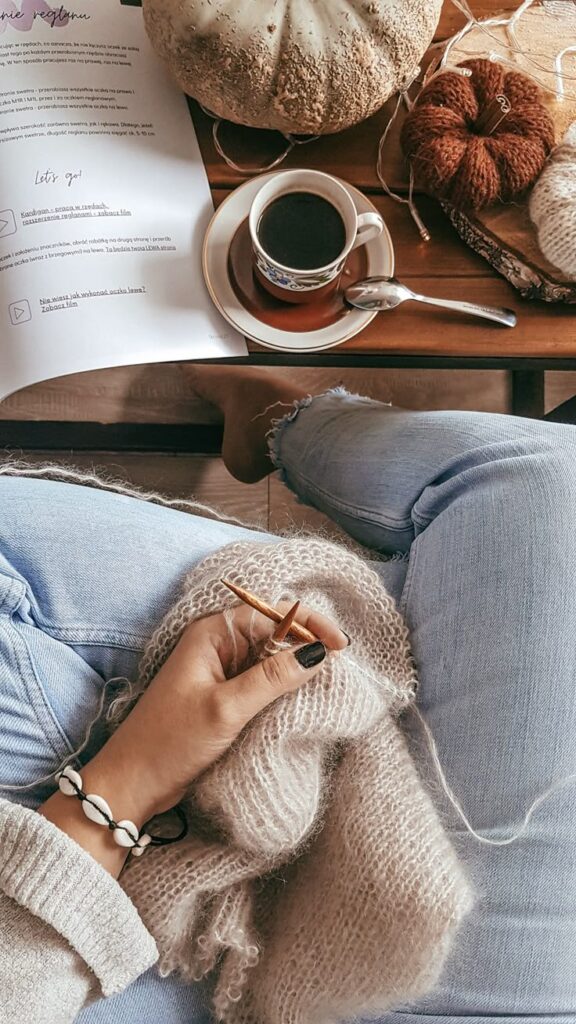
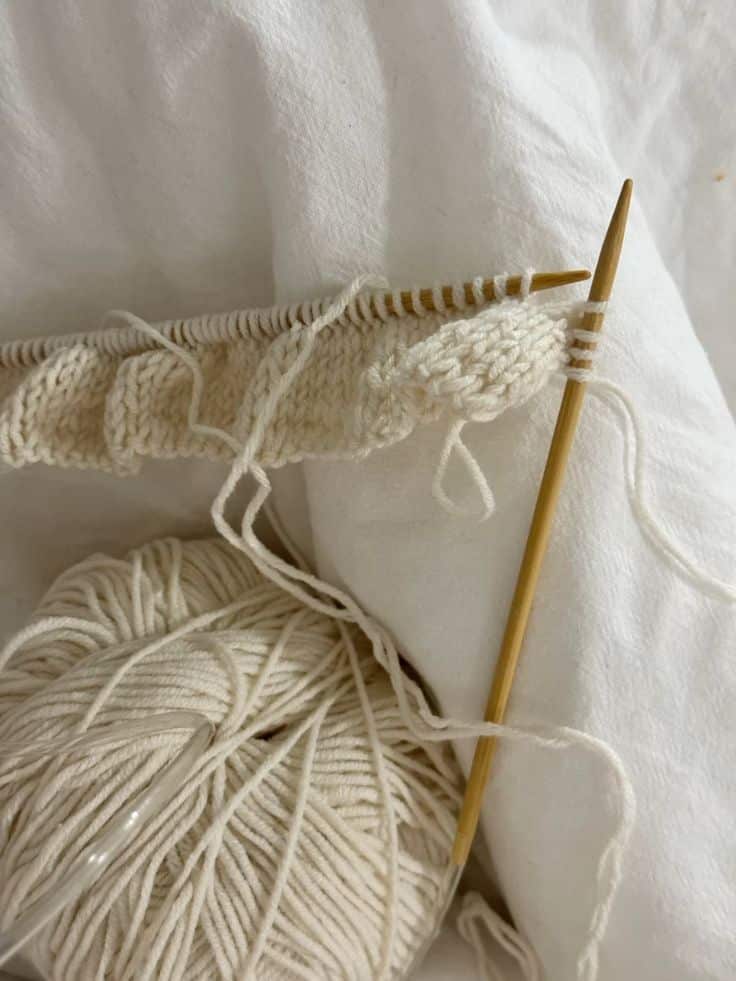
To knit a scarf you will need knitting needles (often size US 8–11 for beginner projects), yarn, and a tapestry needle for weaving in ends. Start by casting on—most easy scarf patterns suggest starting with 20–30 stitches.
Knit every row to make a garter stitch scarf. Continue until your scarf reaches your desired length, usually around 50–70 inches (127–178 cm) for adults. Bind off when you’re done knitting.
Use the tapestry needle to weave in loose yarn ends. For beginners, following a written guide or a step-by-step video can make each stage clear. You’ll soon have a neat knit scarf ready to wear or gift.
Customizing Length, Width, and Texture
You can easily change the look of your scarf by adjusting your pattern. To make a wider or narrower scarf, simply cast on more or fewer stitches. Shorter scarves work well for children, while longer scarves can be wrapped several times for extra warmth.
Choose yarns that suit your style: chunky for a bold, cozy scarf, or lighter yarn for a softer drape. Try experimenting with different textures, like ribbing or adding stripes using multiple colors.
Consider this quick reference table:
| Feature | Typical Range |
|---|---|
| Width | 6–10 inches (15–25 cm) |
| Length | 50–70 inches (127–178 cm) |
| Texture | Garter, ribbed, or striped |
Personal touches, such as fringe or color changes, make your knit scarf unique and reflect your style.
Making a Knitted Hat and Top
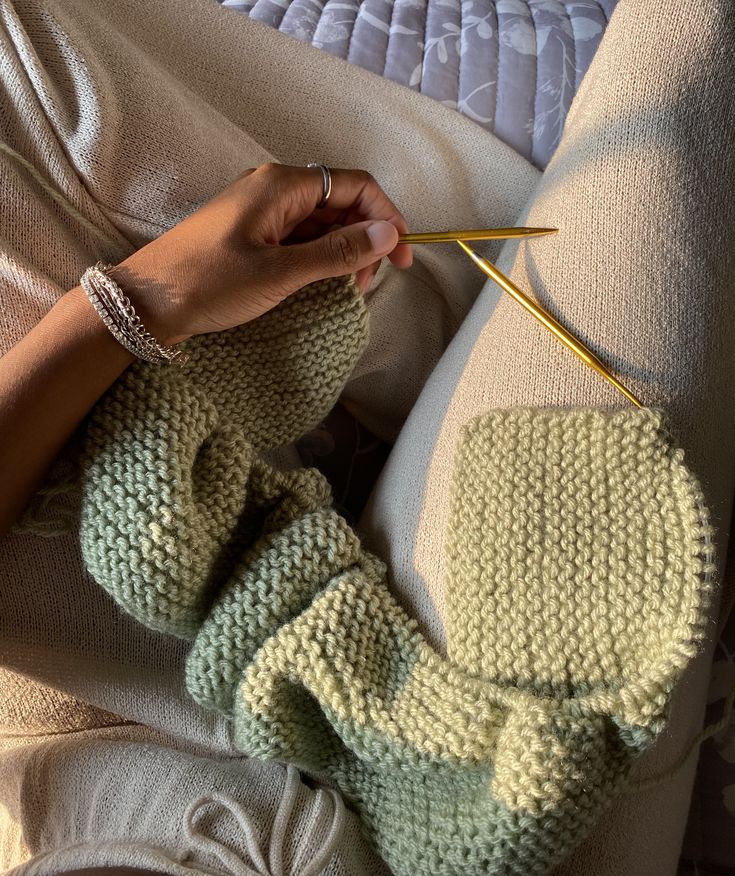
Learning to knit a hat introduces you to new stitch combinations, while making a knitted top builds on basic skills in shaping and construction. Getting comfortable with foundational patterns, like rib and seed stitch, will help your projects look polished and fit well.
Beginner-Friendly Hat Patterns
When starting your first knitted hat, choose simple, classic patterns that use basic stitches. Many beginner patterns focus on using only knit and purl stitches and often involve knitting flat and sewing up the seam, or knitting in the round with circular needles.
One popular beginner approach is the two-by-two ribbed hat. This uses a pattern of knit two, purl two across each row, creating a stretchy fabric that fits well. Ribbing also helps the hat stay snug, even if your tension varies a little.
Hats are usually knit with worsted weight yarn and medium needles (e.g., size US 8, 5mm). Many patterns will tell you to cast on about 80-100 stitches, work ribbing for the brim, then switch to stockinette for the body. Decreasing at the top shapes the crown. Add a simple pom-pom for a fun finishing touch.
Basic Techniques for Knitting a Top
A knitted top is a great beginner project once you’ve mastered scarves and hats. Tops are often made in flat pieces (front and back) before seaming them together. Some patterns use raglan or drop shoulder construction for simplicity.
You will often work in basic stitch patterns like stockinette—alternating rows of knit and purl stitches—for most tops. Pay attention to gauge: knit a small swatch first to check your stitch count per inch matches the pattern’s requirements.
Shaping is central in top-making. You add or remove stitches at the edges with increases and decreases to form armholes and necklines. Follow the pattern’s instructions for where to start shaping. Always count stitches after each row to stay on track.
Common Knitting Patterns: Rib, Seed, and Stockinette
Understanding key stitch patterns will help your hat and top projects turn out well.
- Rib Stitch: Alternates knit and purl stitches within a row. Common patterns are k2, p2 (knit two, purl two) for hats or cuffs to add stretch.
- Seed Stitch: Alters between knit and purl across each row, shifting on every row. This creates a textured, bumpy fabric that prevents curling.
- Stockinette Stitch: Rows alternate between knitting the right side and purling the wrong side, making a smooth front and bumpy back. Stockinette is used for most sweater bodies and hat panels.
Switch between these stitch patterns for a variety of looks and textures in your projects. For reference:
| Stitch Pattern | Look/Feel | Uses |
|---|---|---|
| Rib | Stretchy, snug | Brims, cuffs, hats |
| Seed | Textured, dense | Scarves, borders, tops |
| Stockinette | Smooth, flat front | Bodies of hats/tops |
Practice swatching each before starting your project to see how they look and feel with your chosen yarn.


